 In addition to playing and collecting drums, Michael also enjoys restoring vintage snare drums.
Michael offers full rebuilds/restorations, parts replacement/upgrades, maintenance and tuning services. If you have an older snare drum that you are interested in having serviced, please contact Michael.
Here are some photos of a couple of projects Michael has recently undertaken.
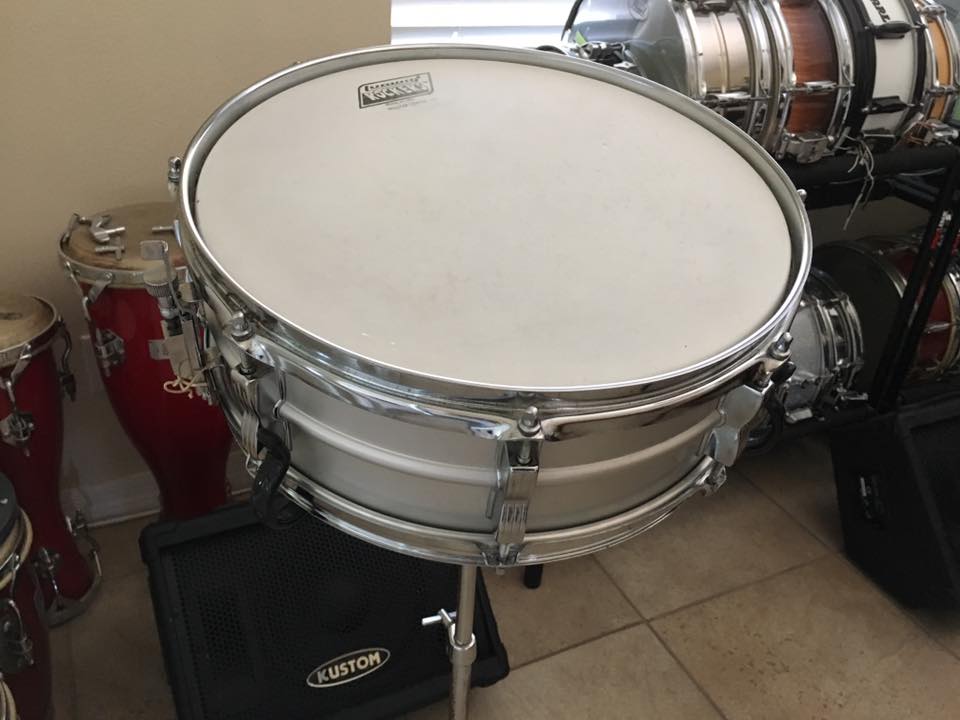
Mid-70’s Ludwig Acrolite Space Grey
 This was a pretty straight-forward job. Mid-70’s Ludwig Acrolite. It was in decent shape, albeit rusty, and not playable. It required several parts including one hoop, a new strainer, snare wires, butt-plate and resonant head. Although the end goal on this drum was to have a gig capable drum, restoring the drum with period-correct parts was also a priority.
Old strainer is no longer functioning and is rusty.
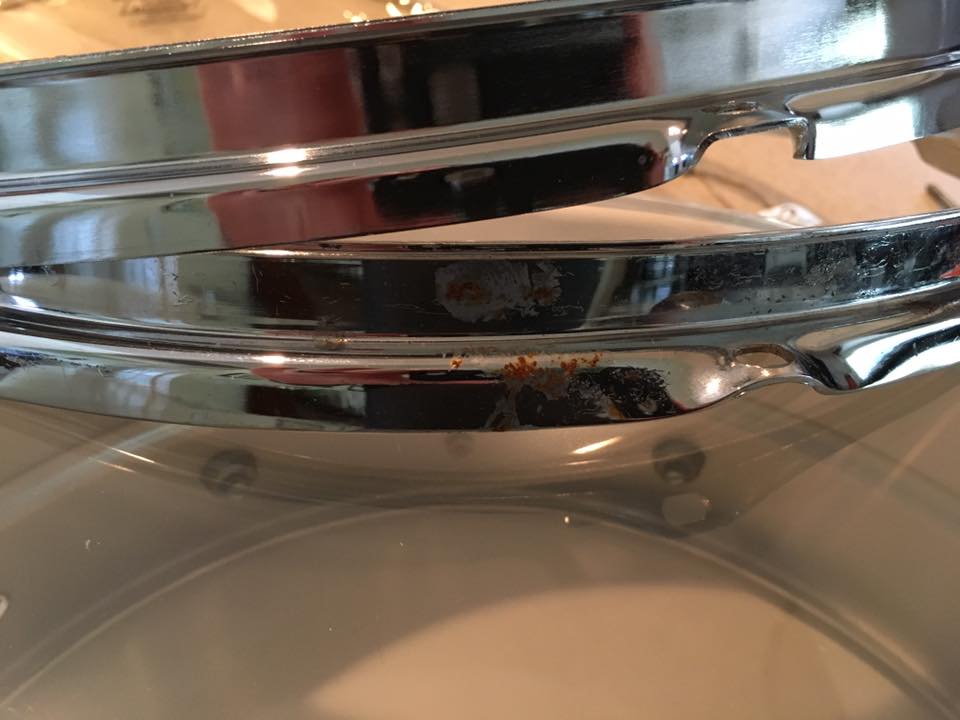
Hoop is rusty and crusty.
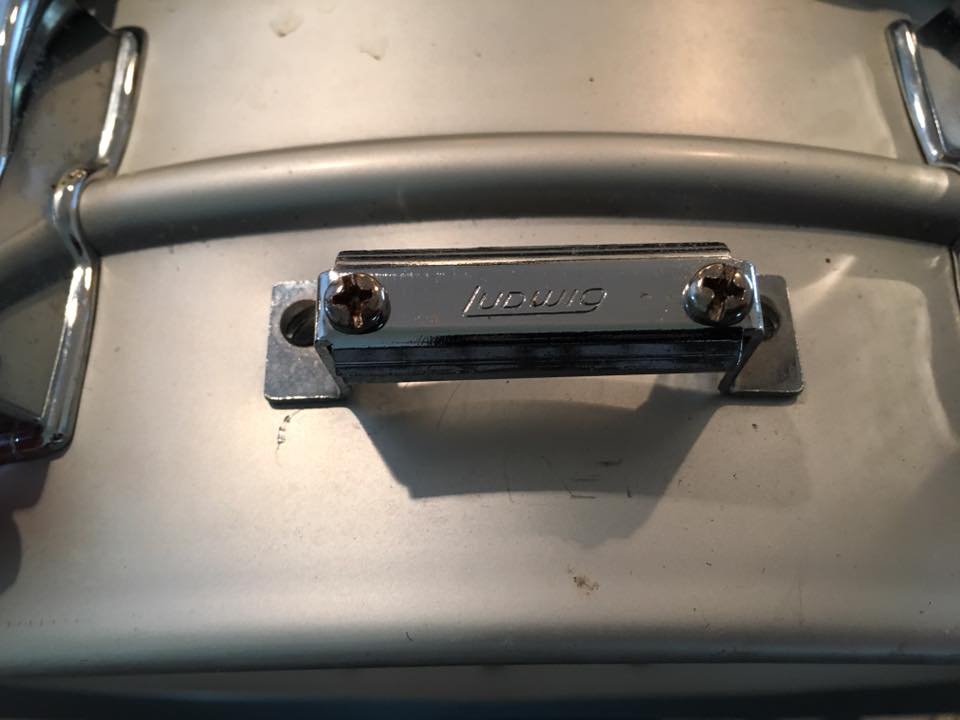
Original butt-plate is also rusty and one screw is stripped-out.
New E-Bay sourced butt-plate. The internet has made finding vintage drum parts SO much easier!
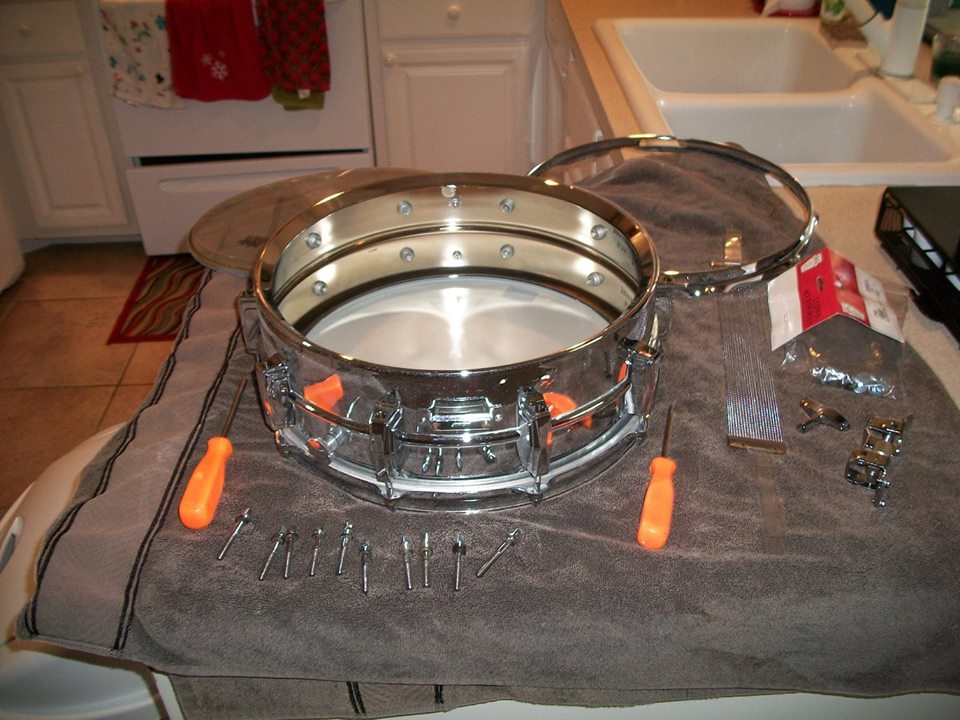
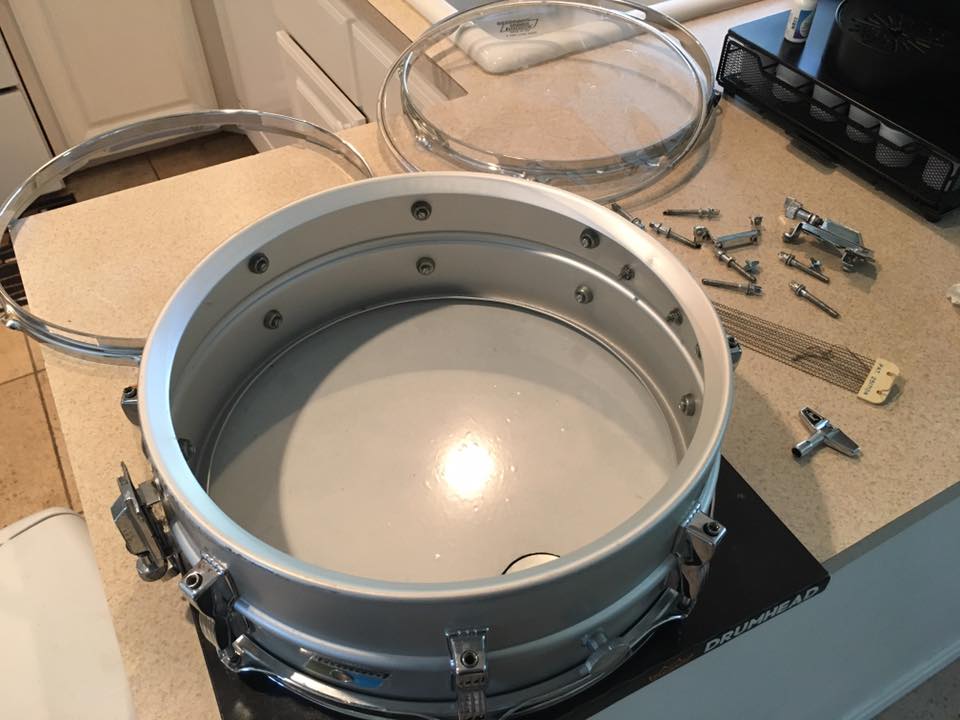 Tear down of the lower end is complete. Bearing edges are good.
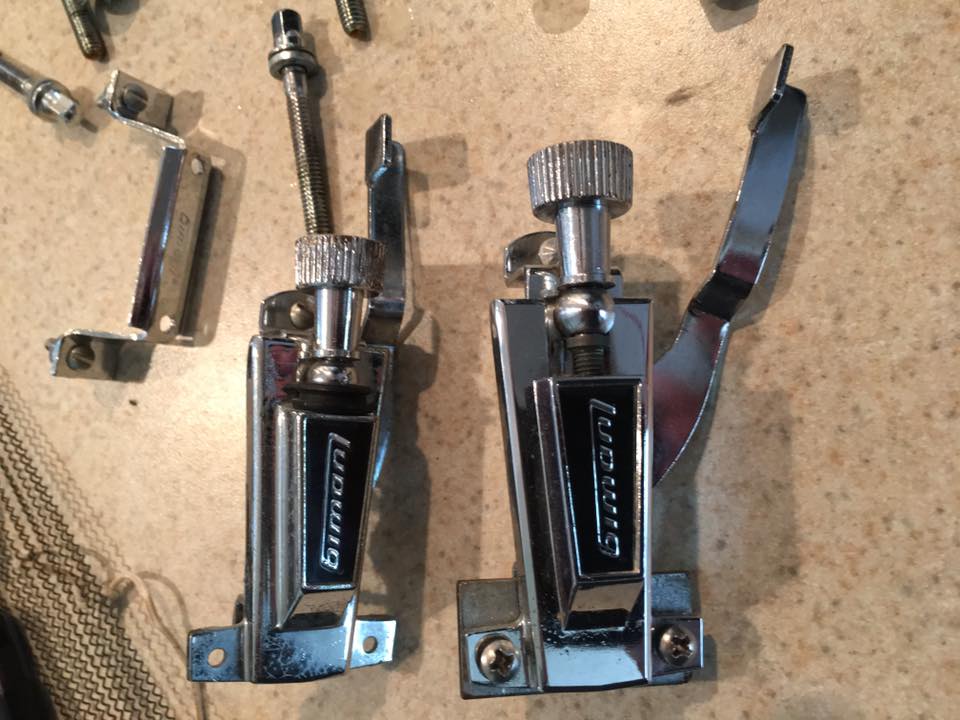
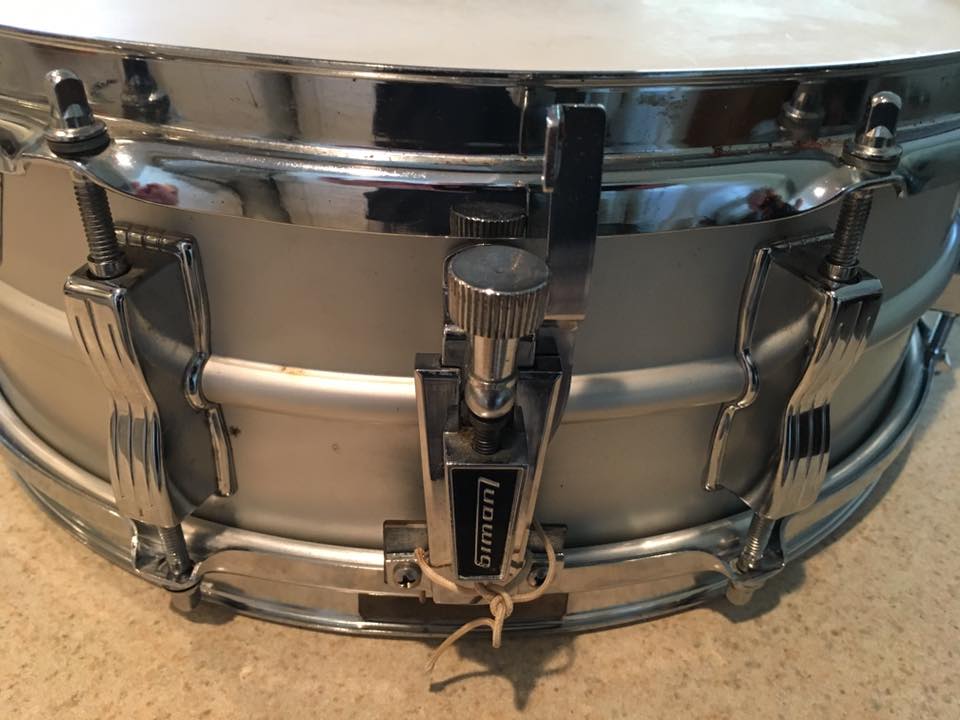
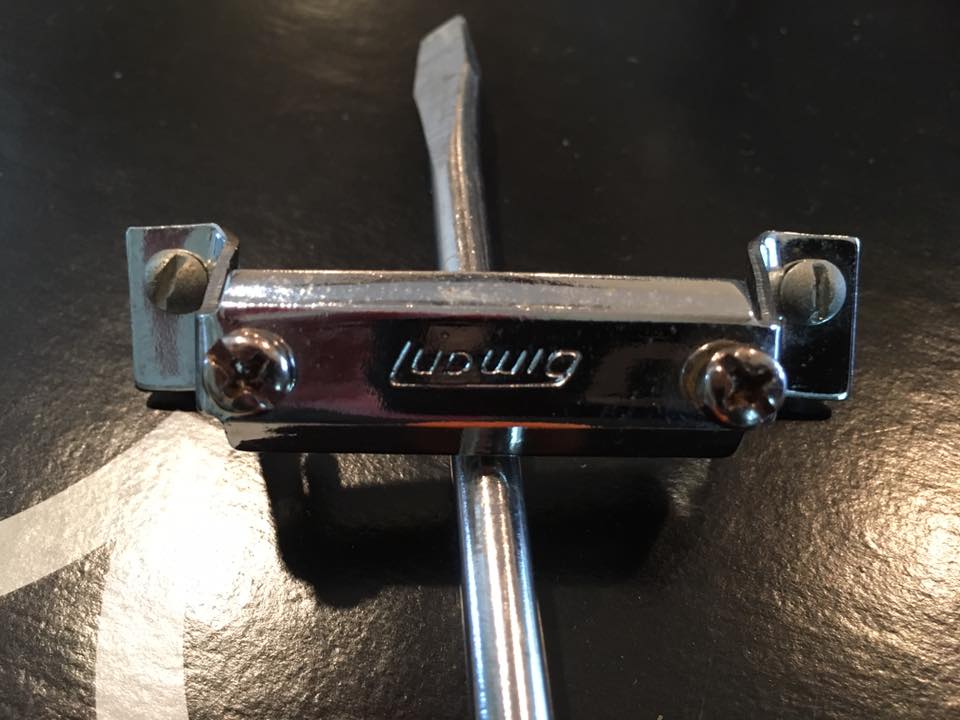
Replacement strainer with period correct black logo from my stock.
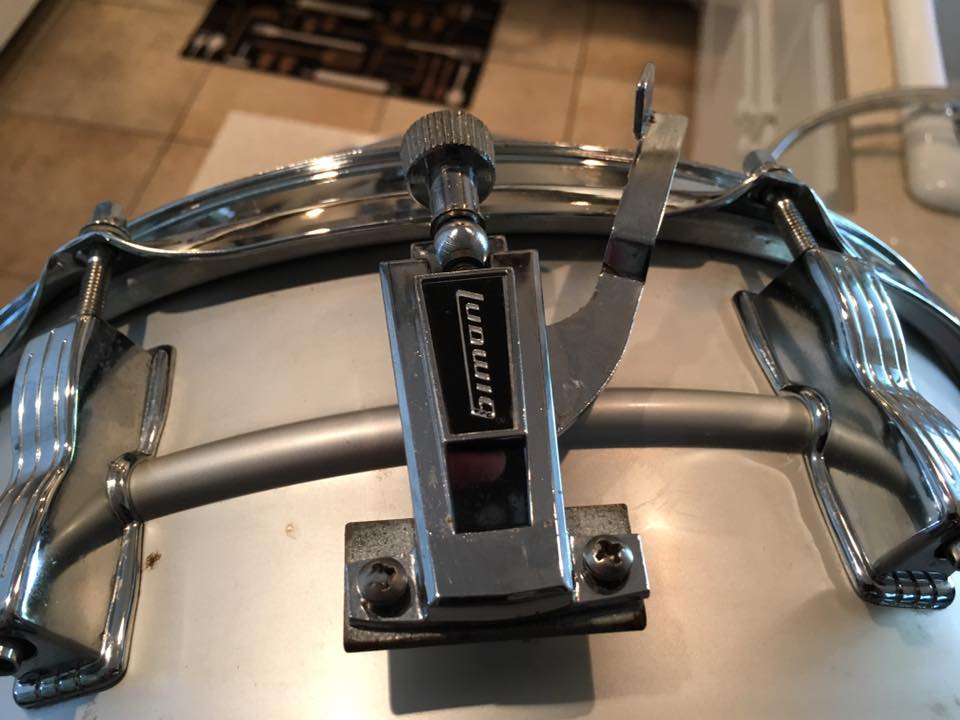
Replacement strainer installed.
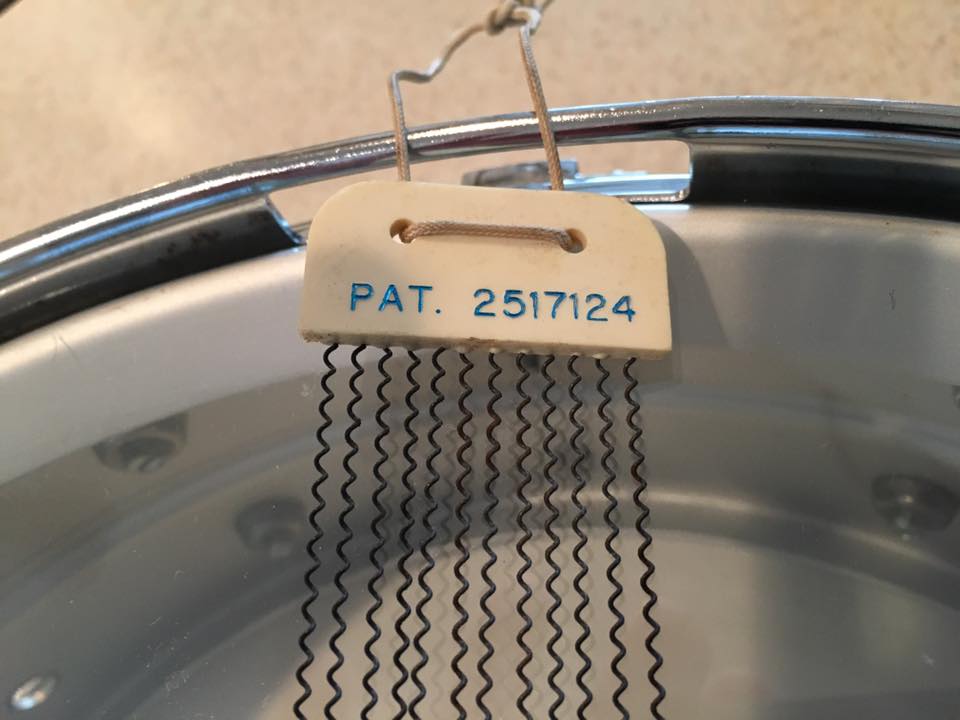
Here is the icing on top! I had a period correct set of snare wires in stock. Talk about hard to find.
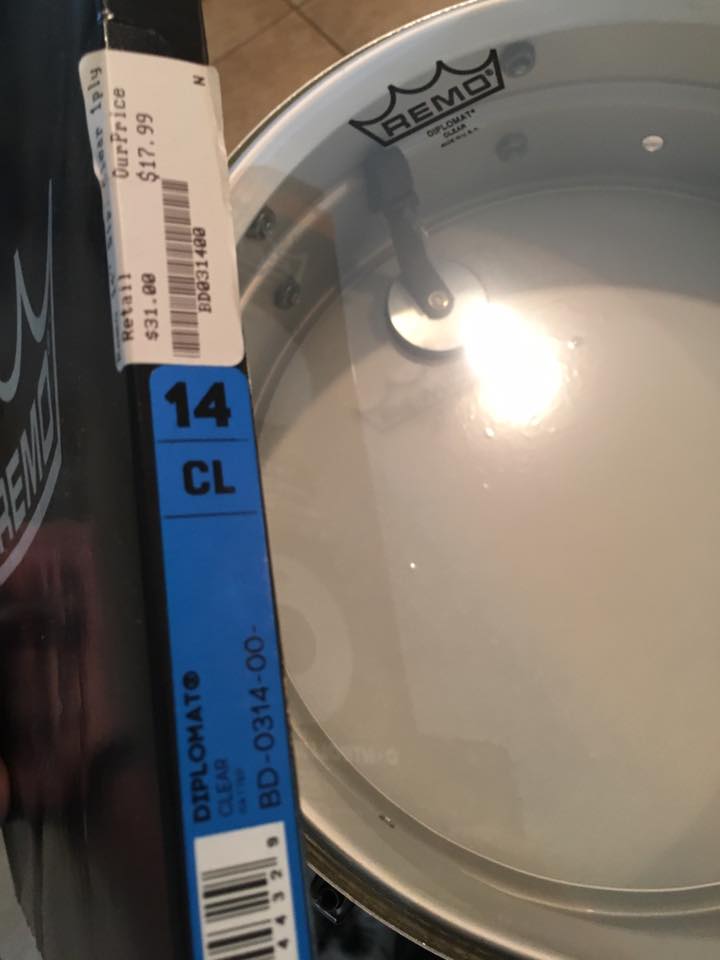
New snare side head. I would have preferred to save the original Ludwig factory head, but it was damaged beyond practical usage.
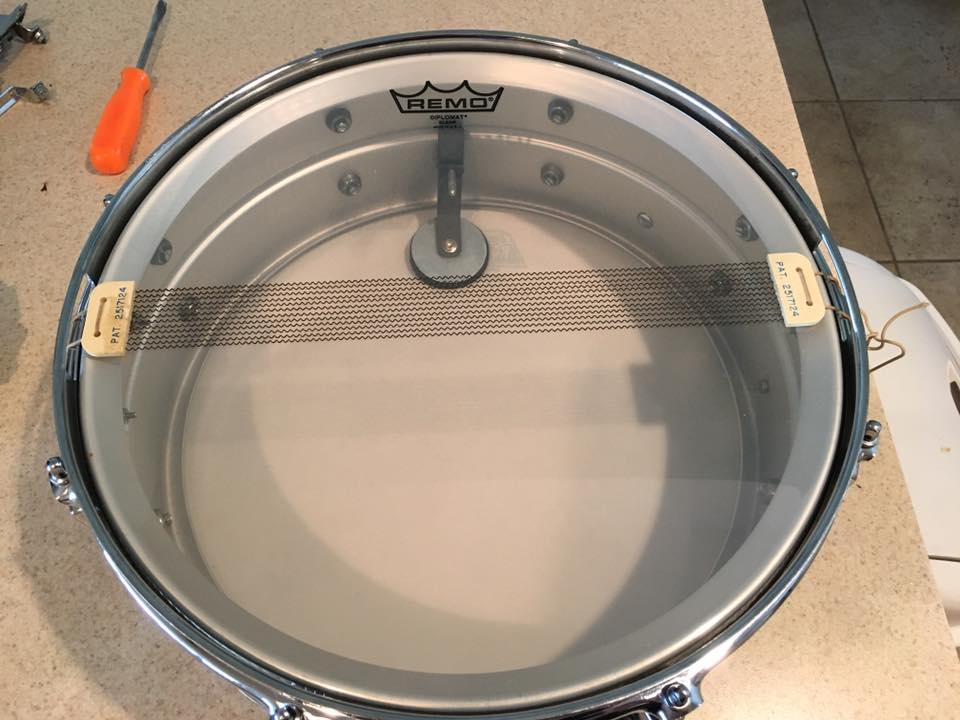
Bottom end is all wrapped up.
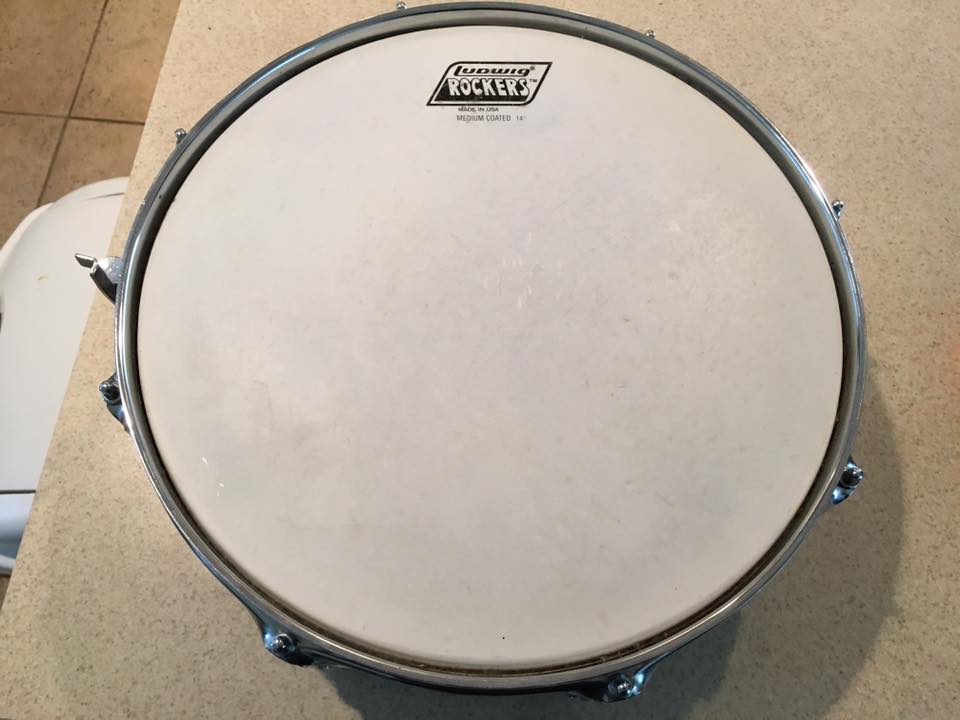
I was able to save the vintage Ludwig batter head. It still sounds and looks great.

After re-assembly and a good careful cleaning and polish, here is the finished product. It looks and sounds great. I gigged with it for about a month and then put it in my snare drum collection, where it now resides resting on its matching vintage Ludwig snare stand.
1960’s Norma
aka “The Rosebush Special”
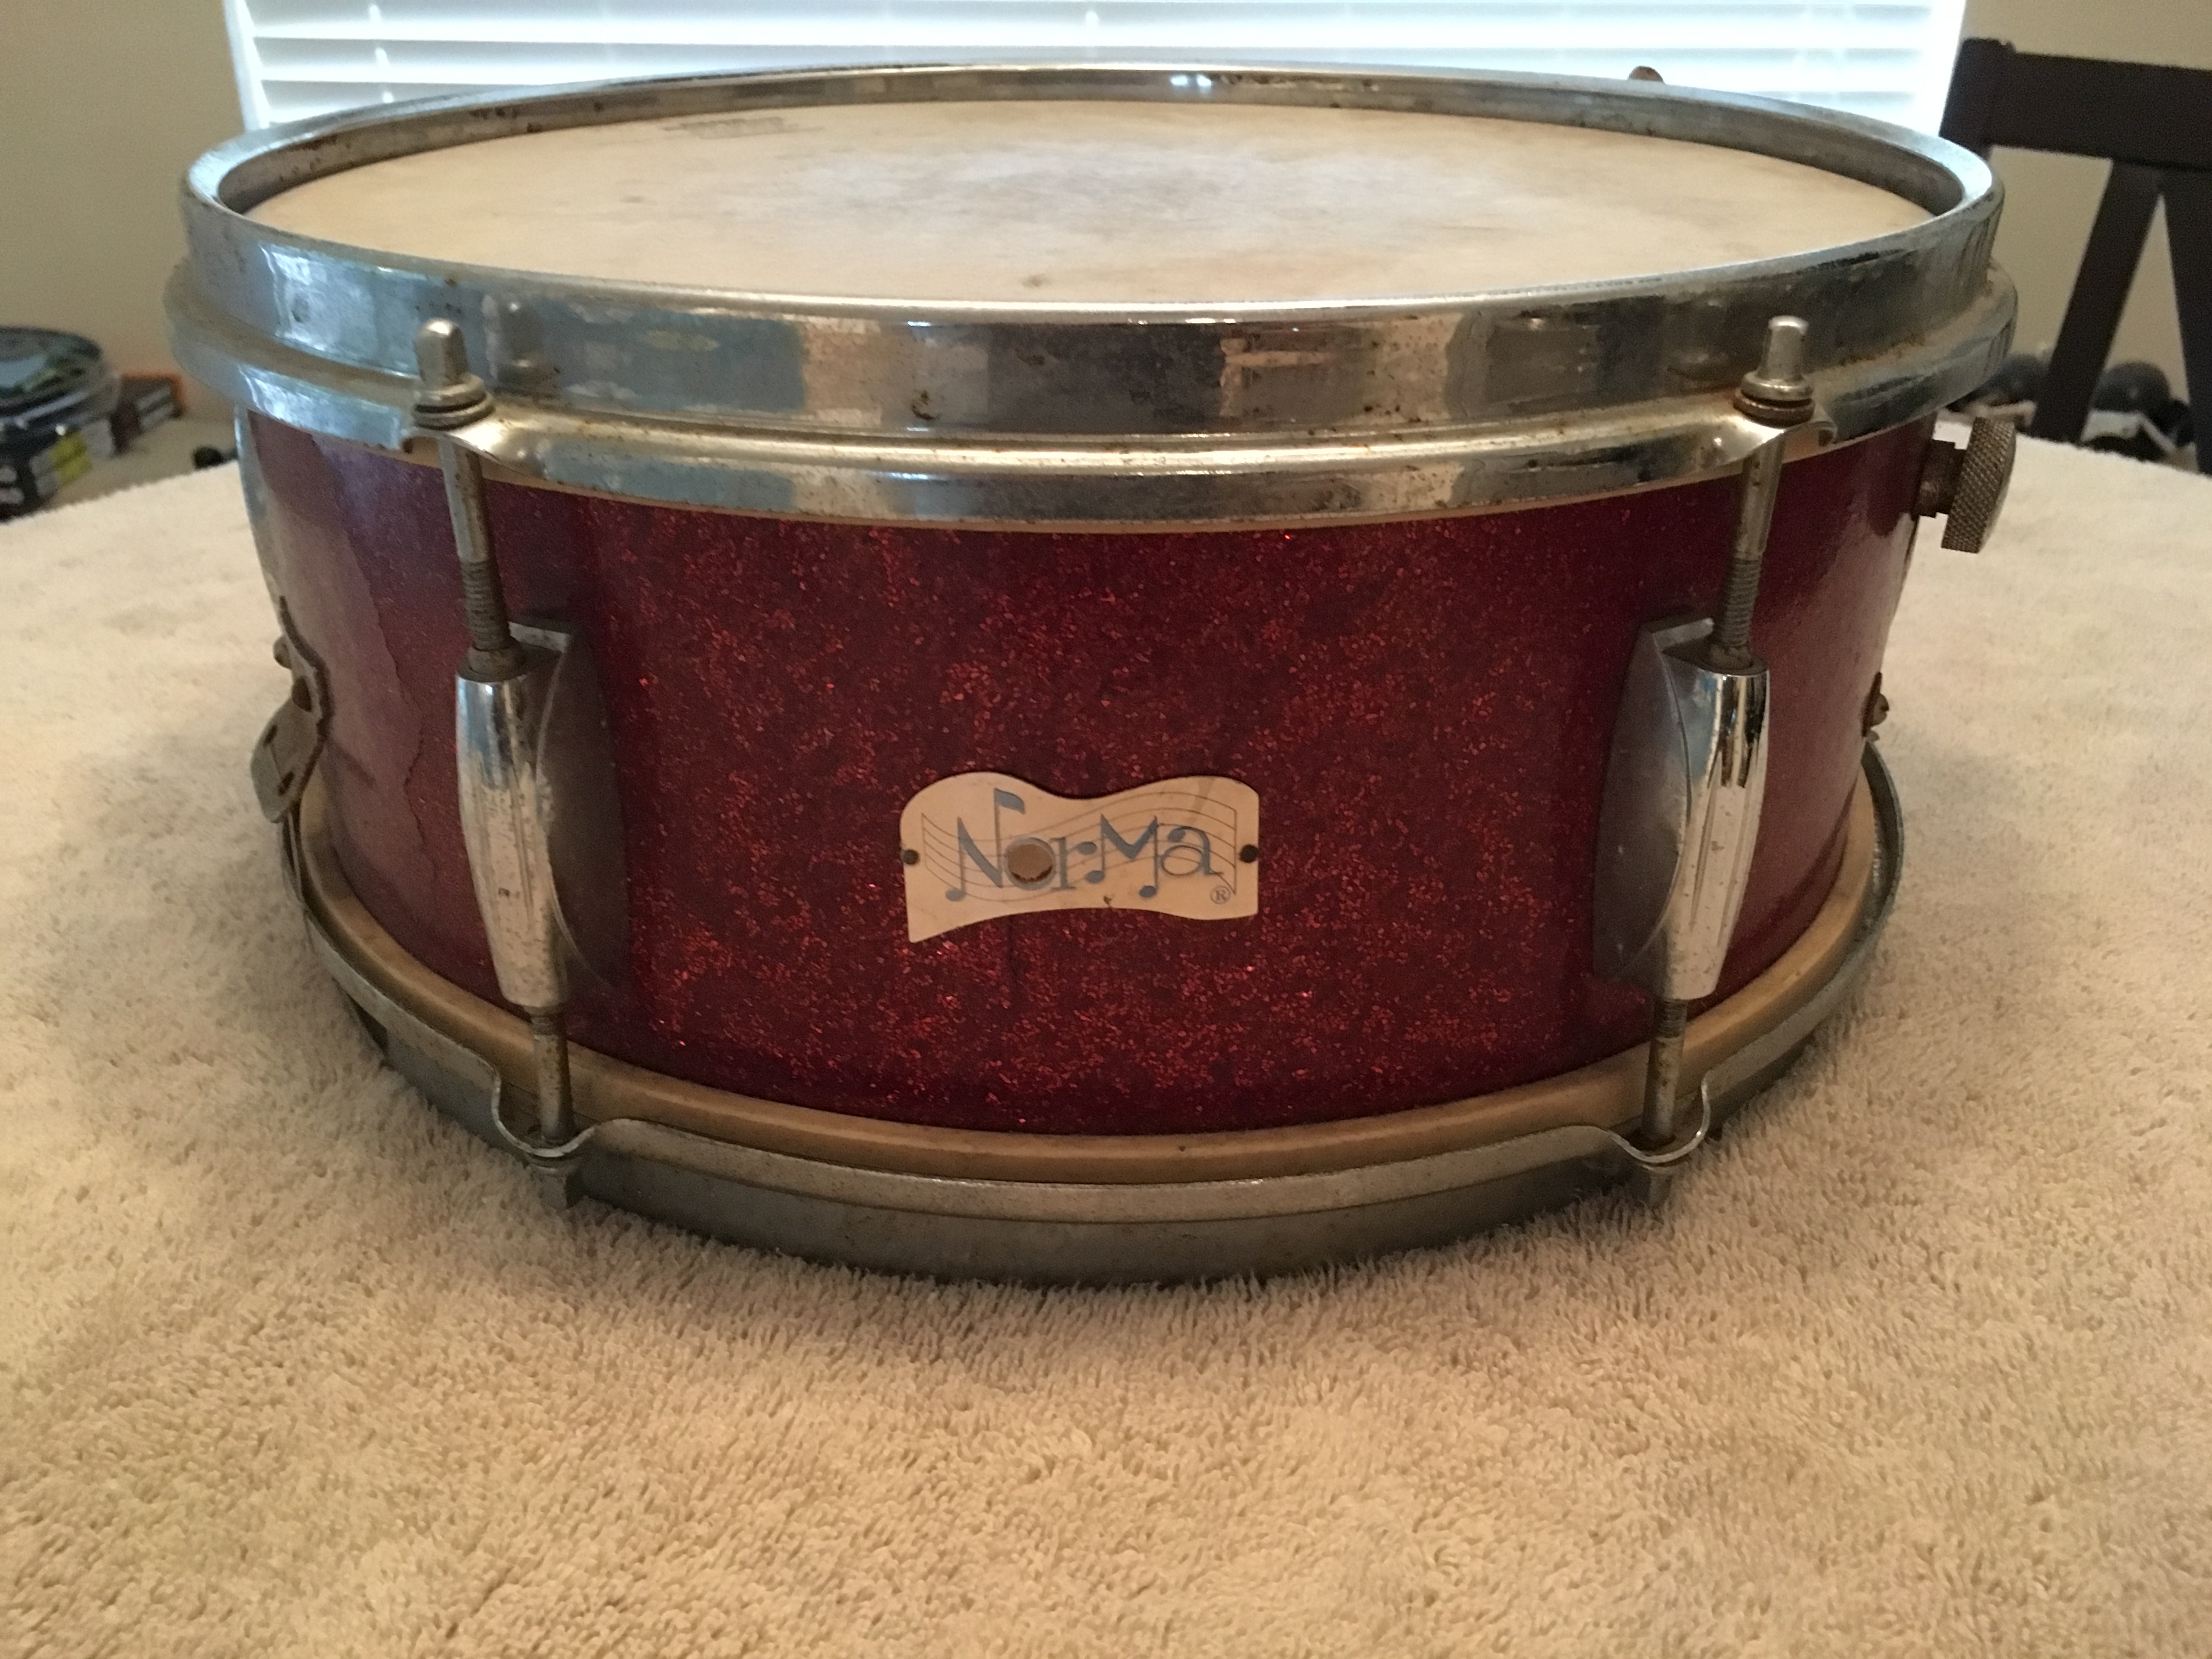
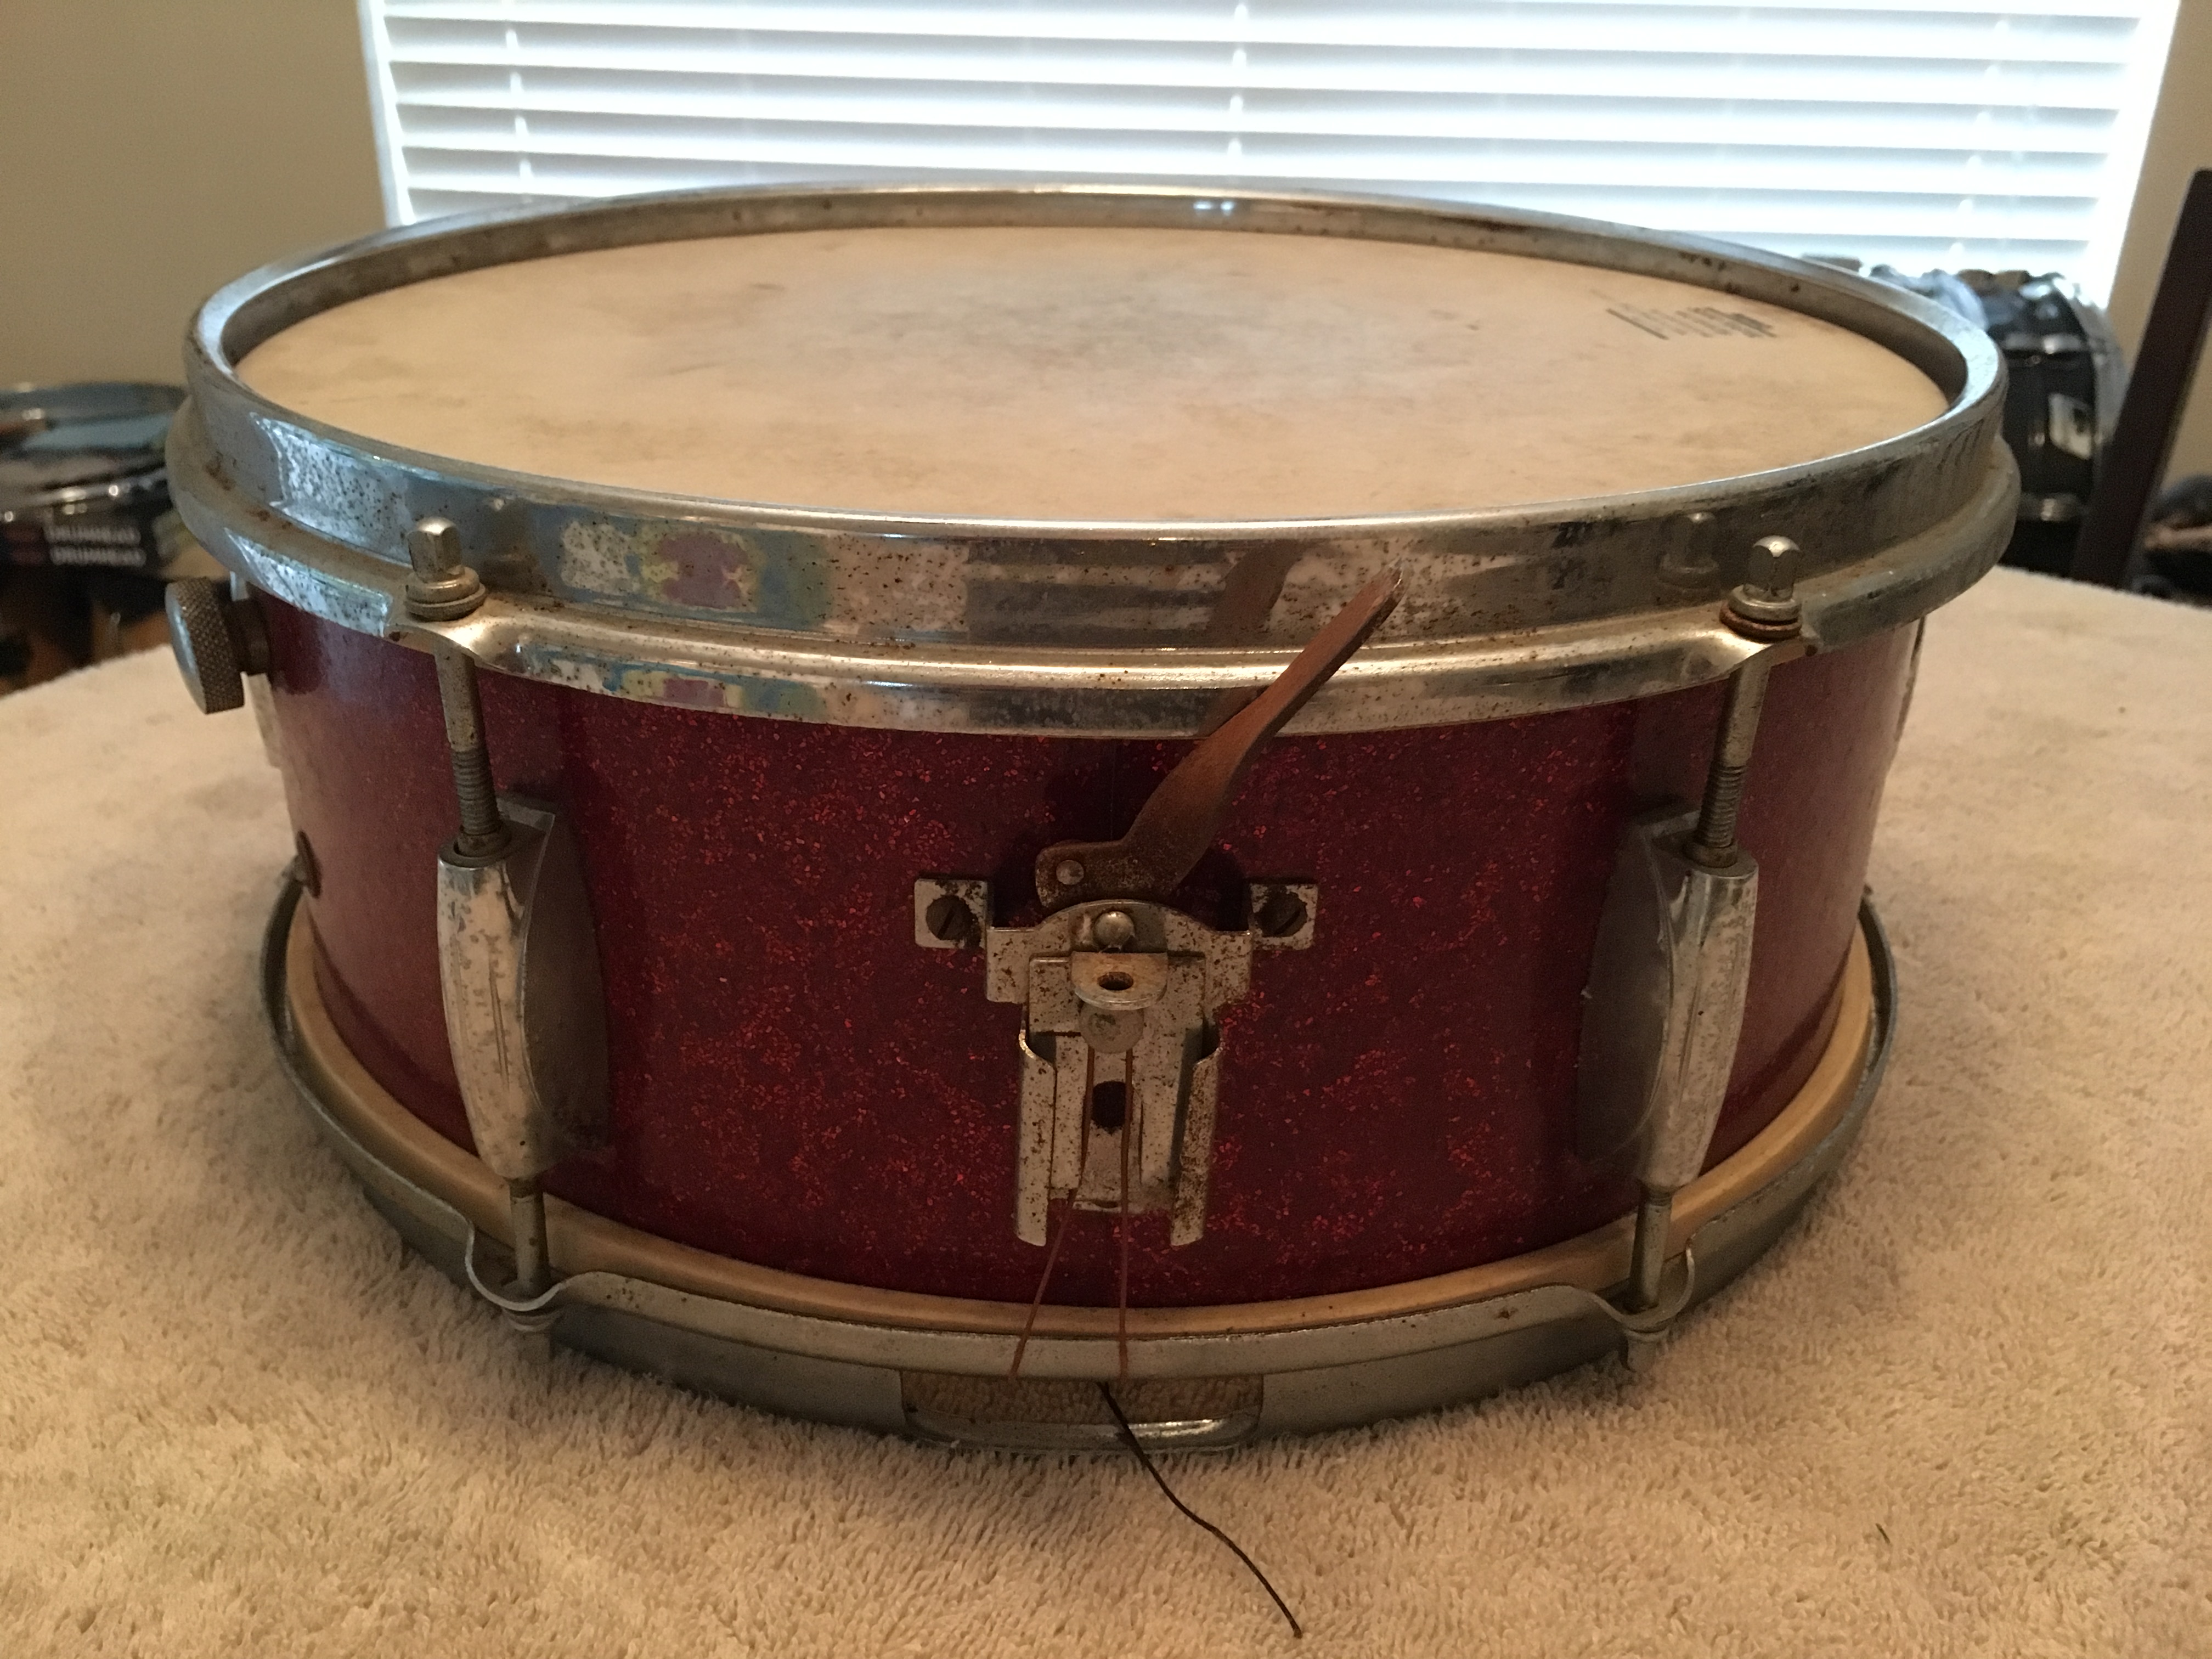
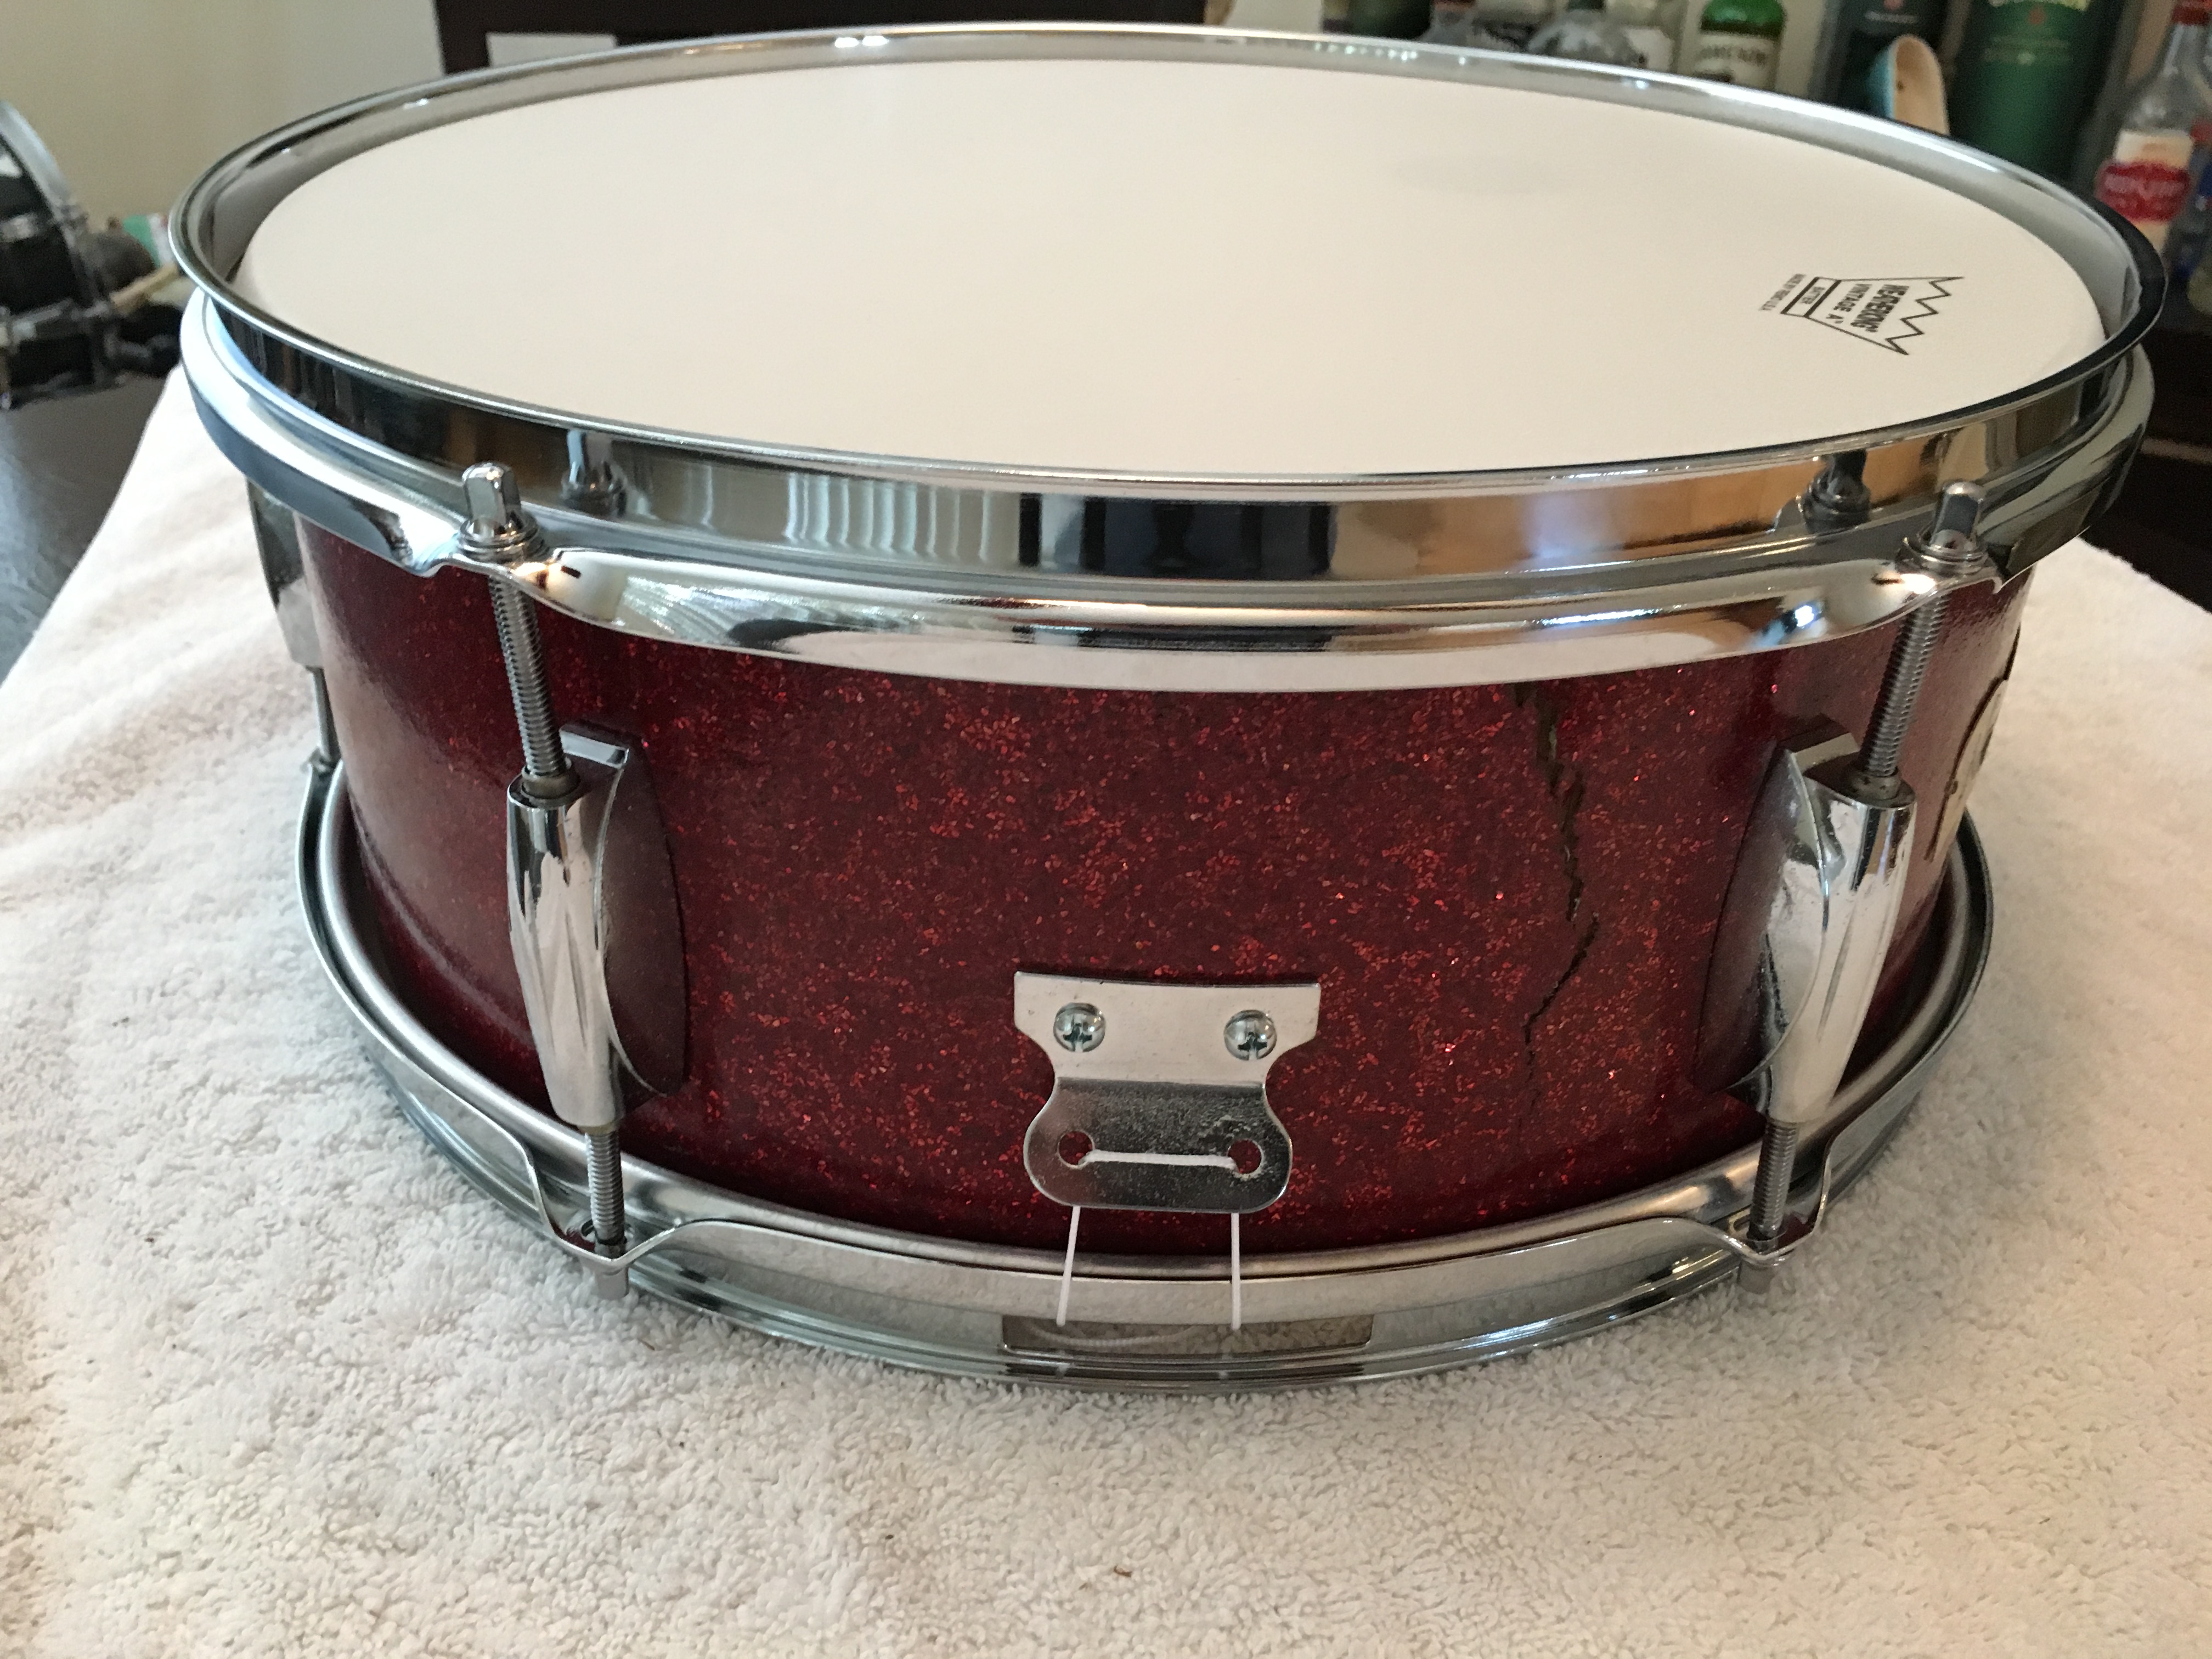
This one was pretty rough. It is a 1960’s era Japanese drum made by Norma. It is a 6 lug, 14″ X 5″ wood snare that was given to me by my friend and band-mate, Jeff Rosebush. It needed just about everything.
Quick History Lesson: “Norma” was a US brand name for the Japanese company Taisco. Most of their drums were sold under the name “Del Rey”. Taisco was primarily a guitar company that also sold an assortment of affordable versions of many instruments that were a big cash cow for them in the catalog sales world. The drums that they sold were typically sub contracted out to fill up mail-order catalogs with instruments. The quality was hit or miss, but in addition to the cheap models, they also produced some great concert-quality instruments.
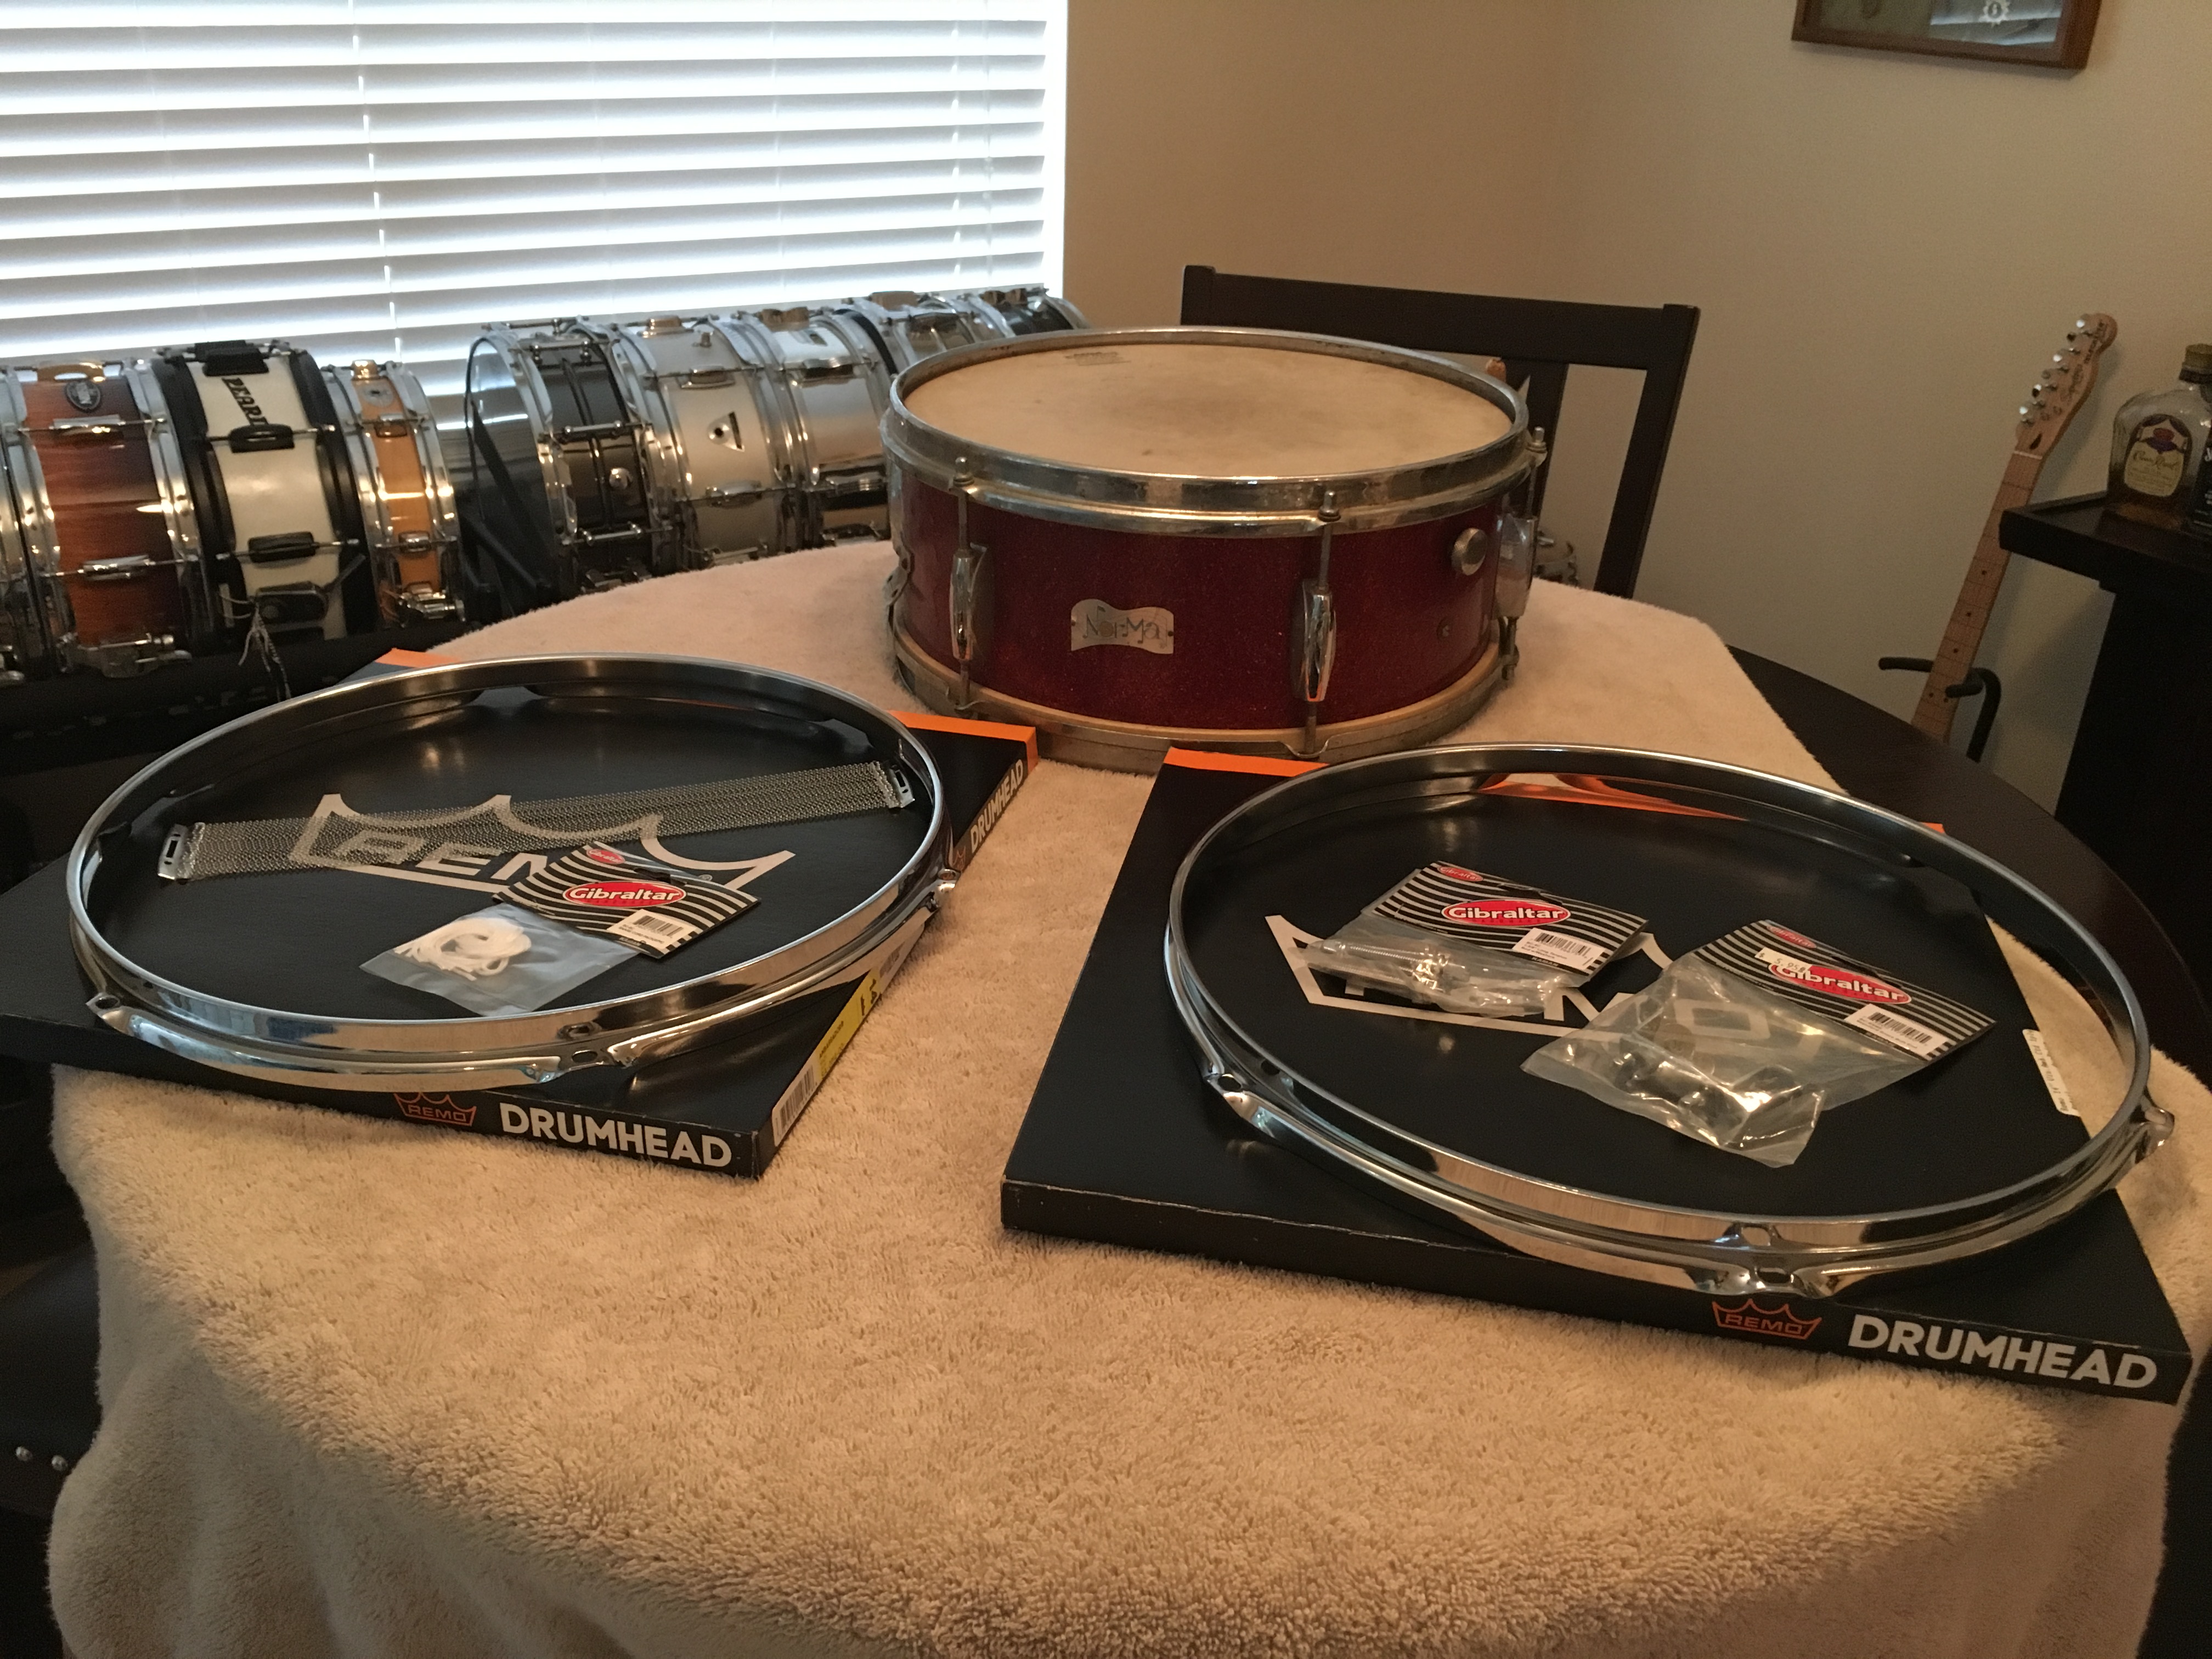
After first inspection, this is the pile of parts I started with.
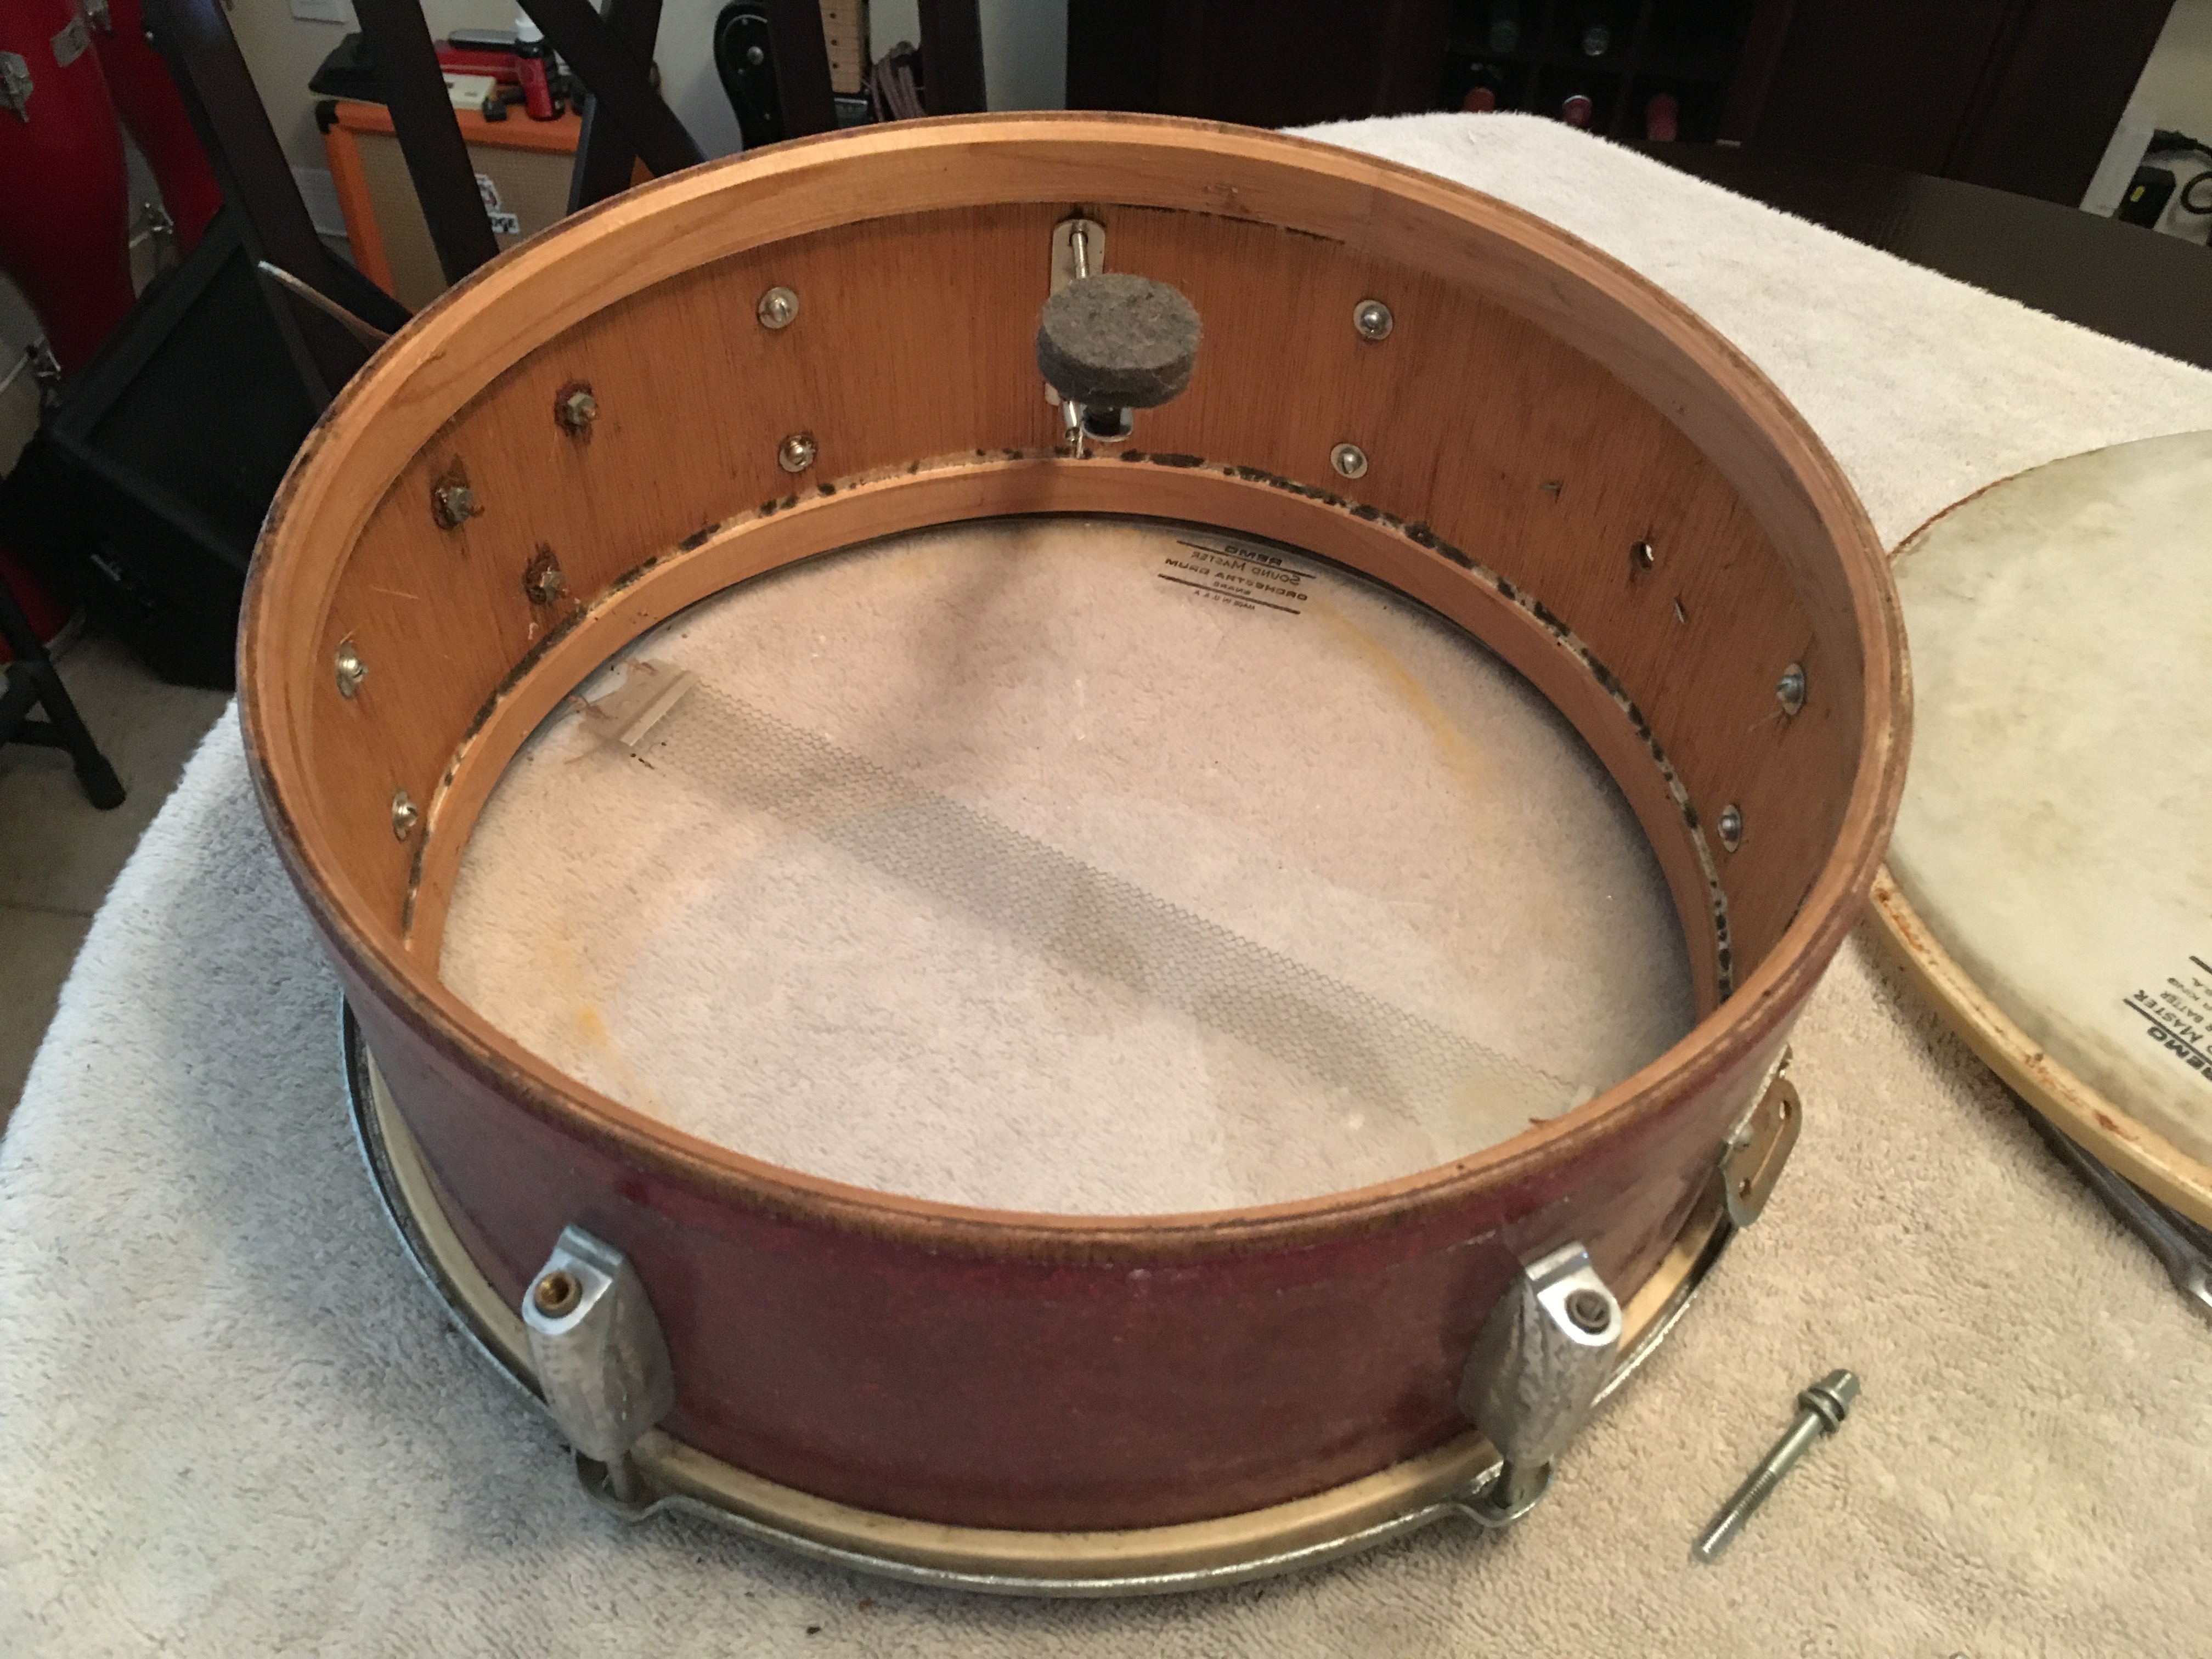
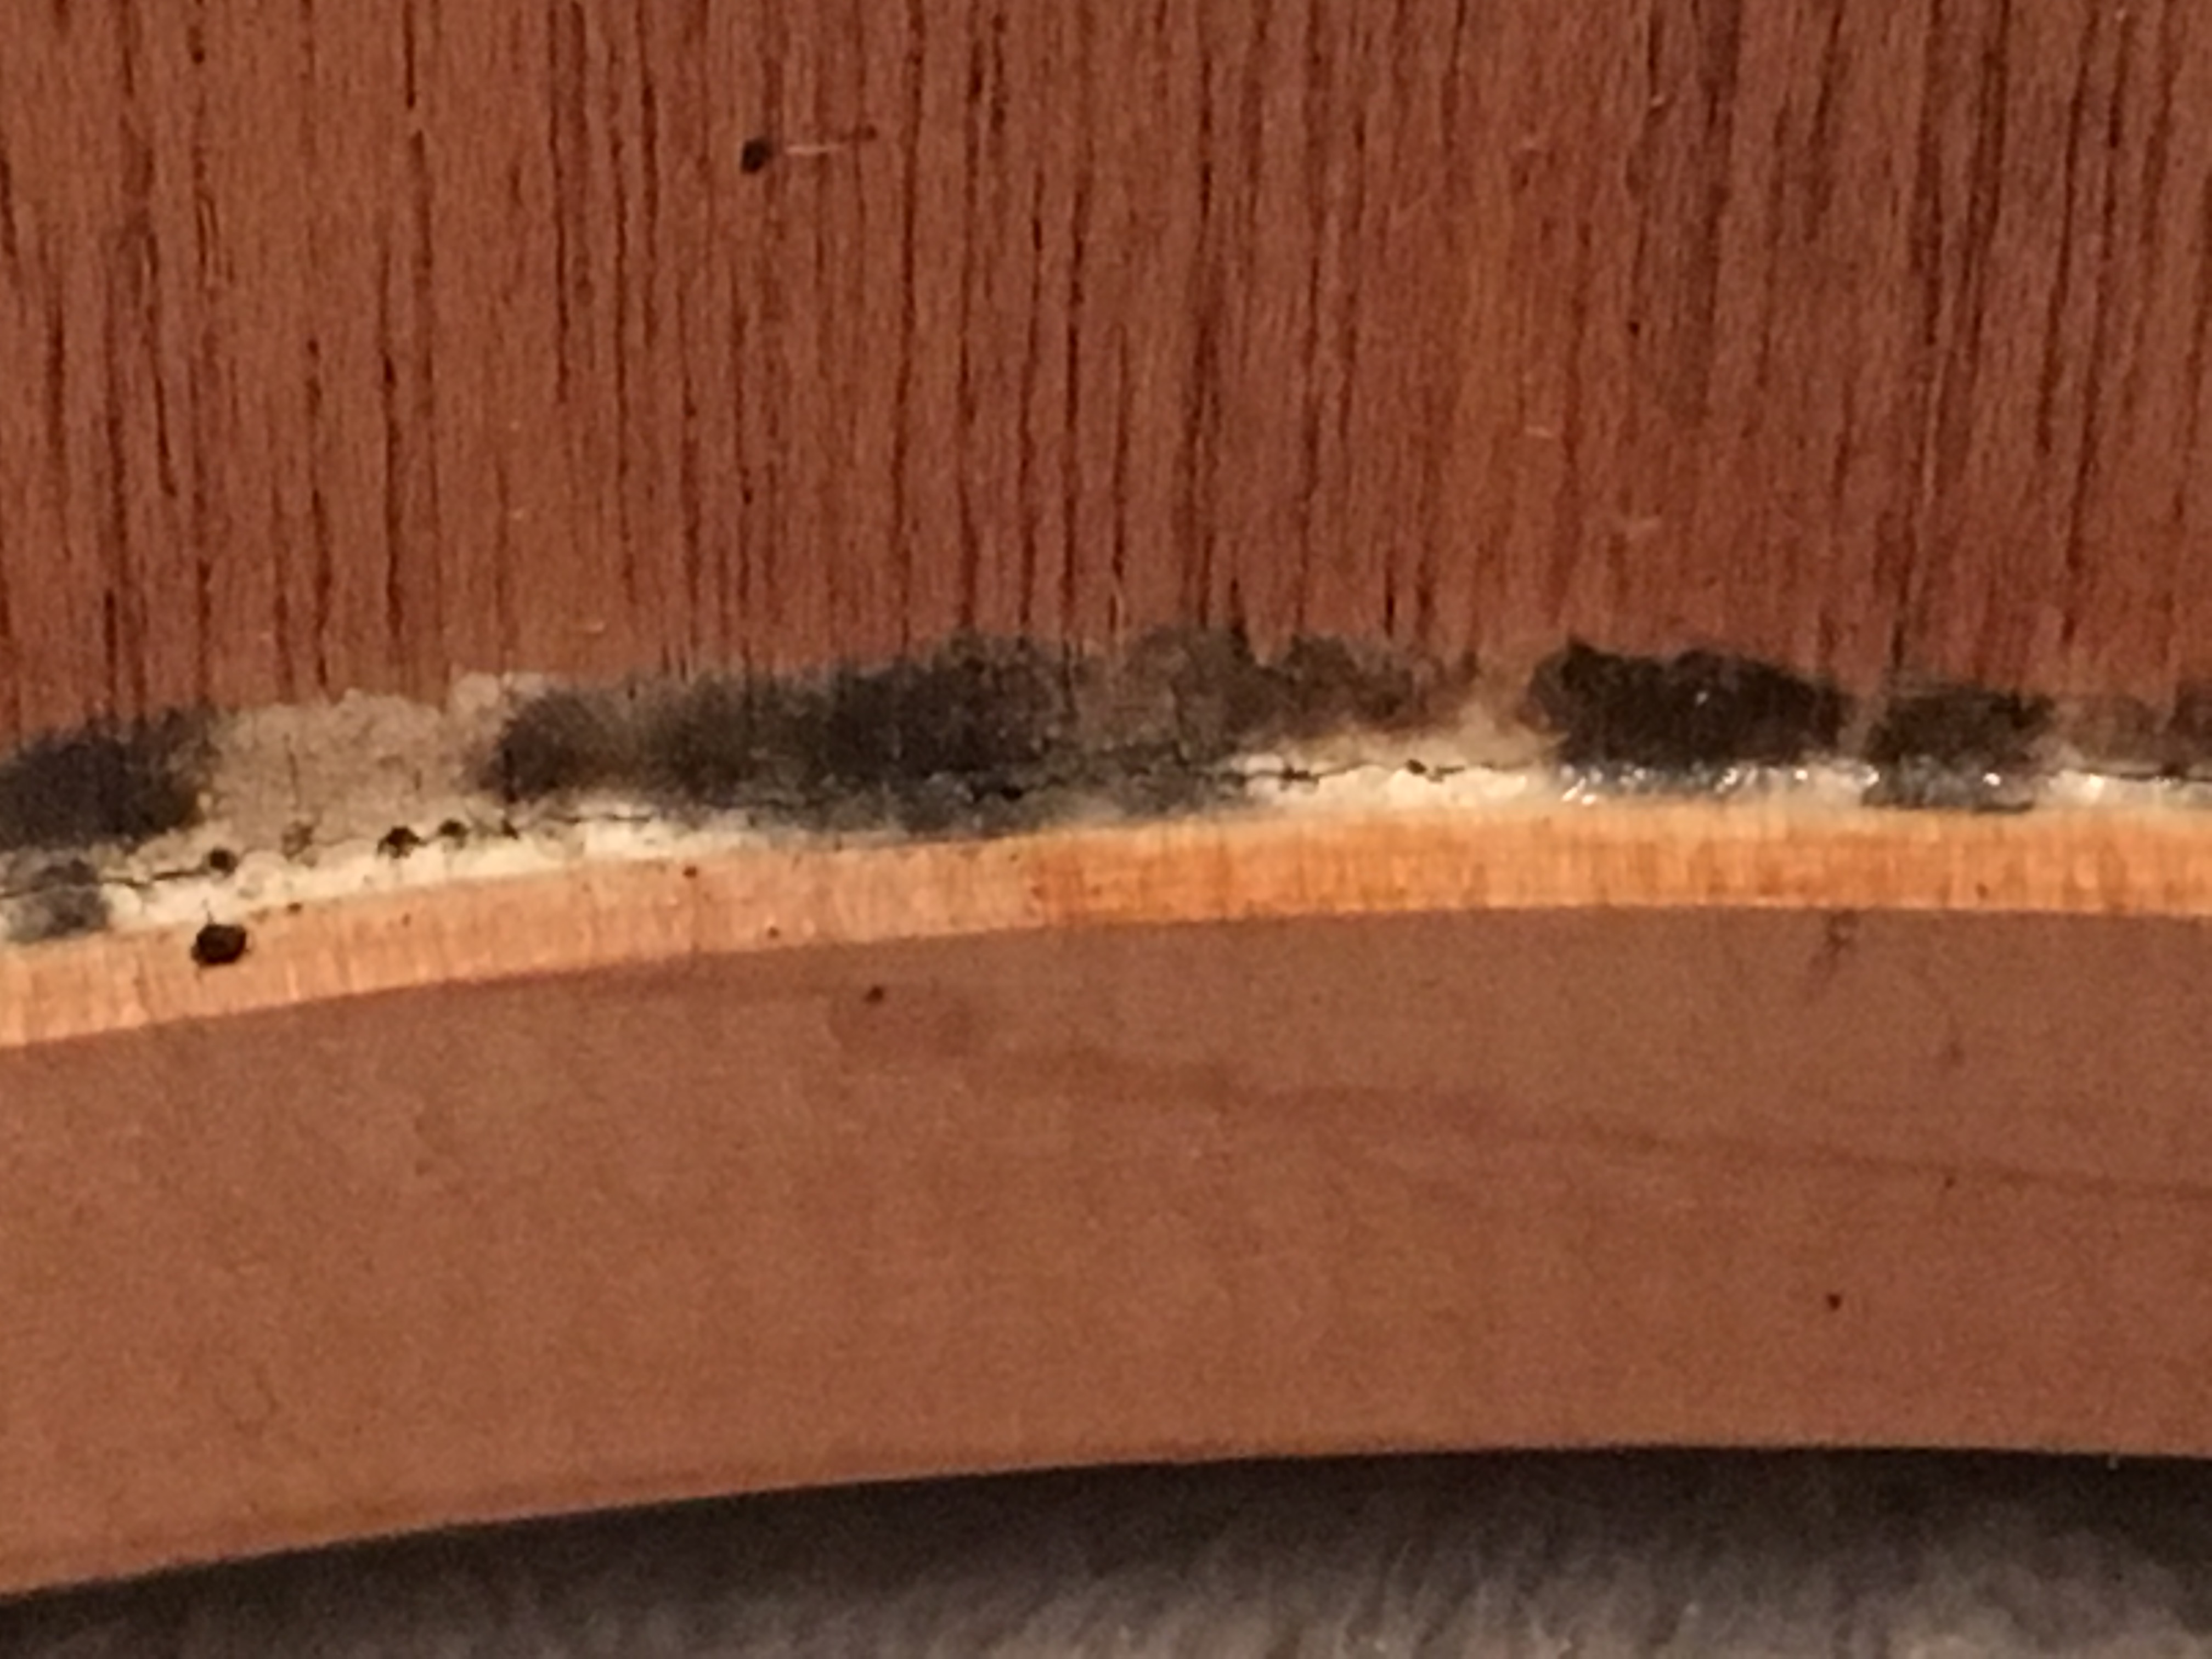
Initial tear-down revealed an issue I rarely have to deal with: mold and mildew on the inside of the shell.
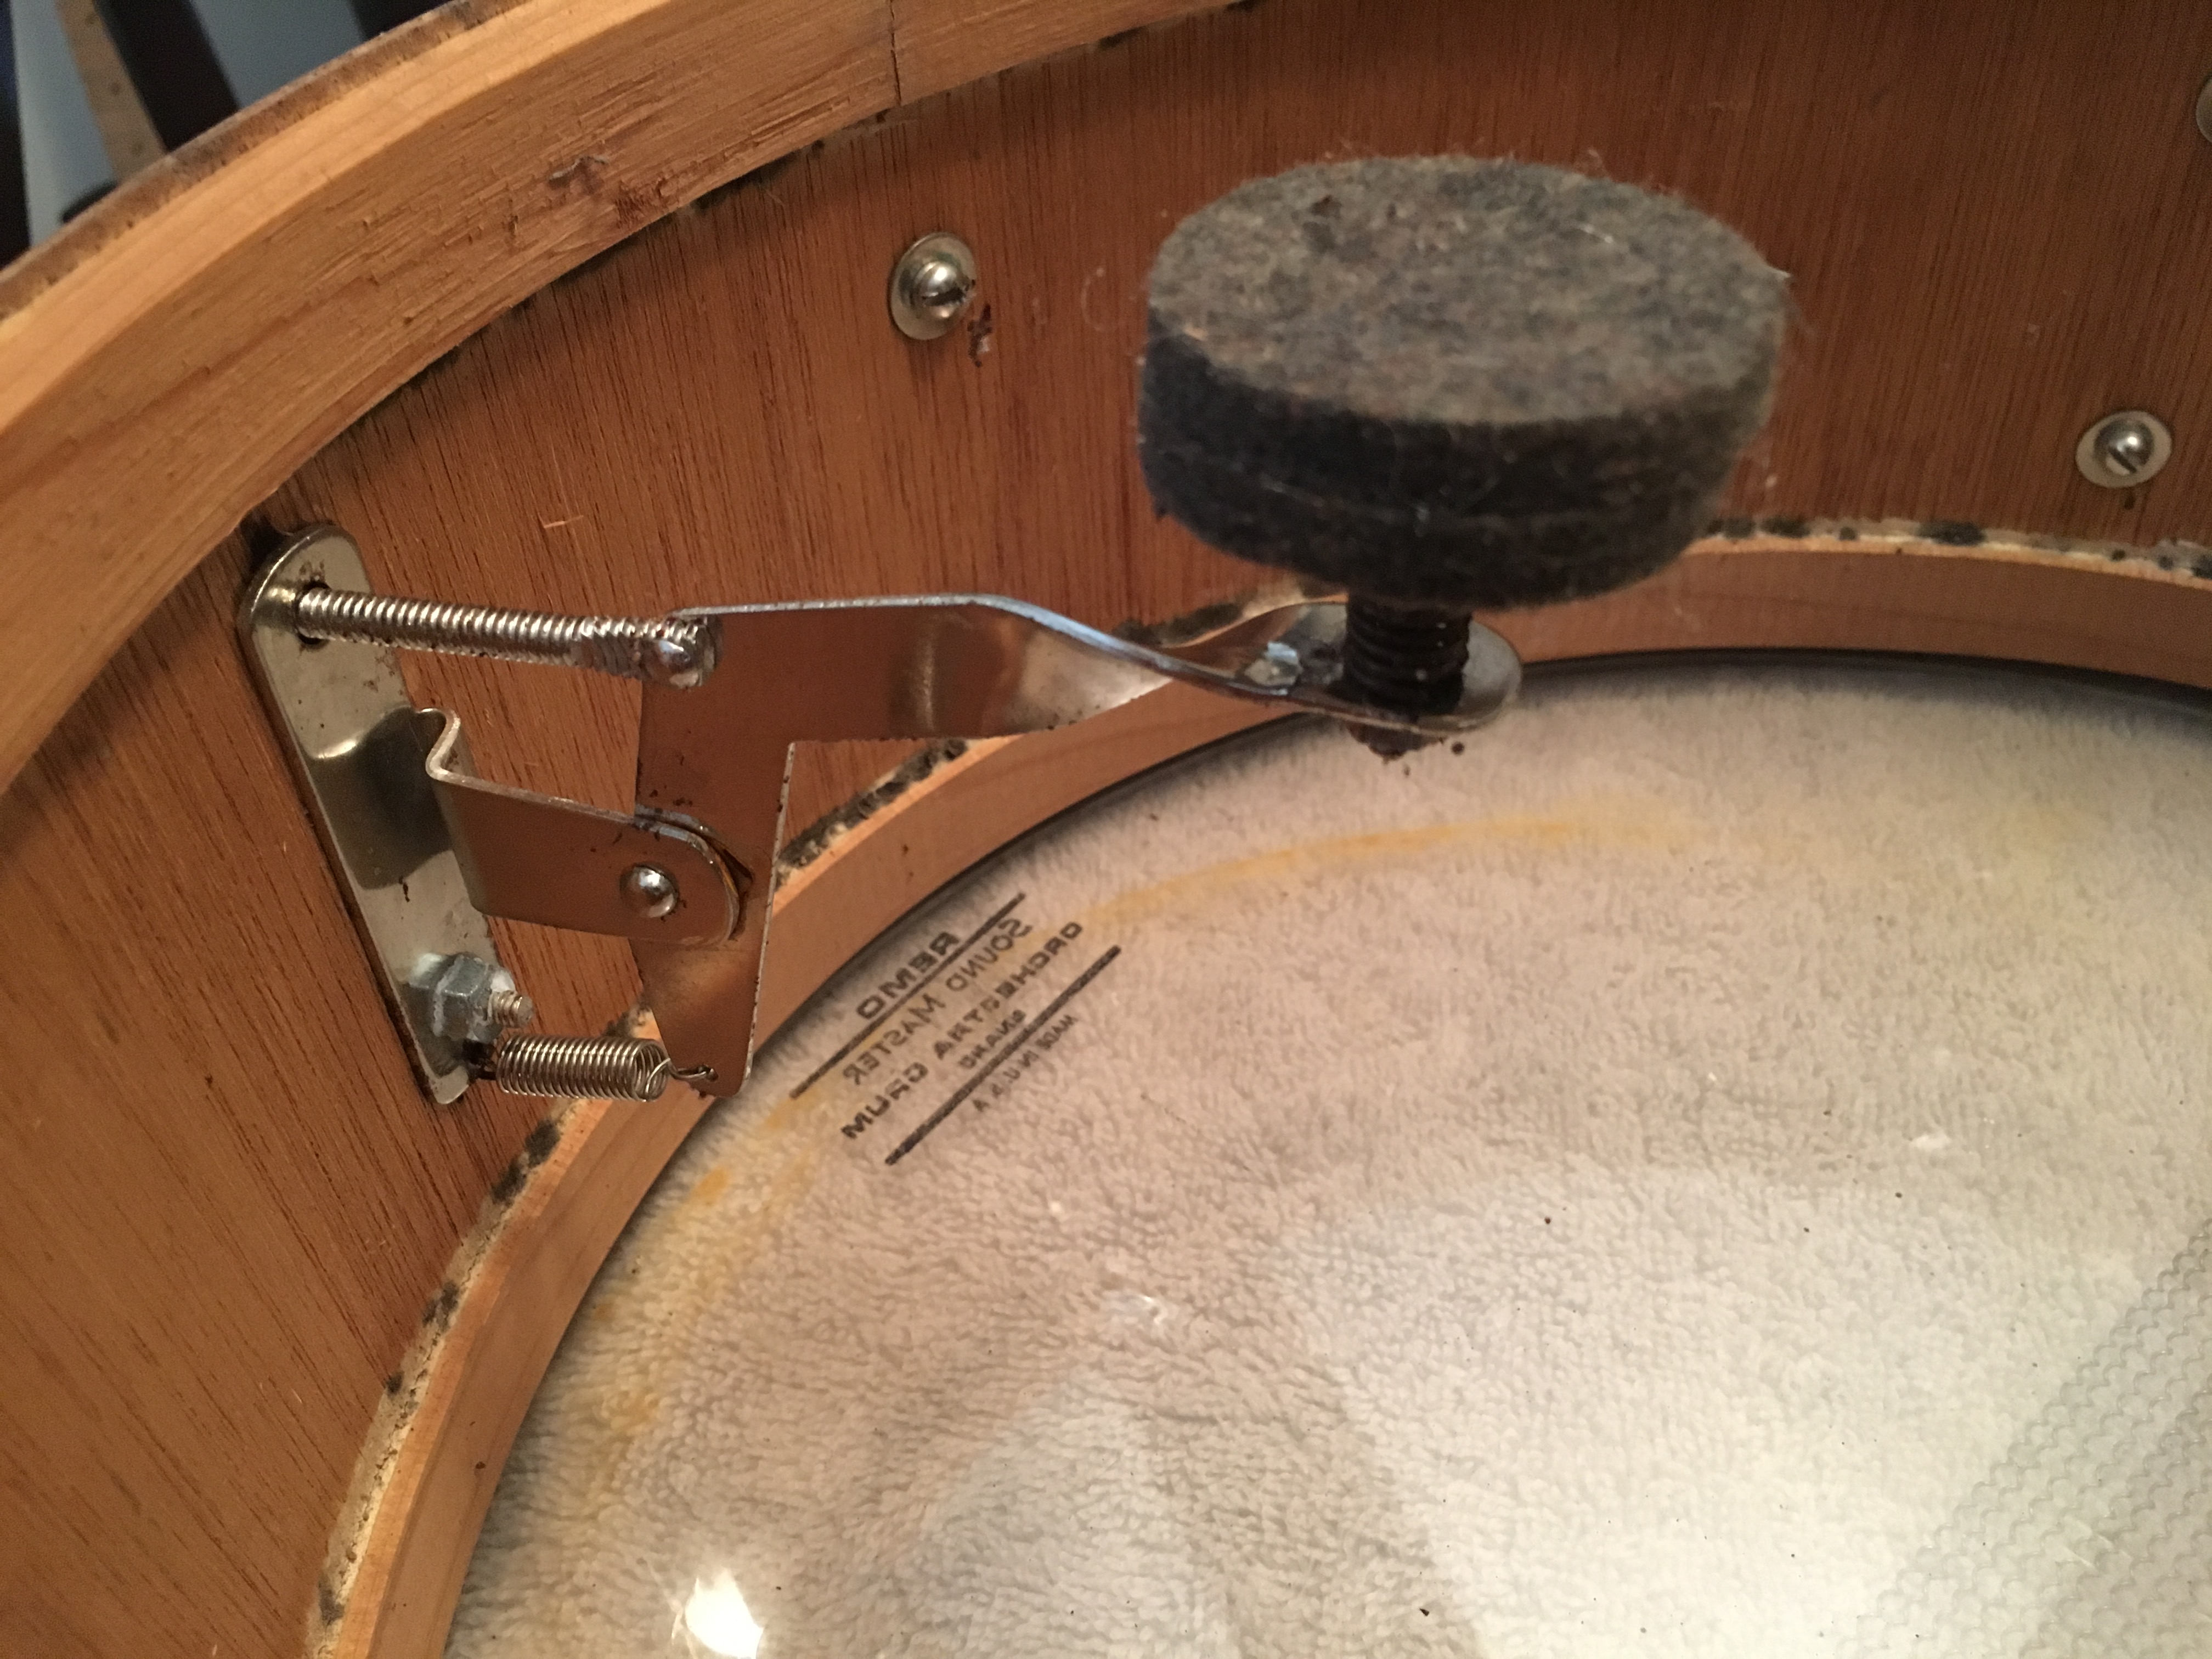
Plenty of rust to go along with the mold. Hoops and lug screws will be replaced, lugs will be polished, the strainer and butt-plate will be restored as well as possible. I could replace both parts, but the rarity of the drum and lack of parts availability will not be cost-effective, and using newer parts will ruin the vintage look, sound and feel of the drum.

The wrap itself is discolored in places and torn in others. Again, in order to keep the vintage vibe, I will not be re-wrapping the drum, rather restoring the finish as best as possible.
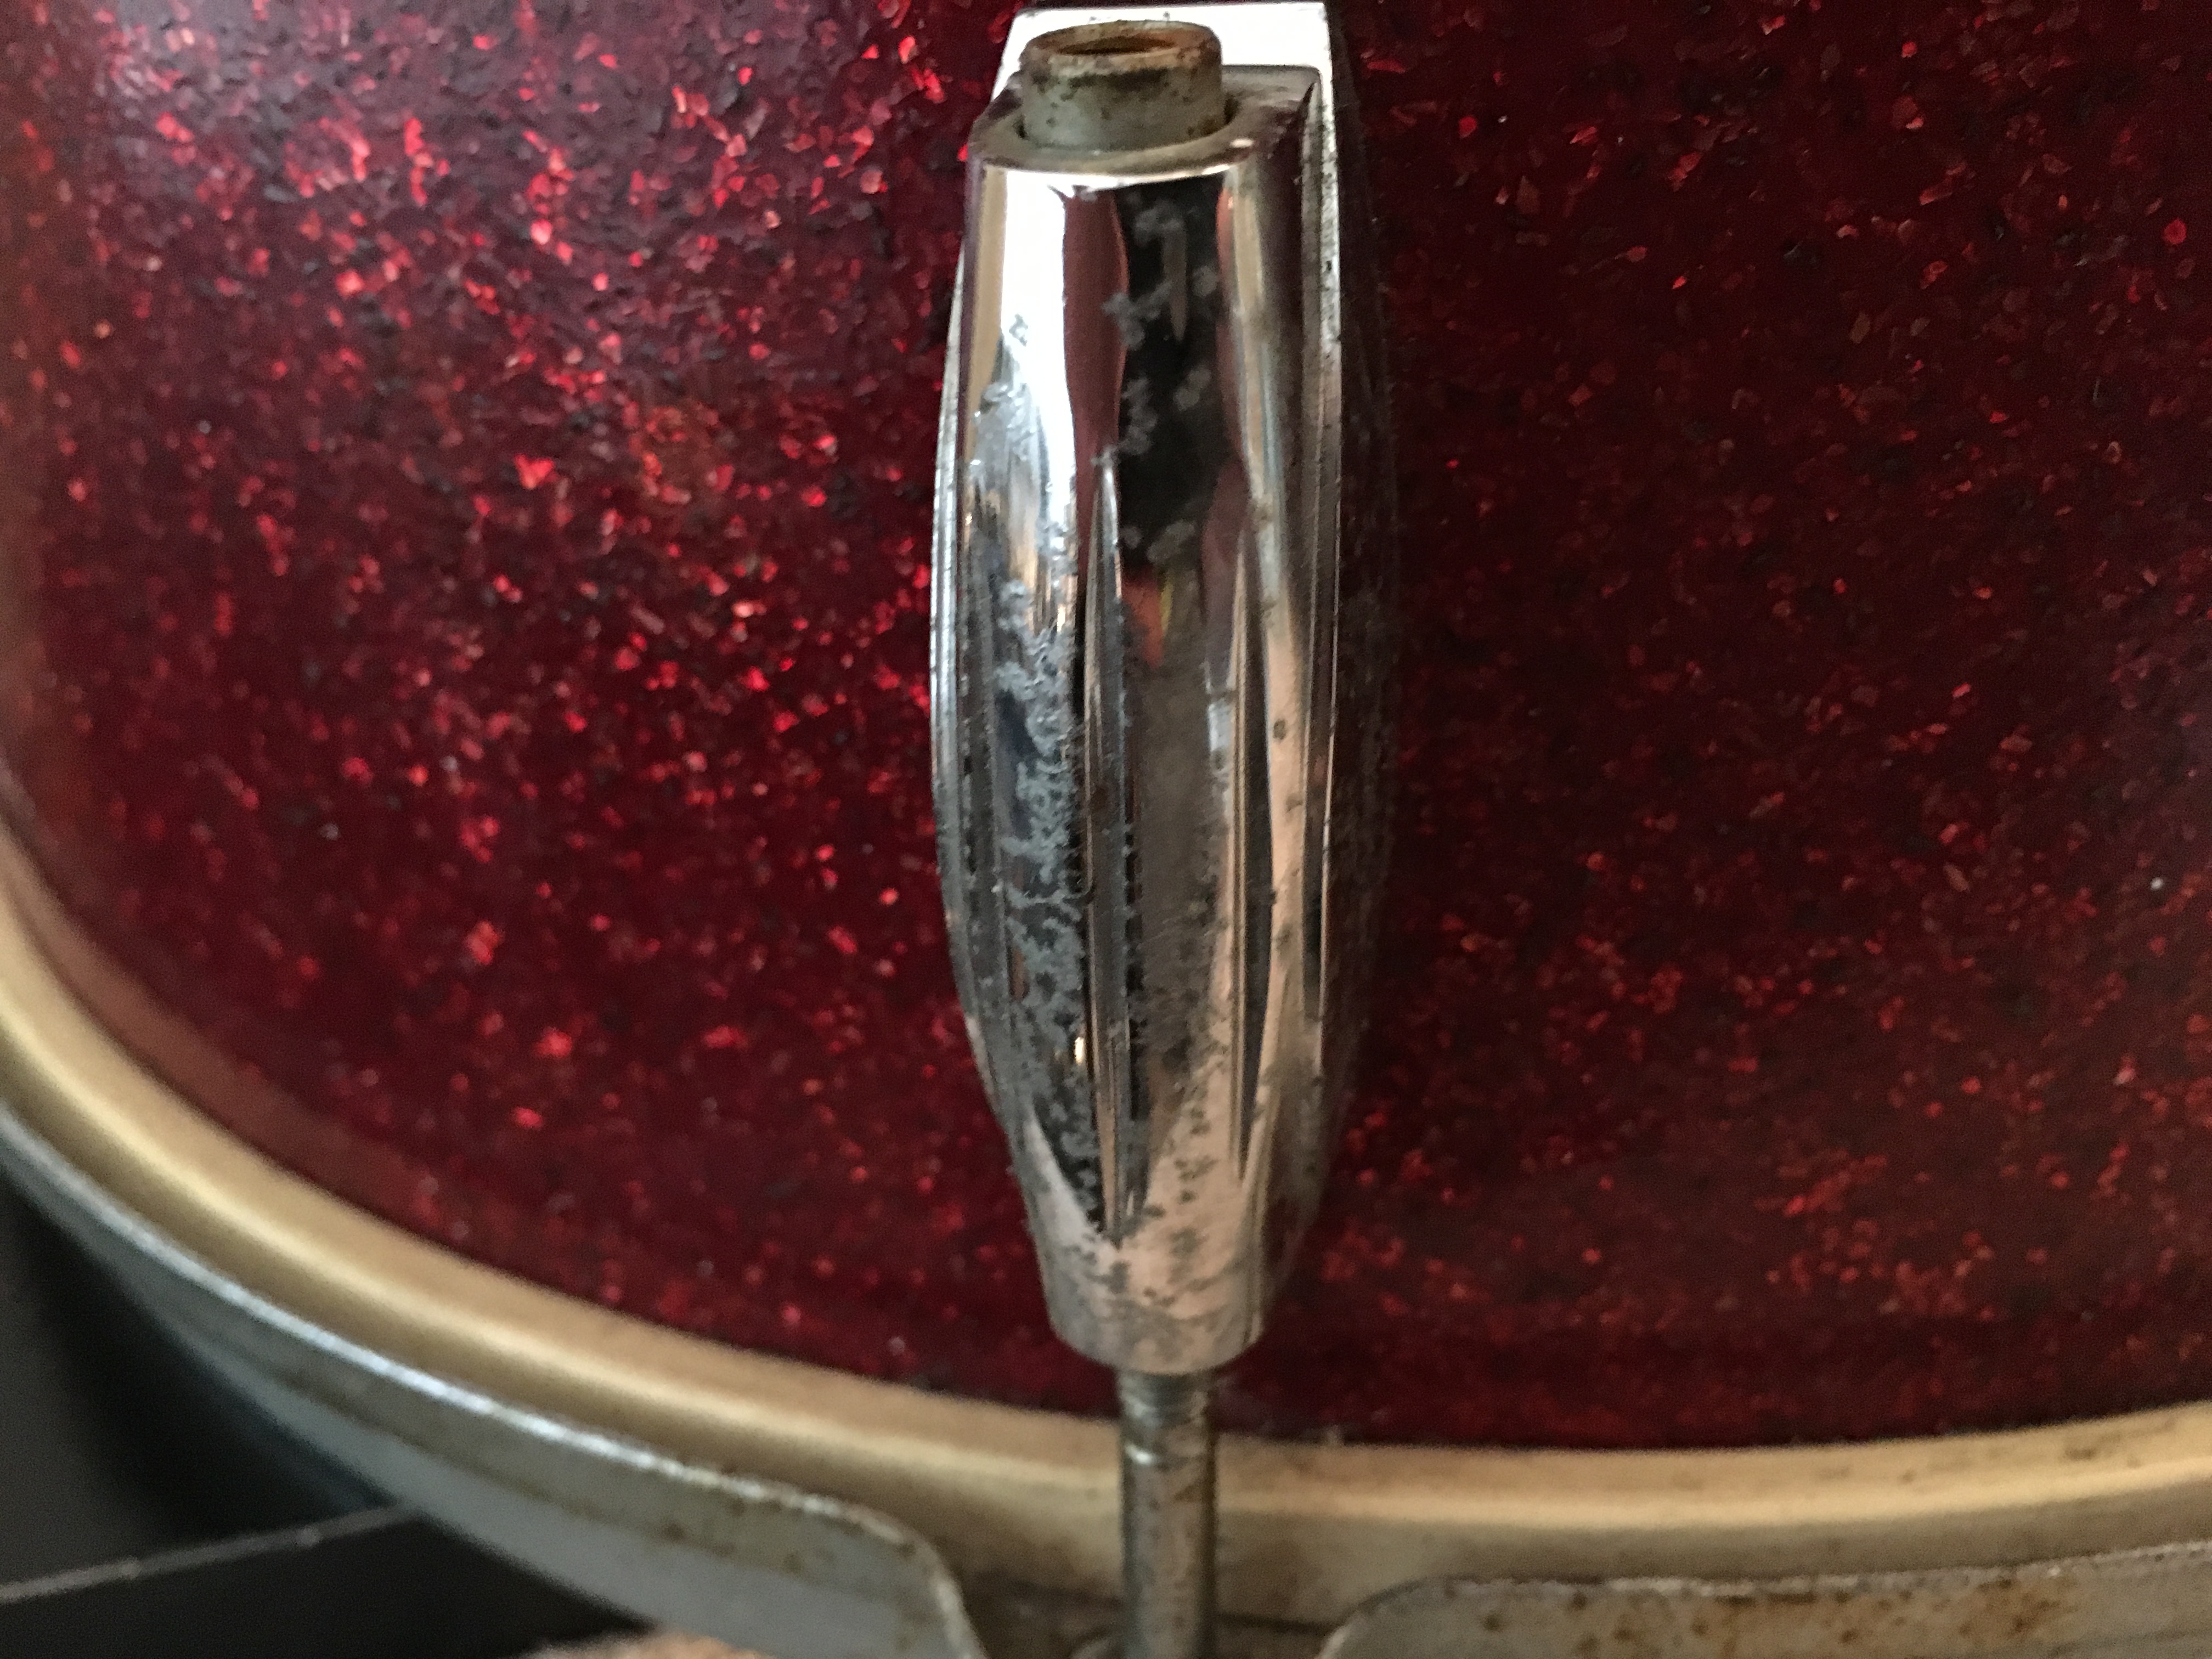
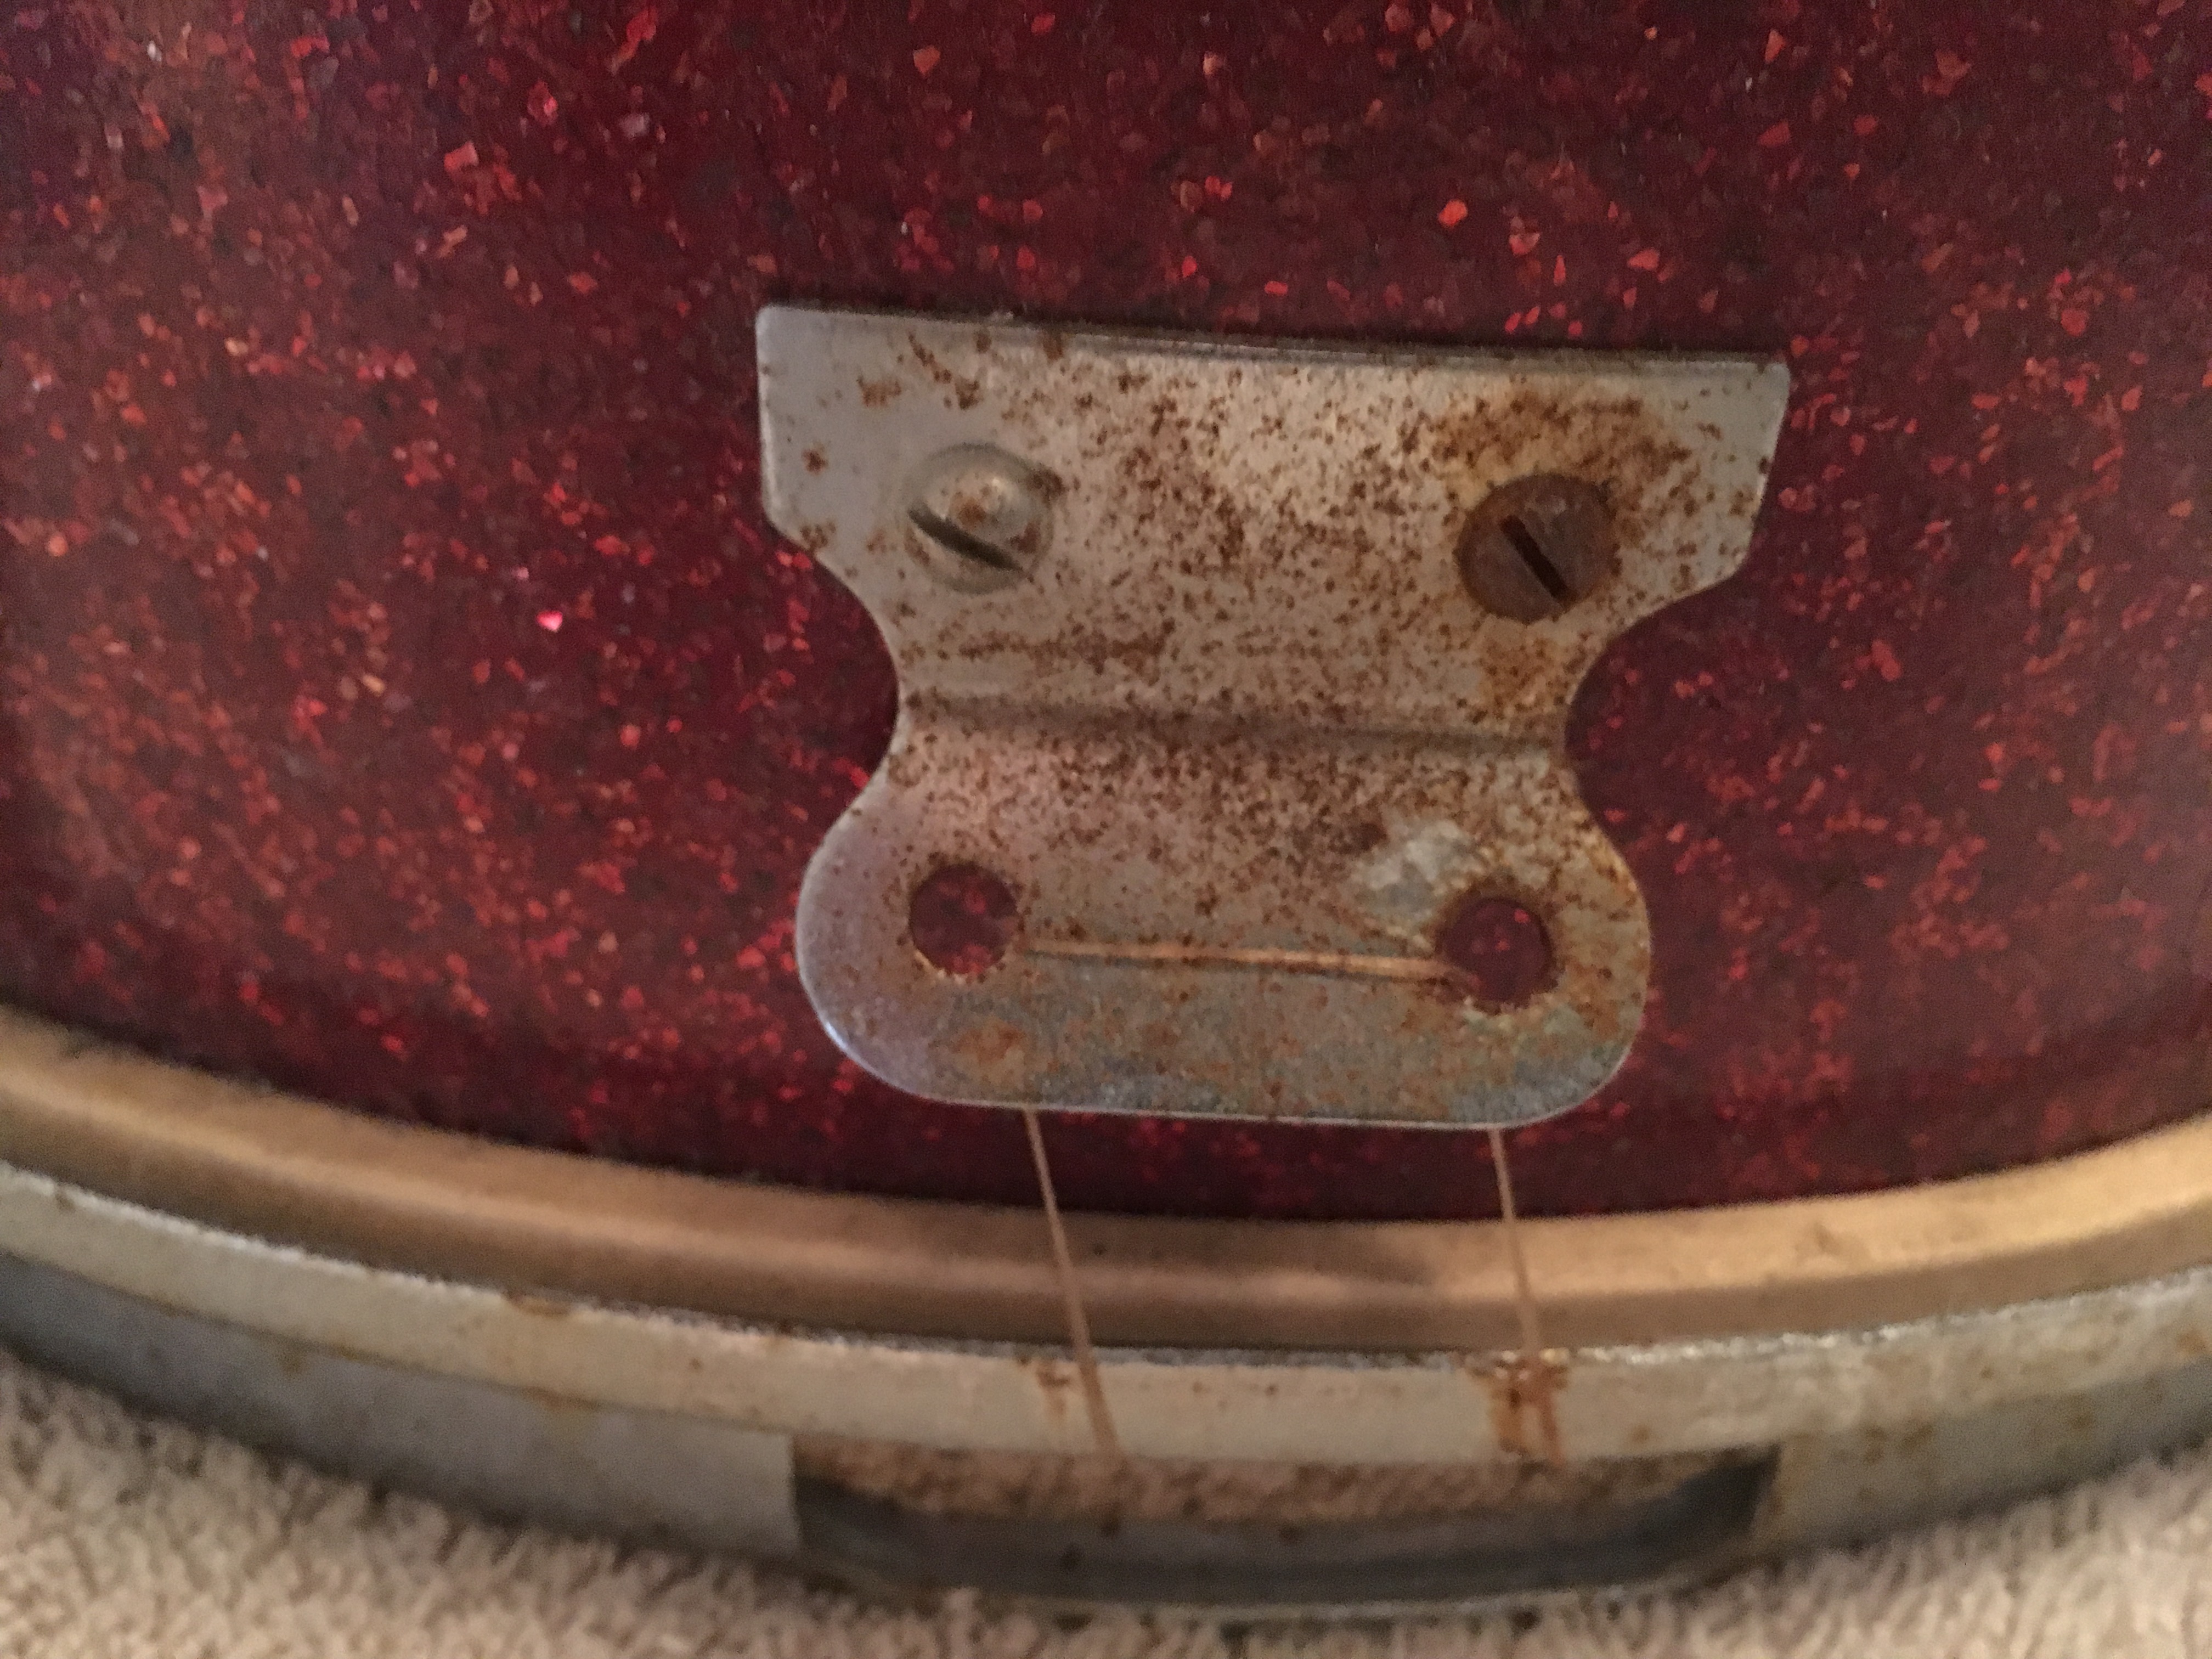
Before picture of pitted and rusted lug.
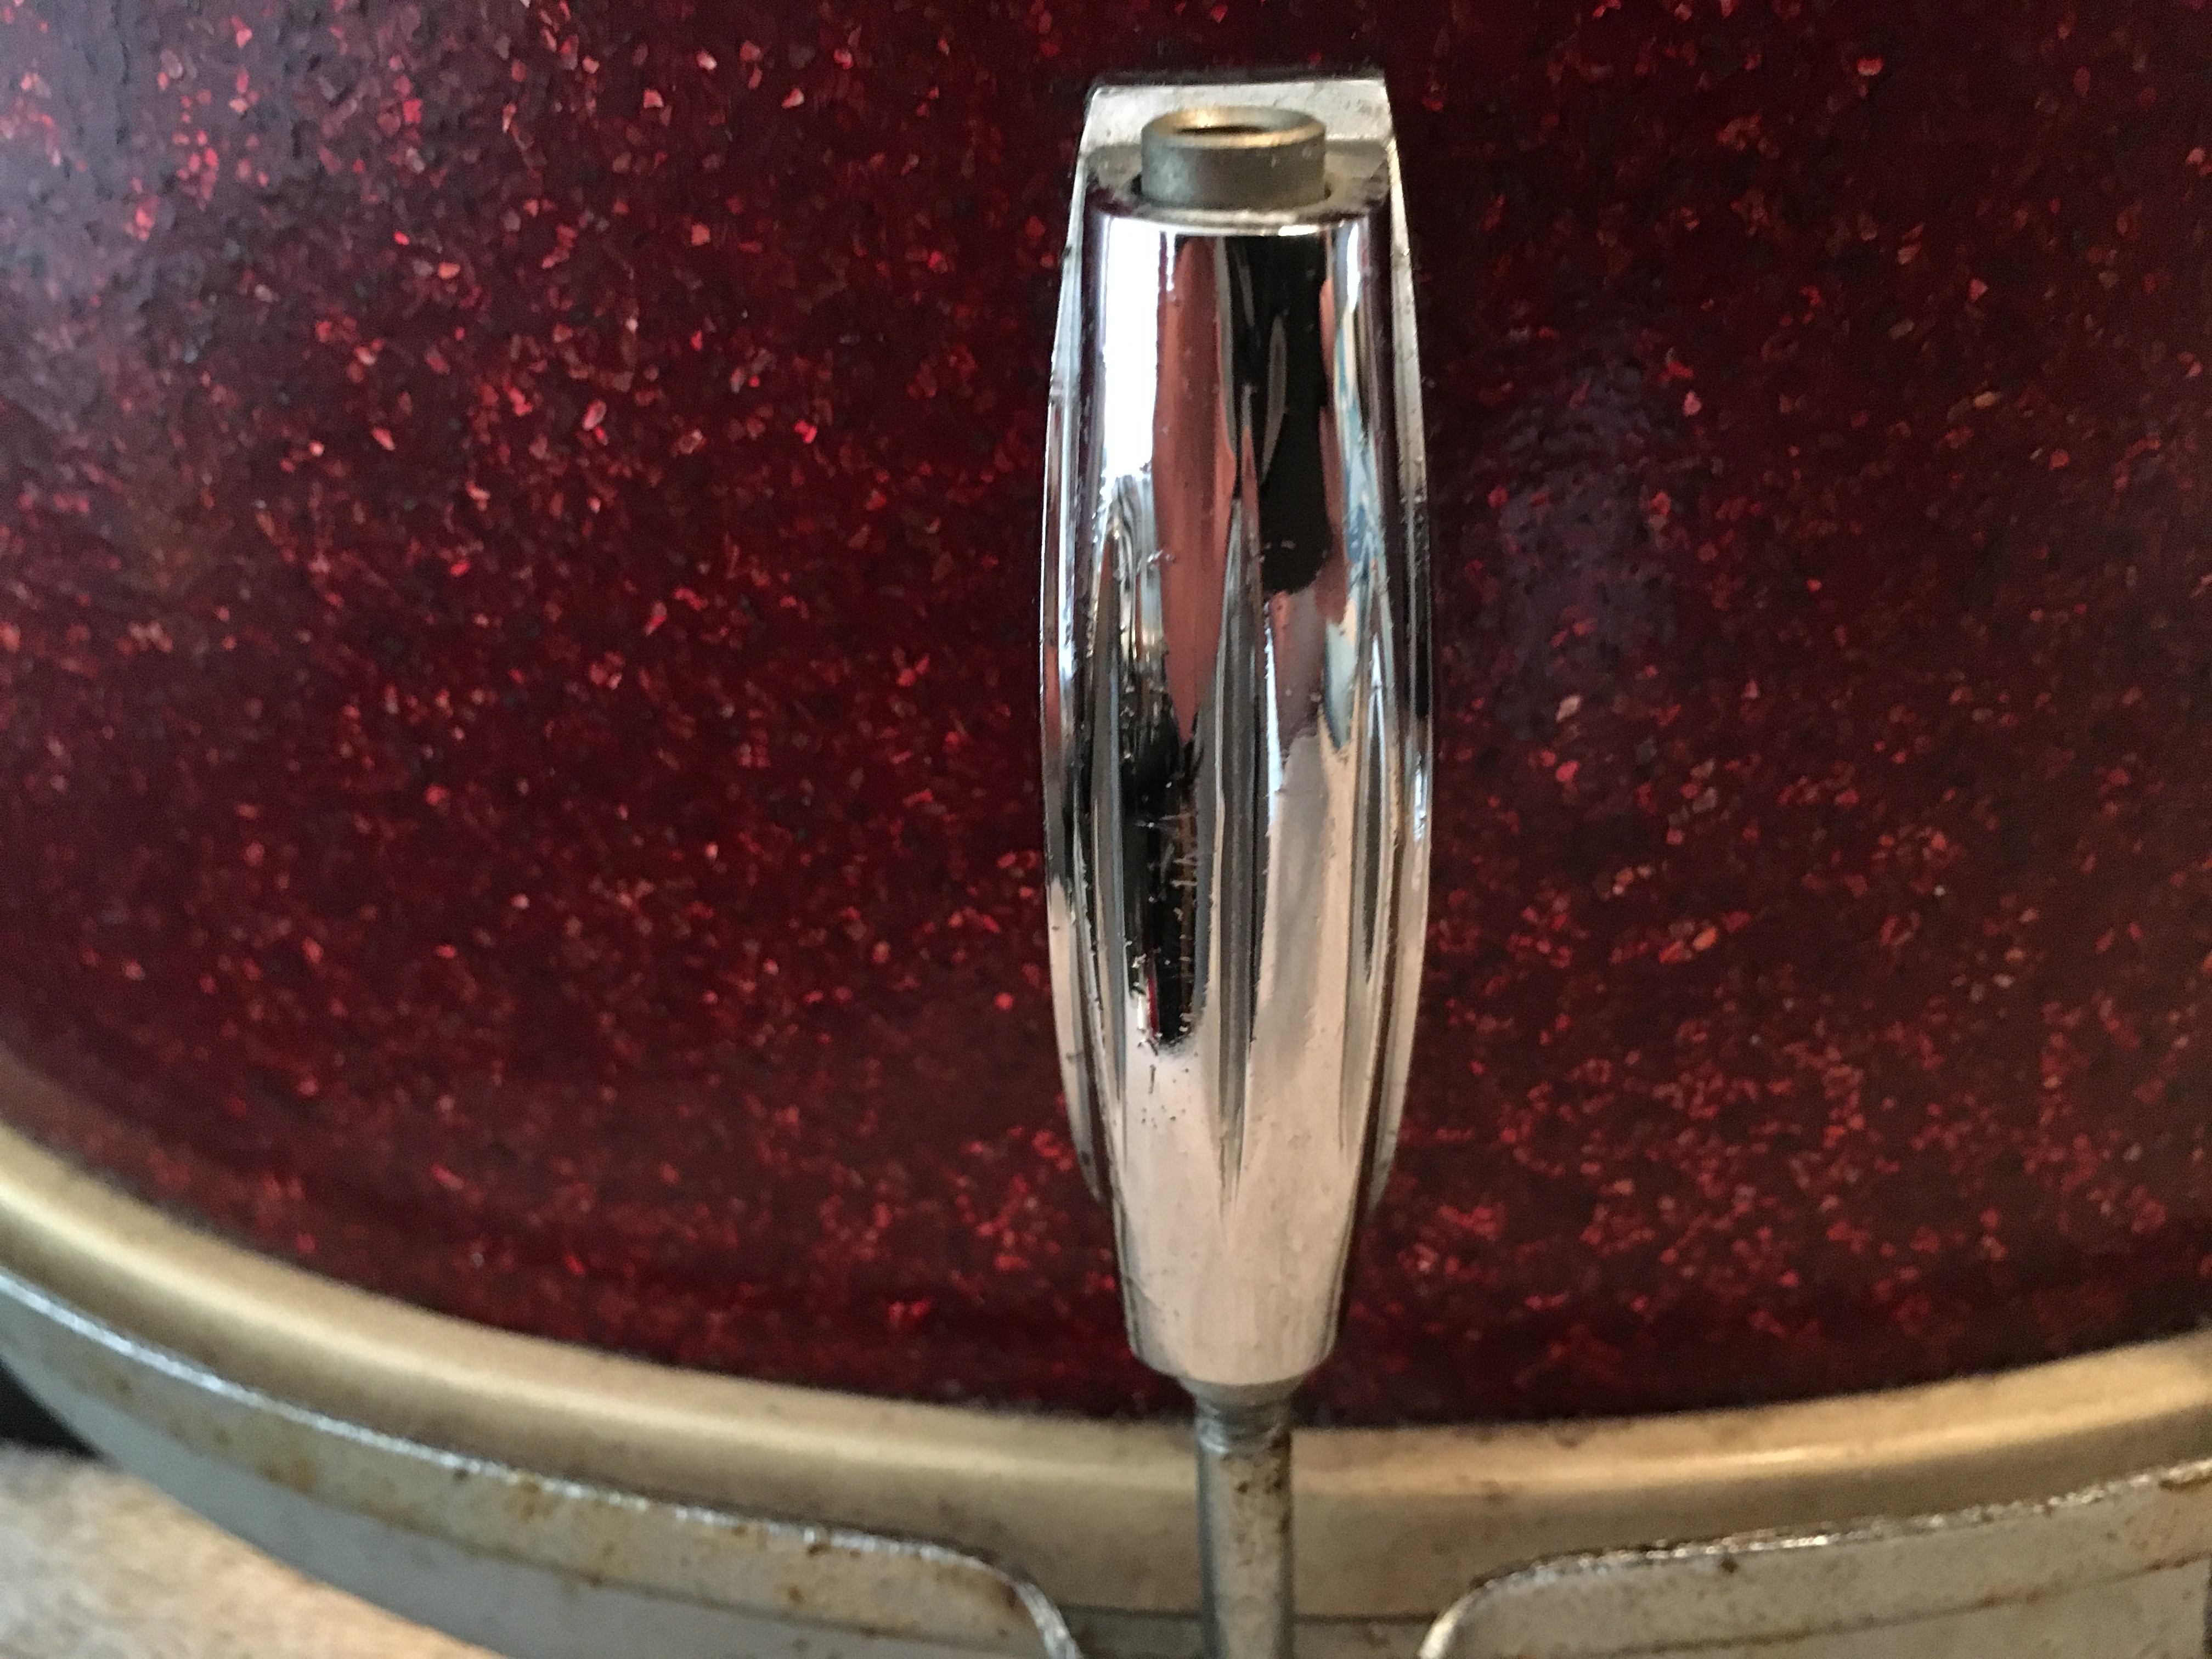
After a quick hand polish, this lug looks pretty good for being over 50 years old. Time to tear it apart and begin the job in earnest.

The inside of the drum was treated to a mixture of bleach and water to kill the mold – wear gloves, eye-protection and work in a well ventilated area – then sanded down.
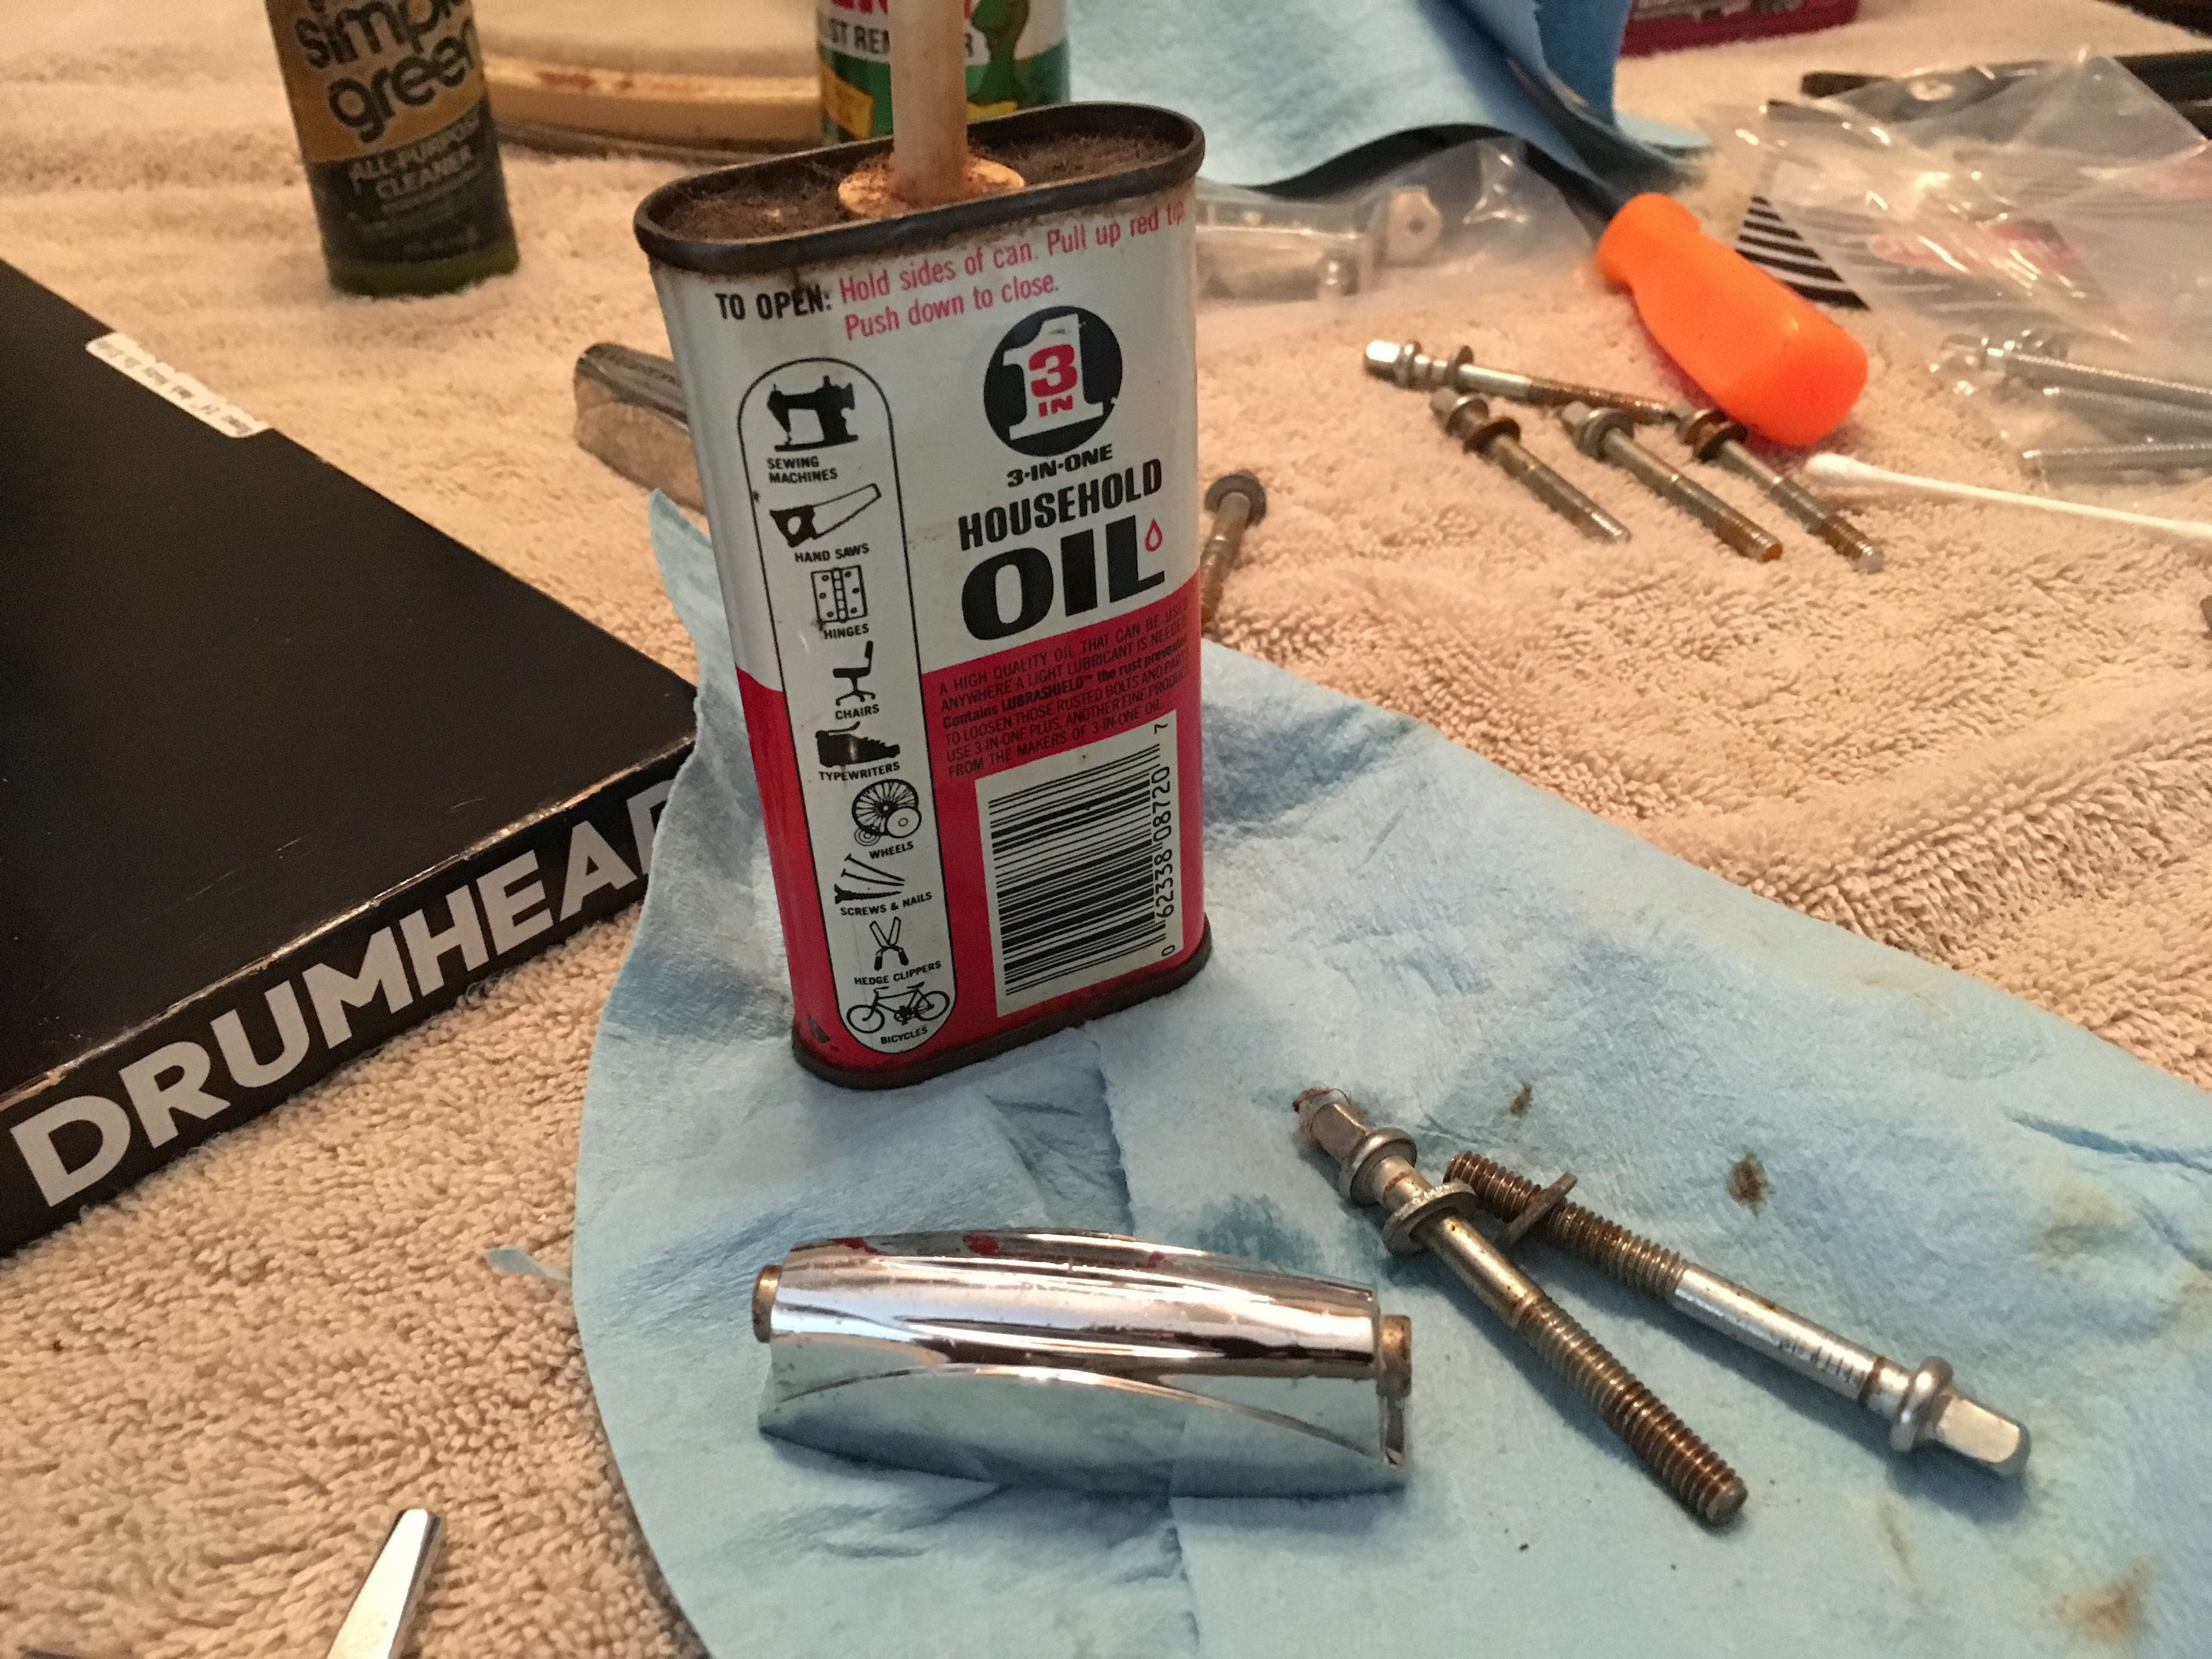
Each lug was removed, then hand polished with Turtle Wax automotive chrome polish. Wear gloves. After a full hand polish, each lug was lubricated and all threads were chased with a well-oiled lug screw.
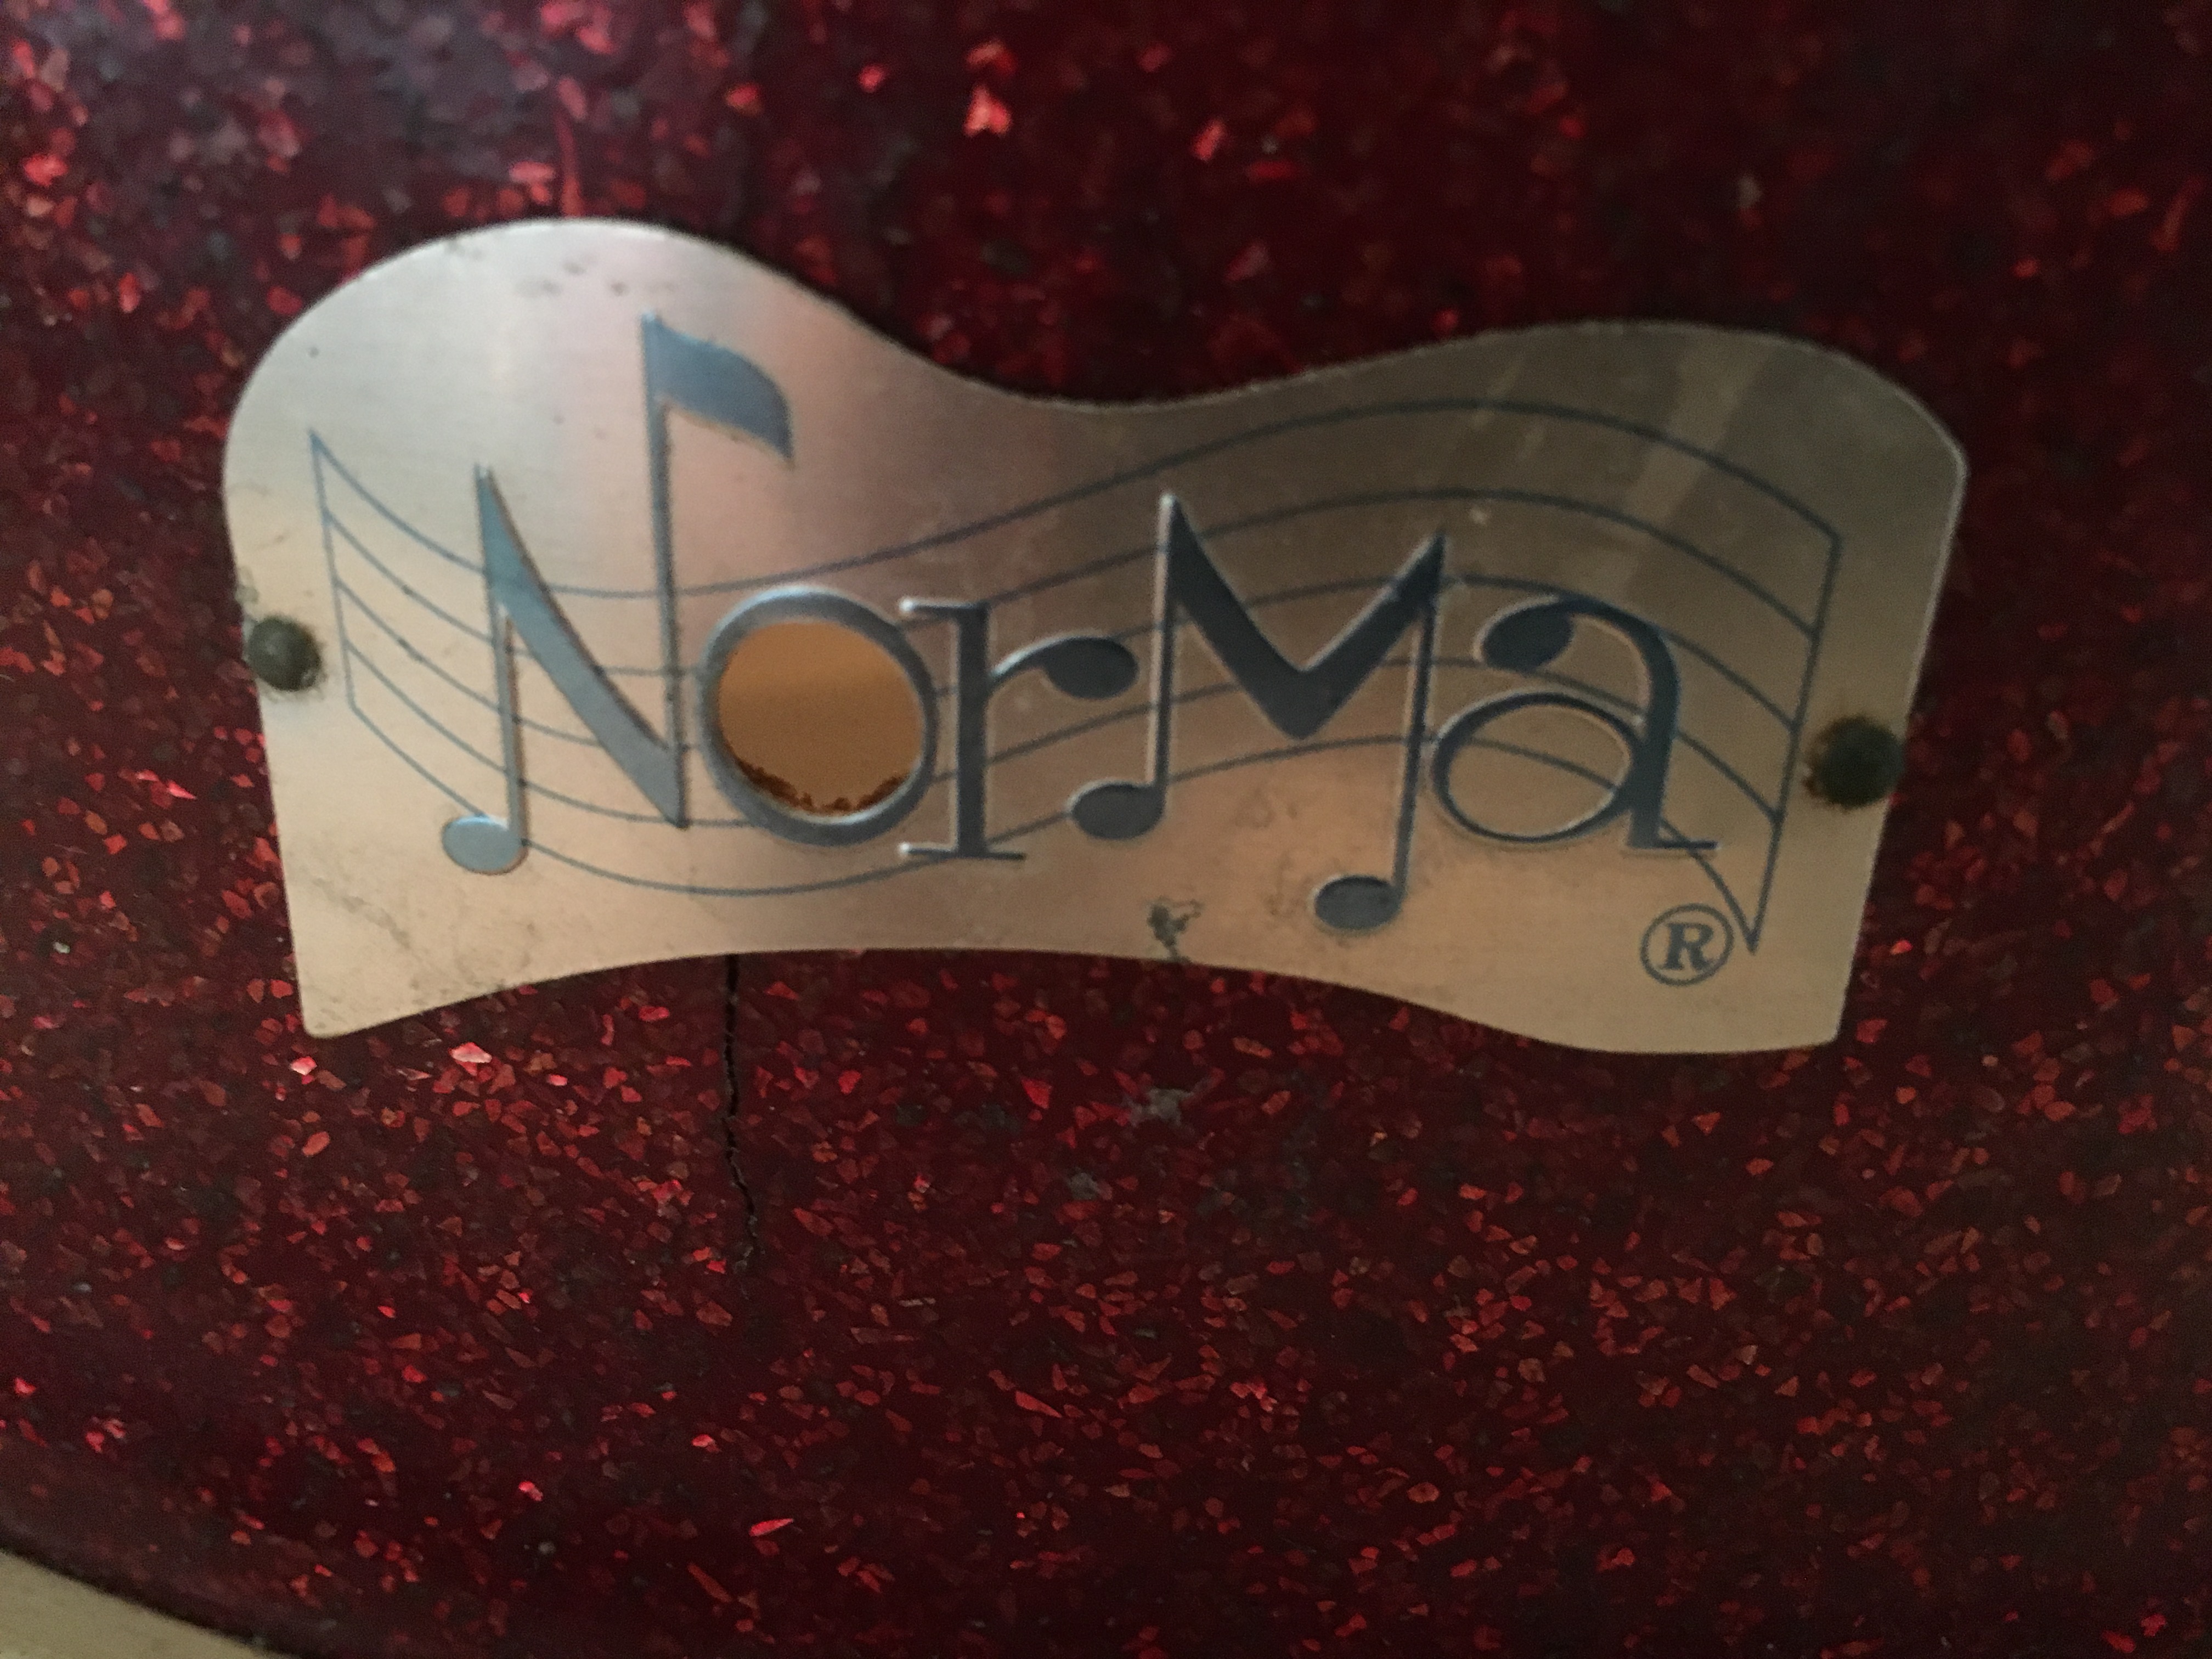
The badge was actually in pretty good condition. A gentle cleaning and polish is all that is required.
Along with new shiny hoops, a vintage type REMO batter head was sourced from Brent’s Music Headquarters in Fort Myers, FL.

Time for a bath! On old rusted parts I prefer to scrub them in naval jelly. It’s a pink gooey solution available at most hardware stores. Use gloves. Brush the solution on, get it in all of the nooks and crannies and allow it to sit for at least 5 minutes. Longer depending on the amount of rust. Then rinse in clean water. Repeat if necessary.
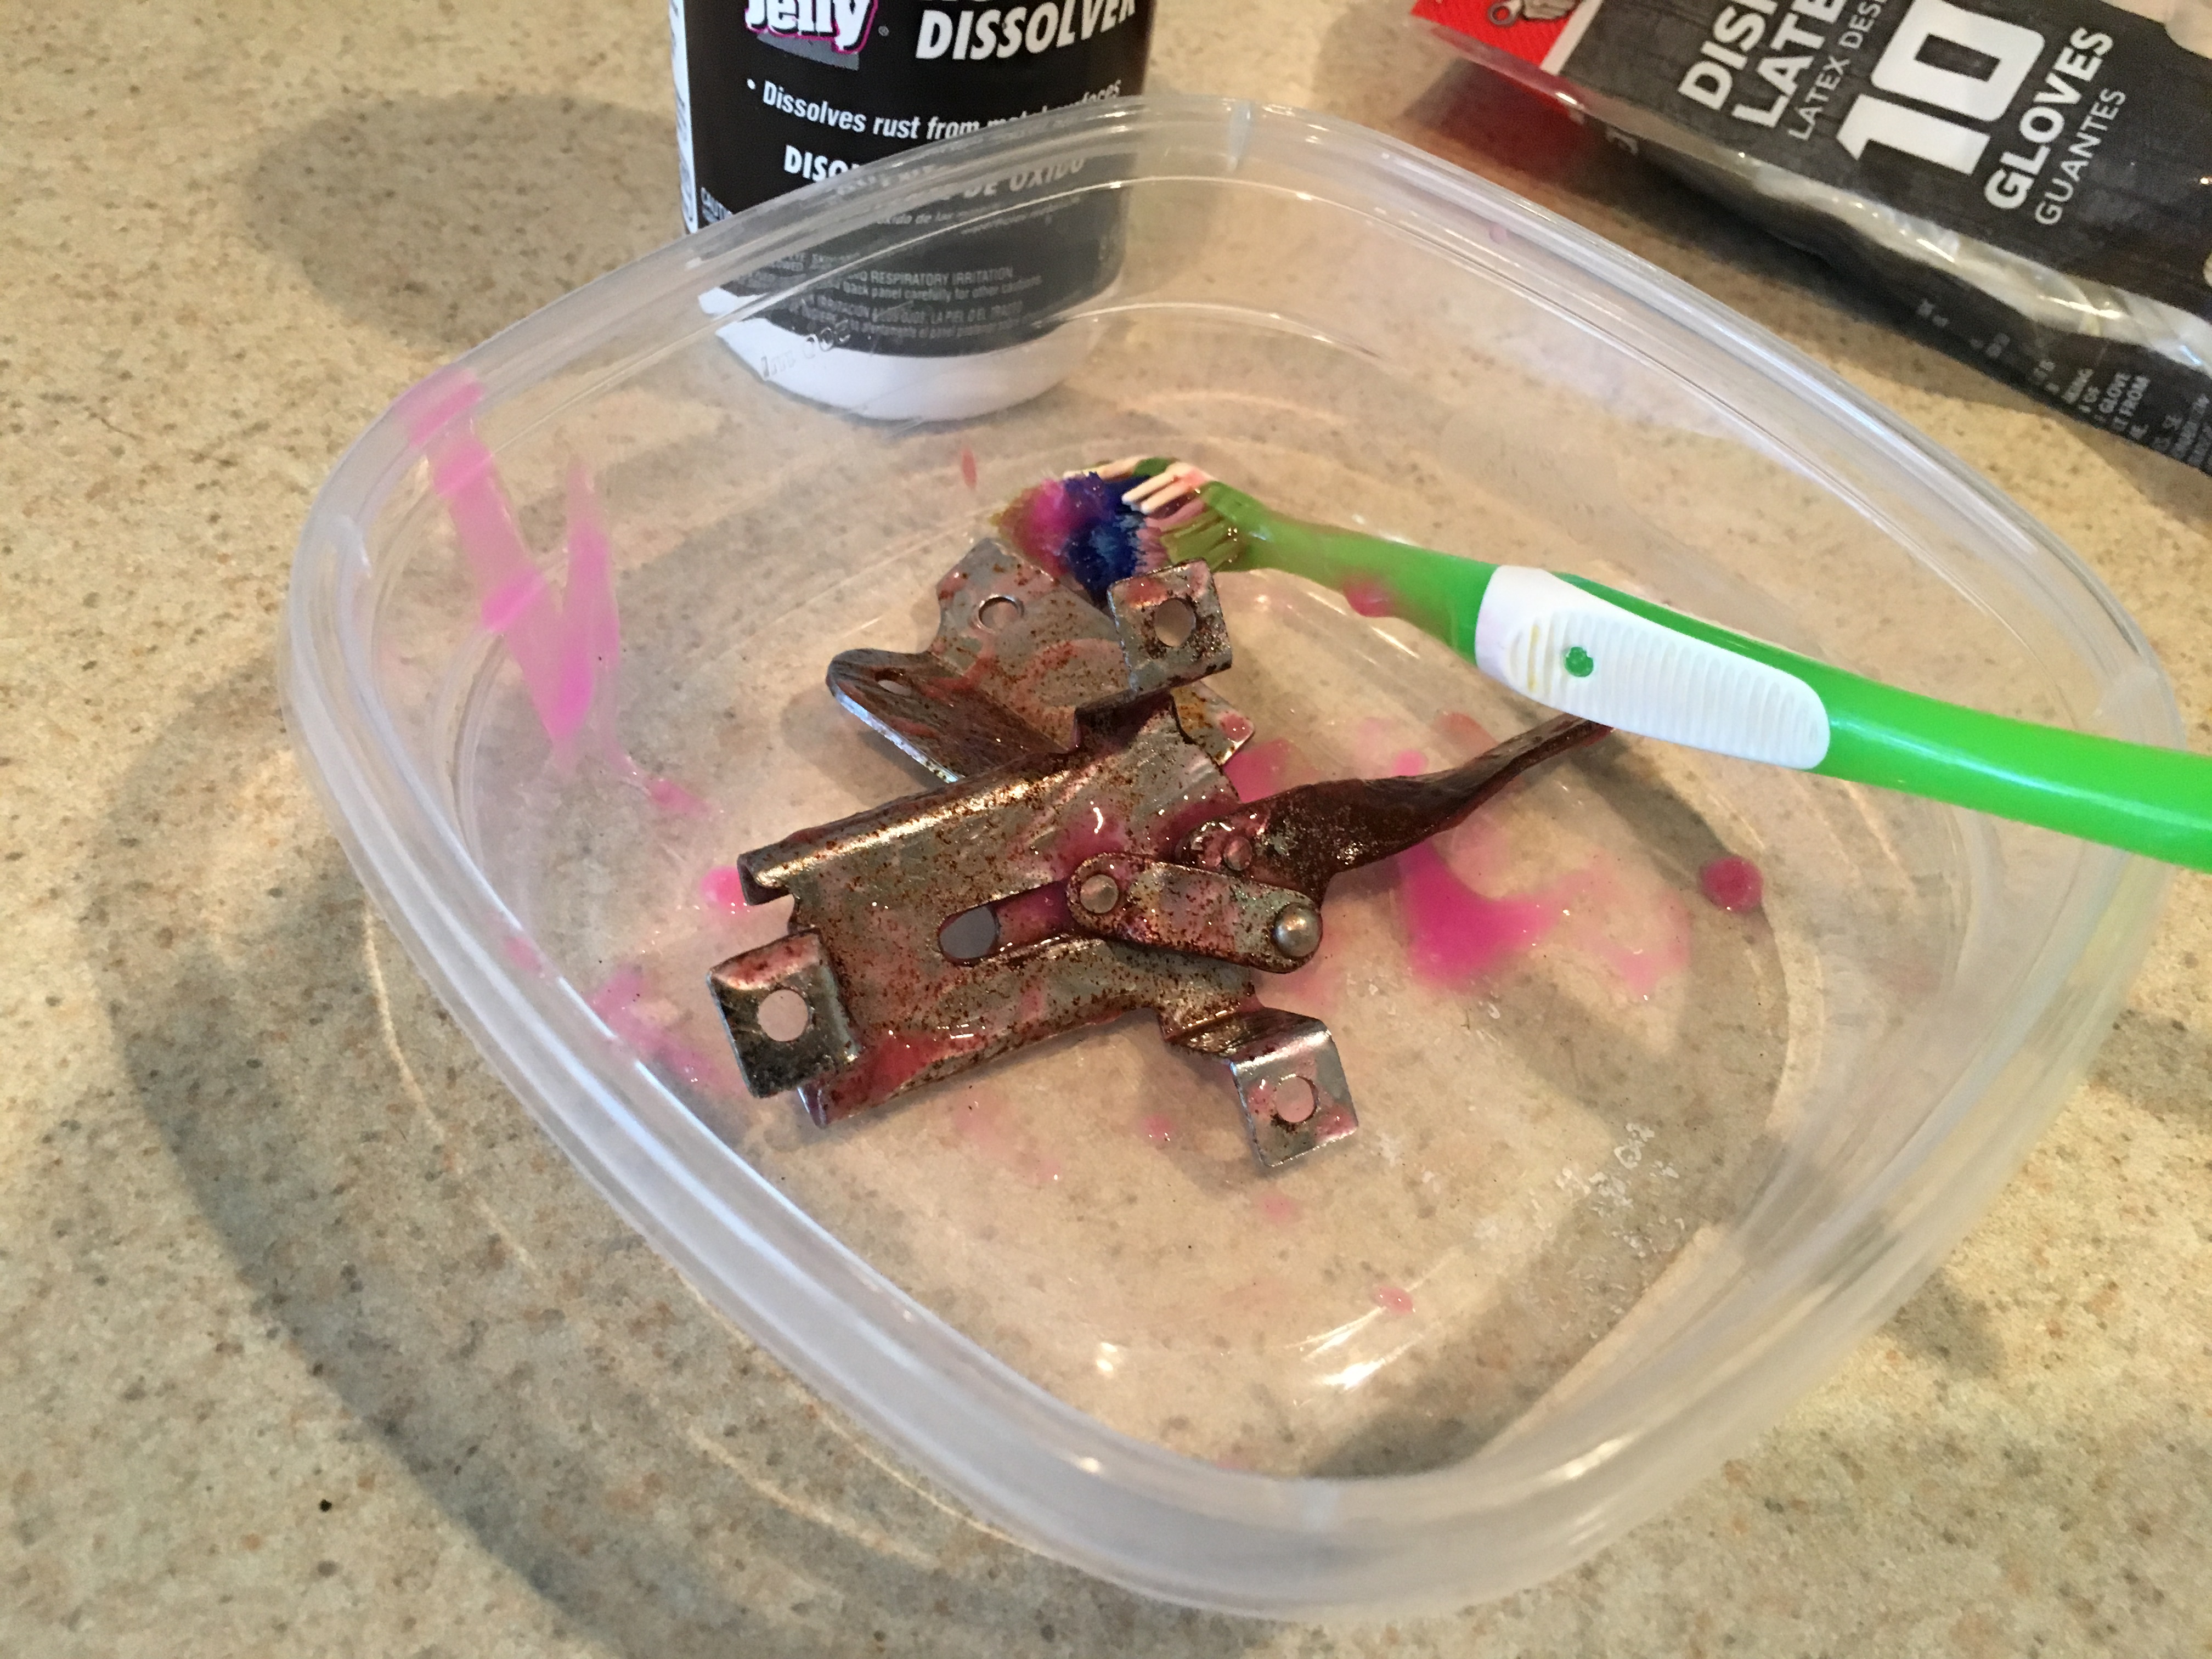
This is the first attempt.

This is after two applications of naval jelly and a good rinsing. What a difference!
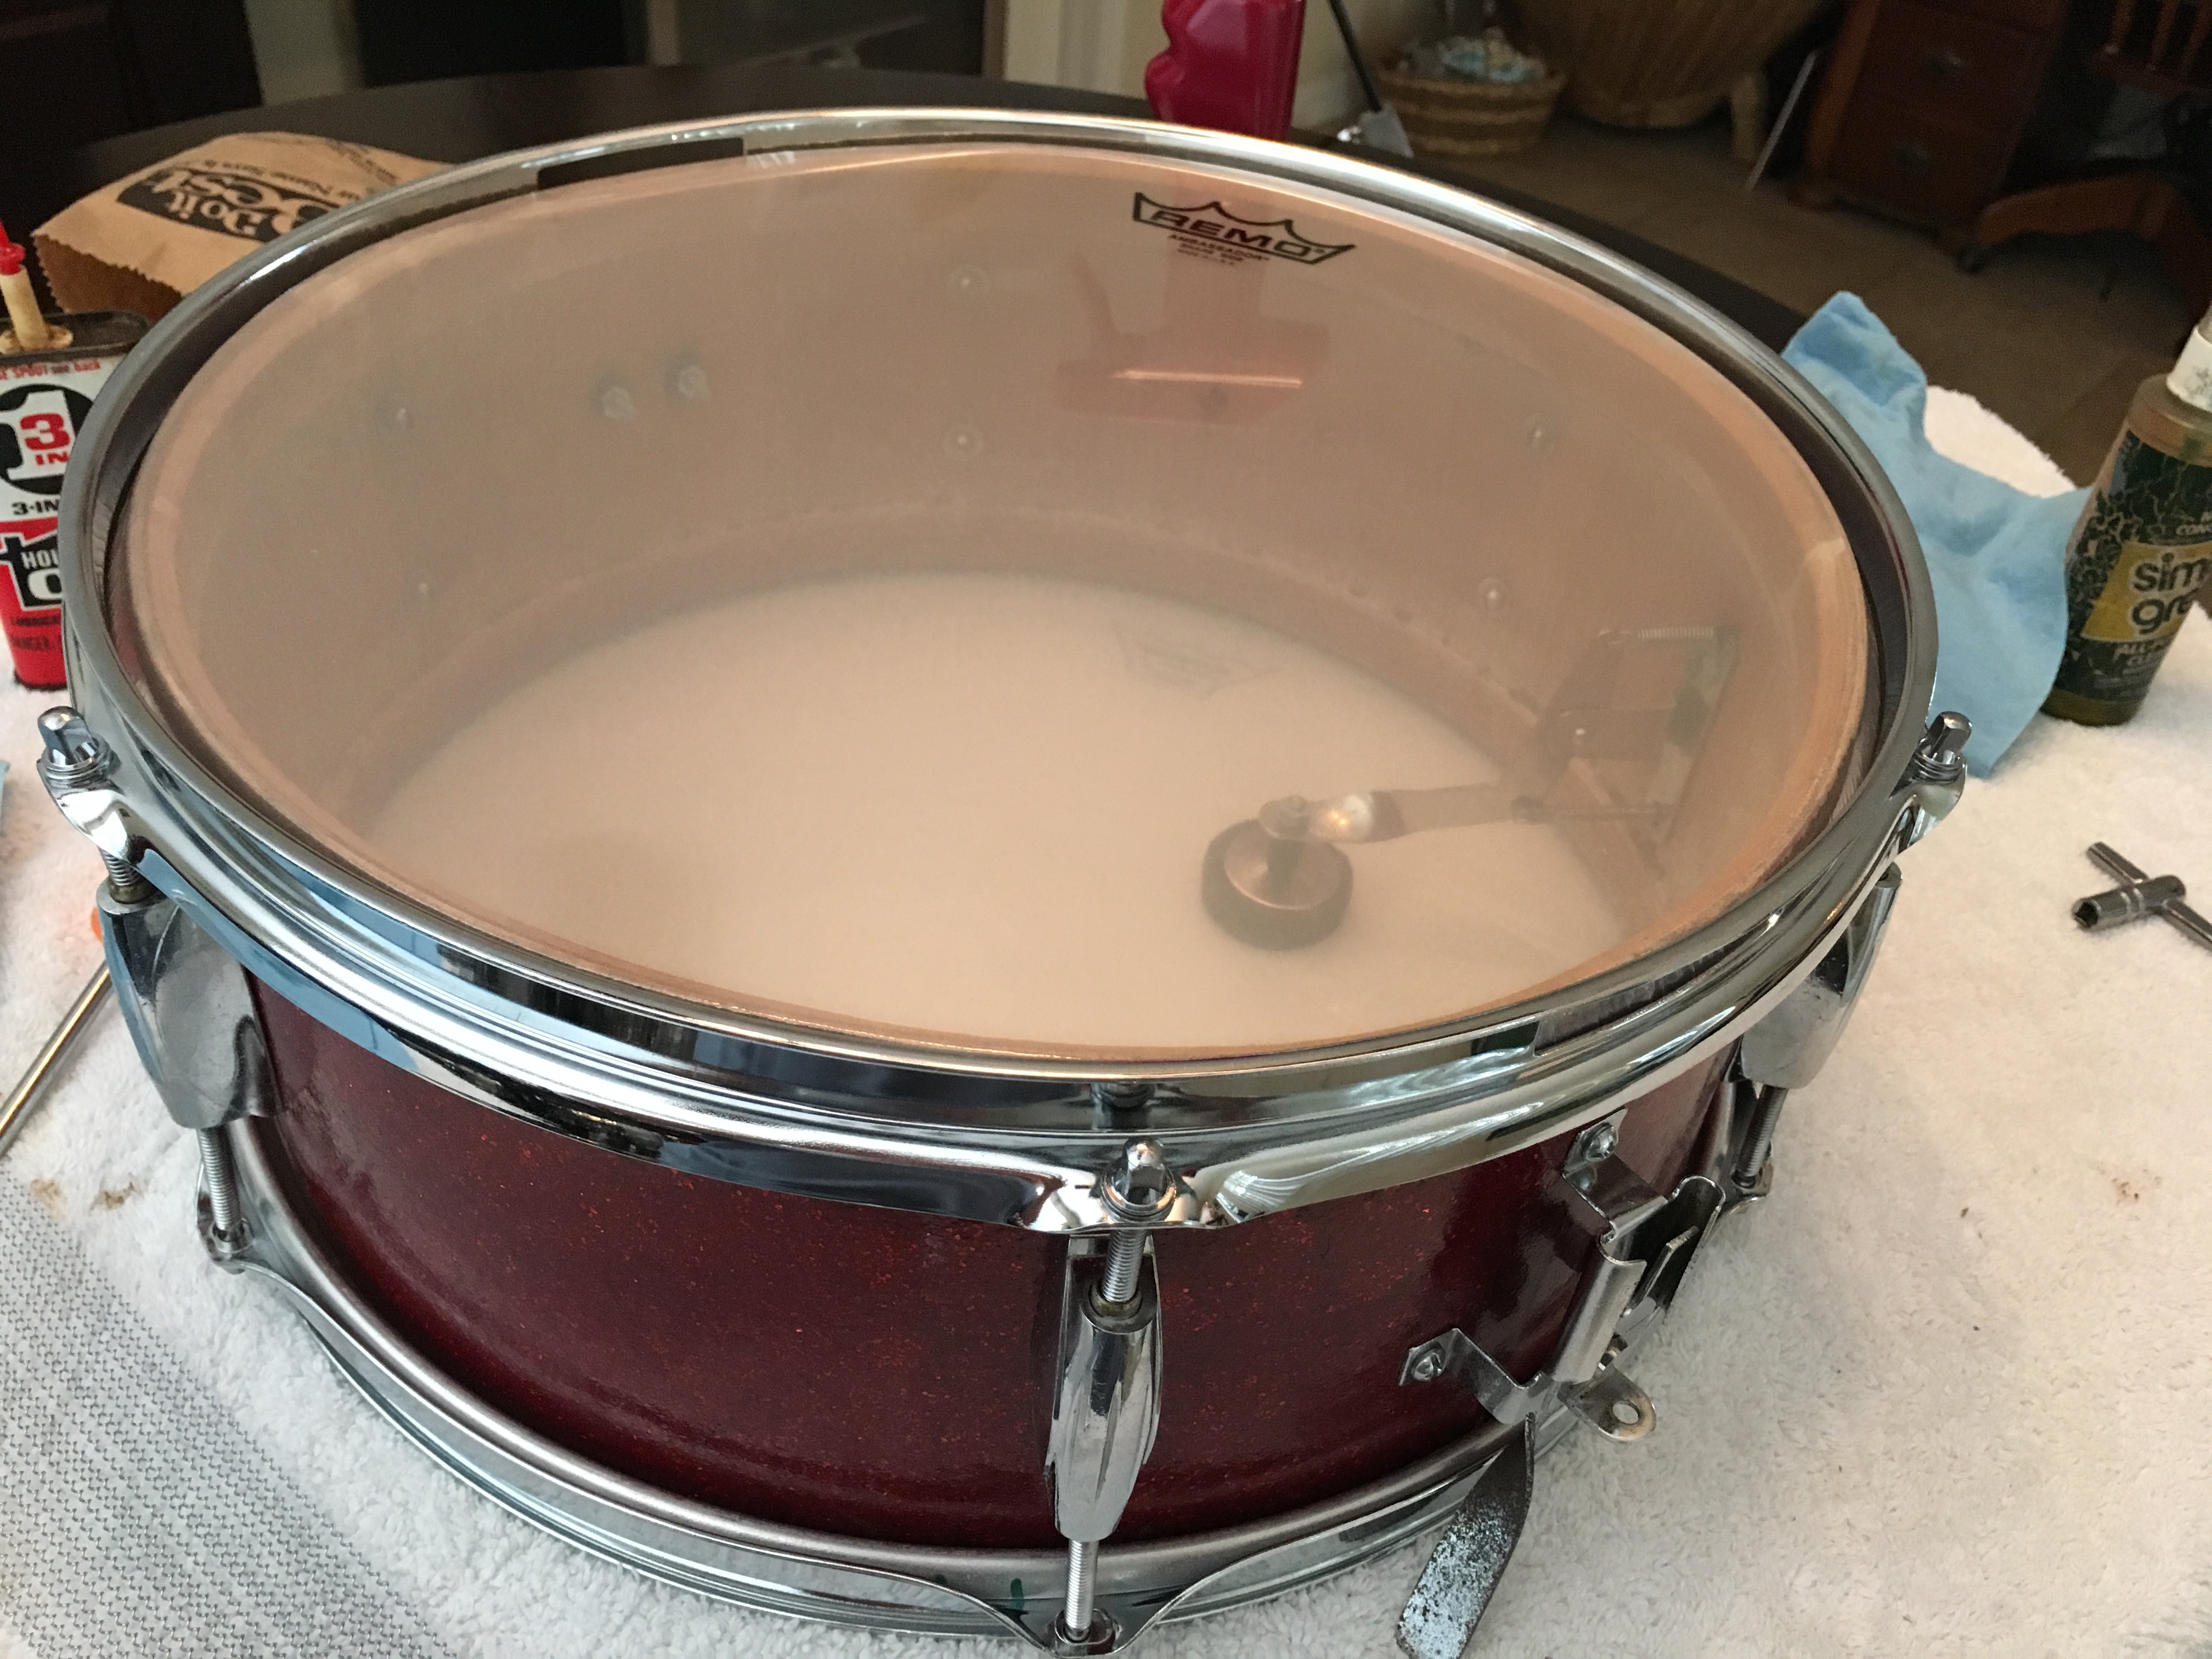
Butt plate and strainer are back on the drum. I also lightly sanded and waxed the bearing edge before installing the new snare side head.
Brand new REMO Ambassador coming up.

Quick light coat of oil on the lug threads and it’s time to start re-assembling the bottom end.
Ready for the new snares!
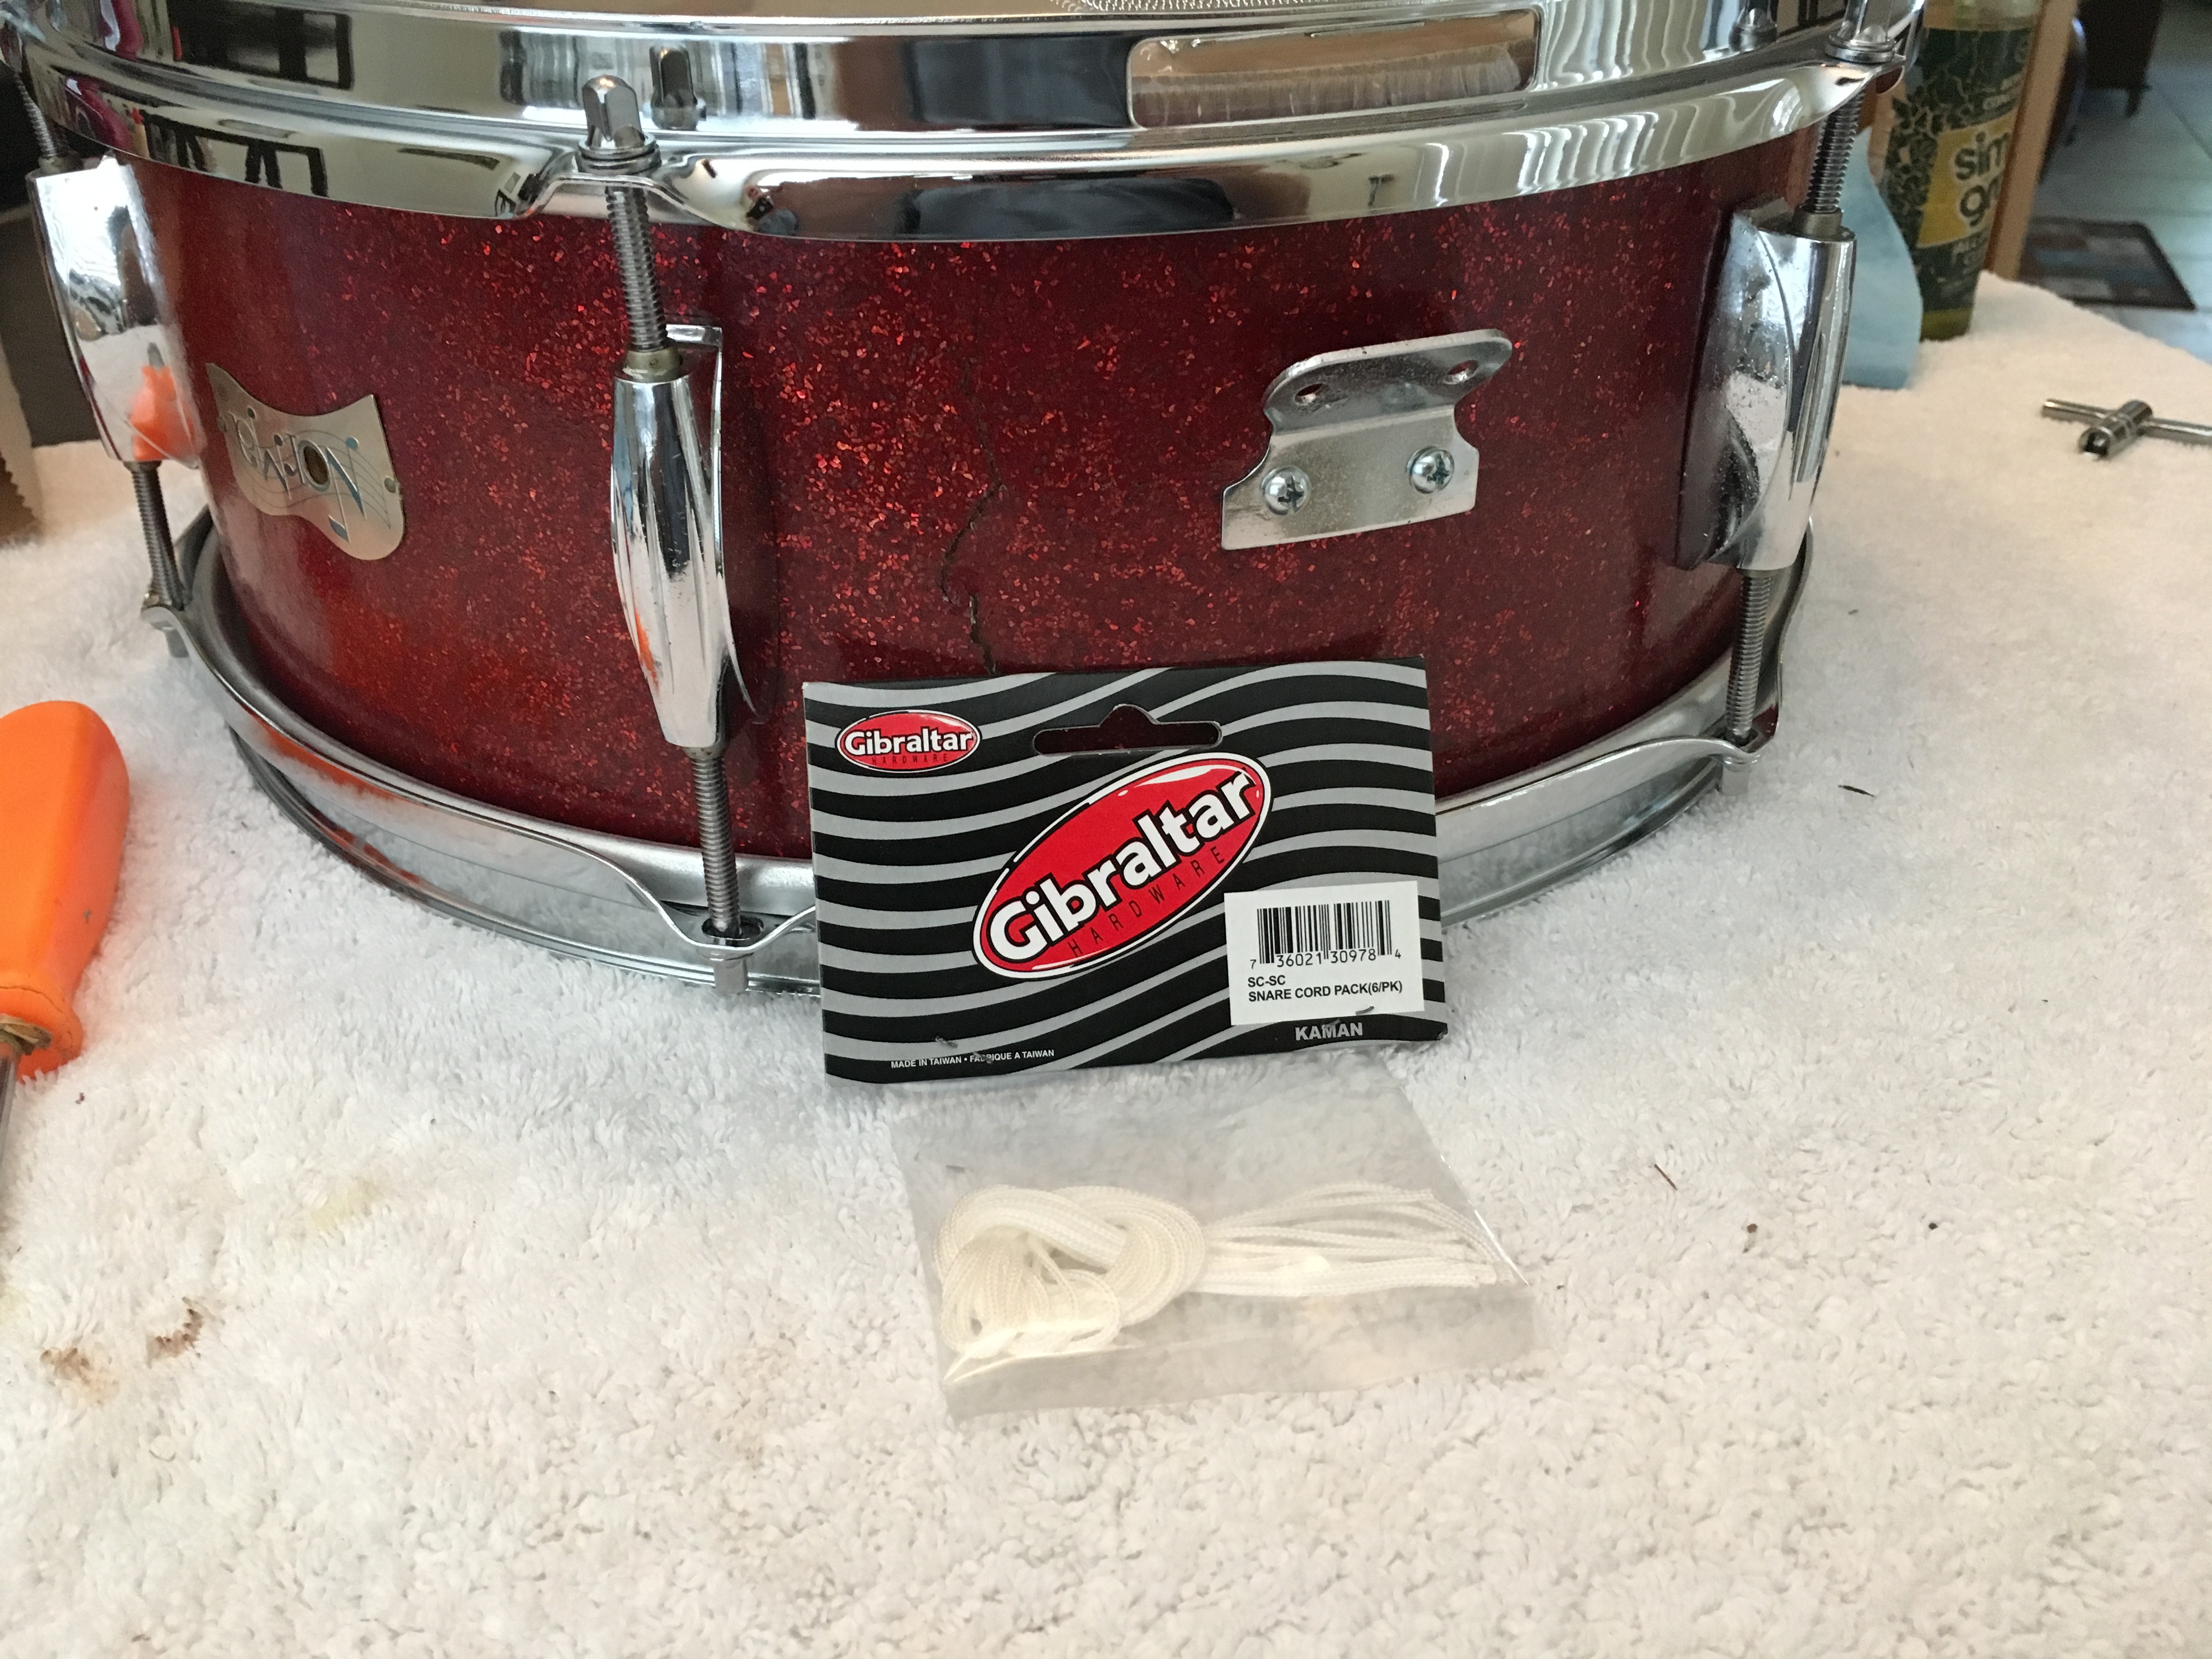
Gibraltar snare cord. Old school. I prefer to use straps on my snare drums whenever possible, but this old drum can only accommodate cords.
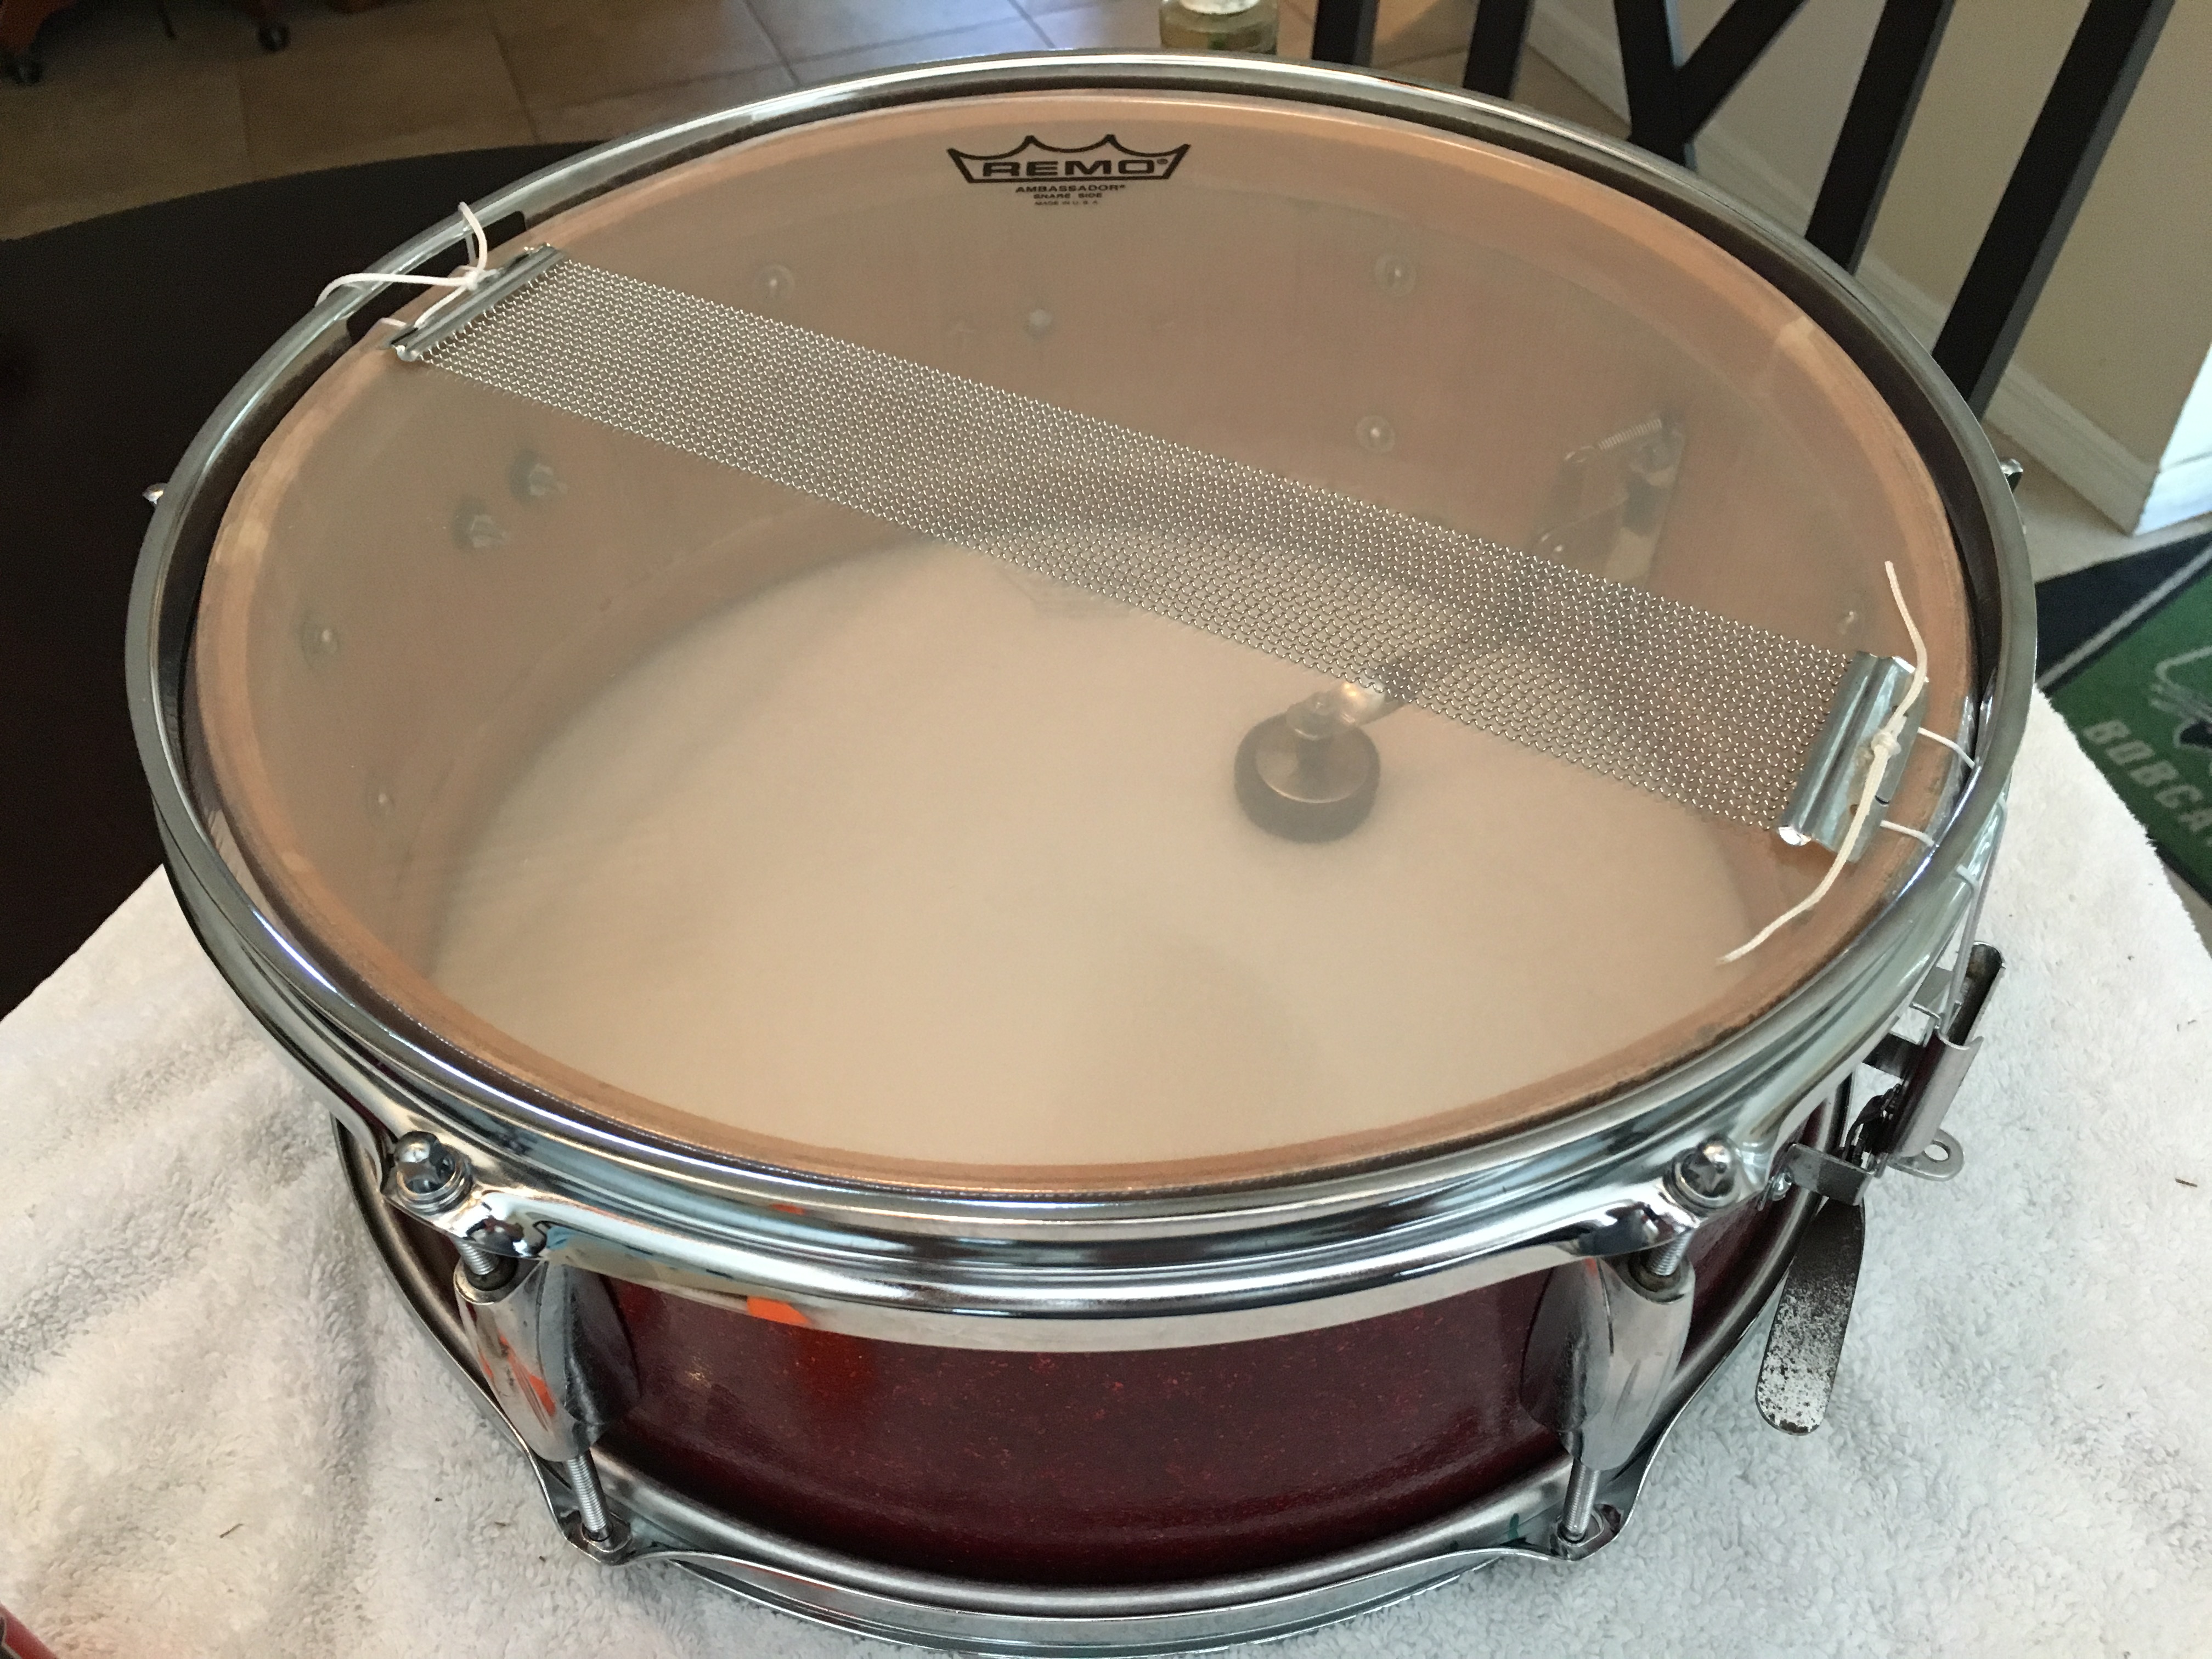
Done! Time to tune it up and play it!
This old drum turned out pretty well. It actually sounds nice and tight, too. I would wager a lot of money that it sounds better than new.
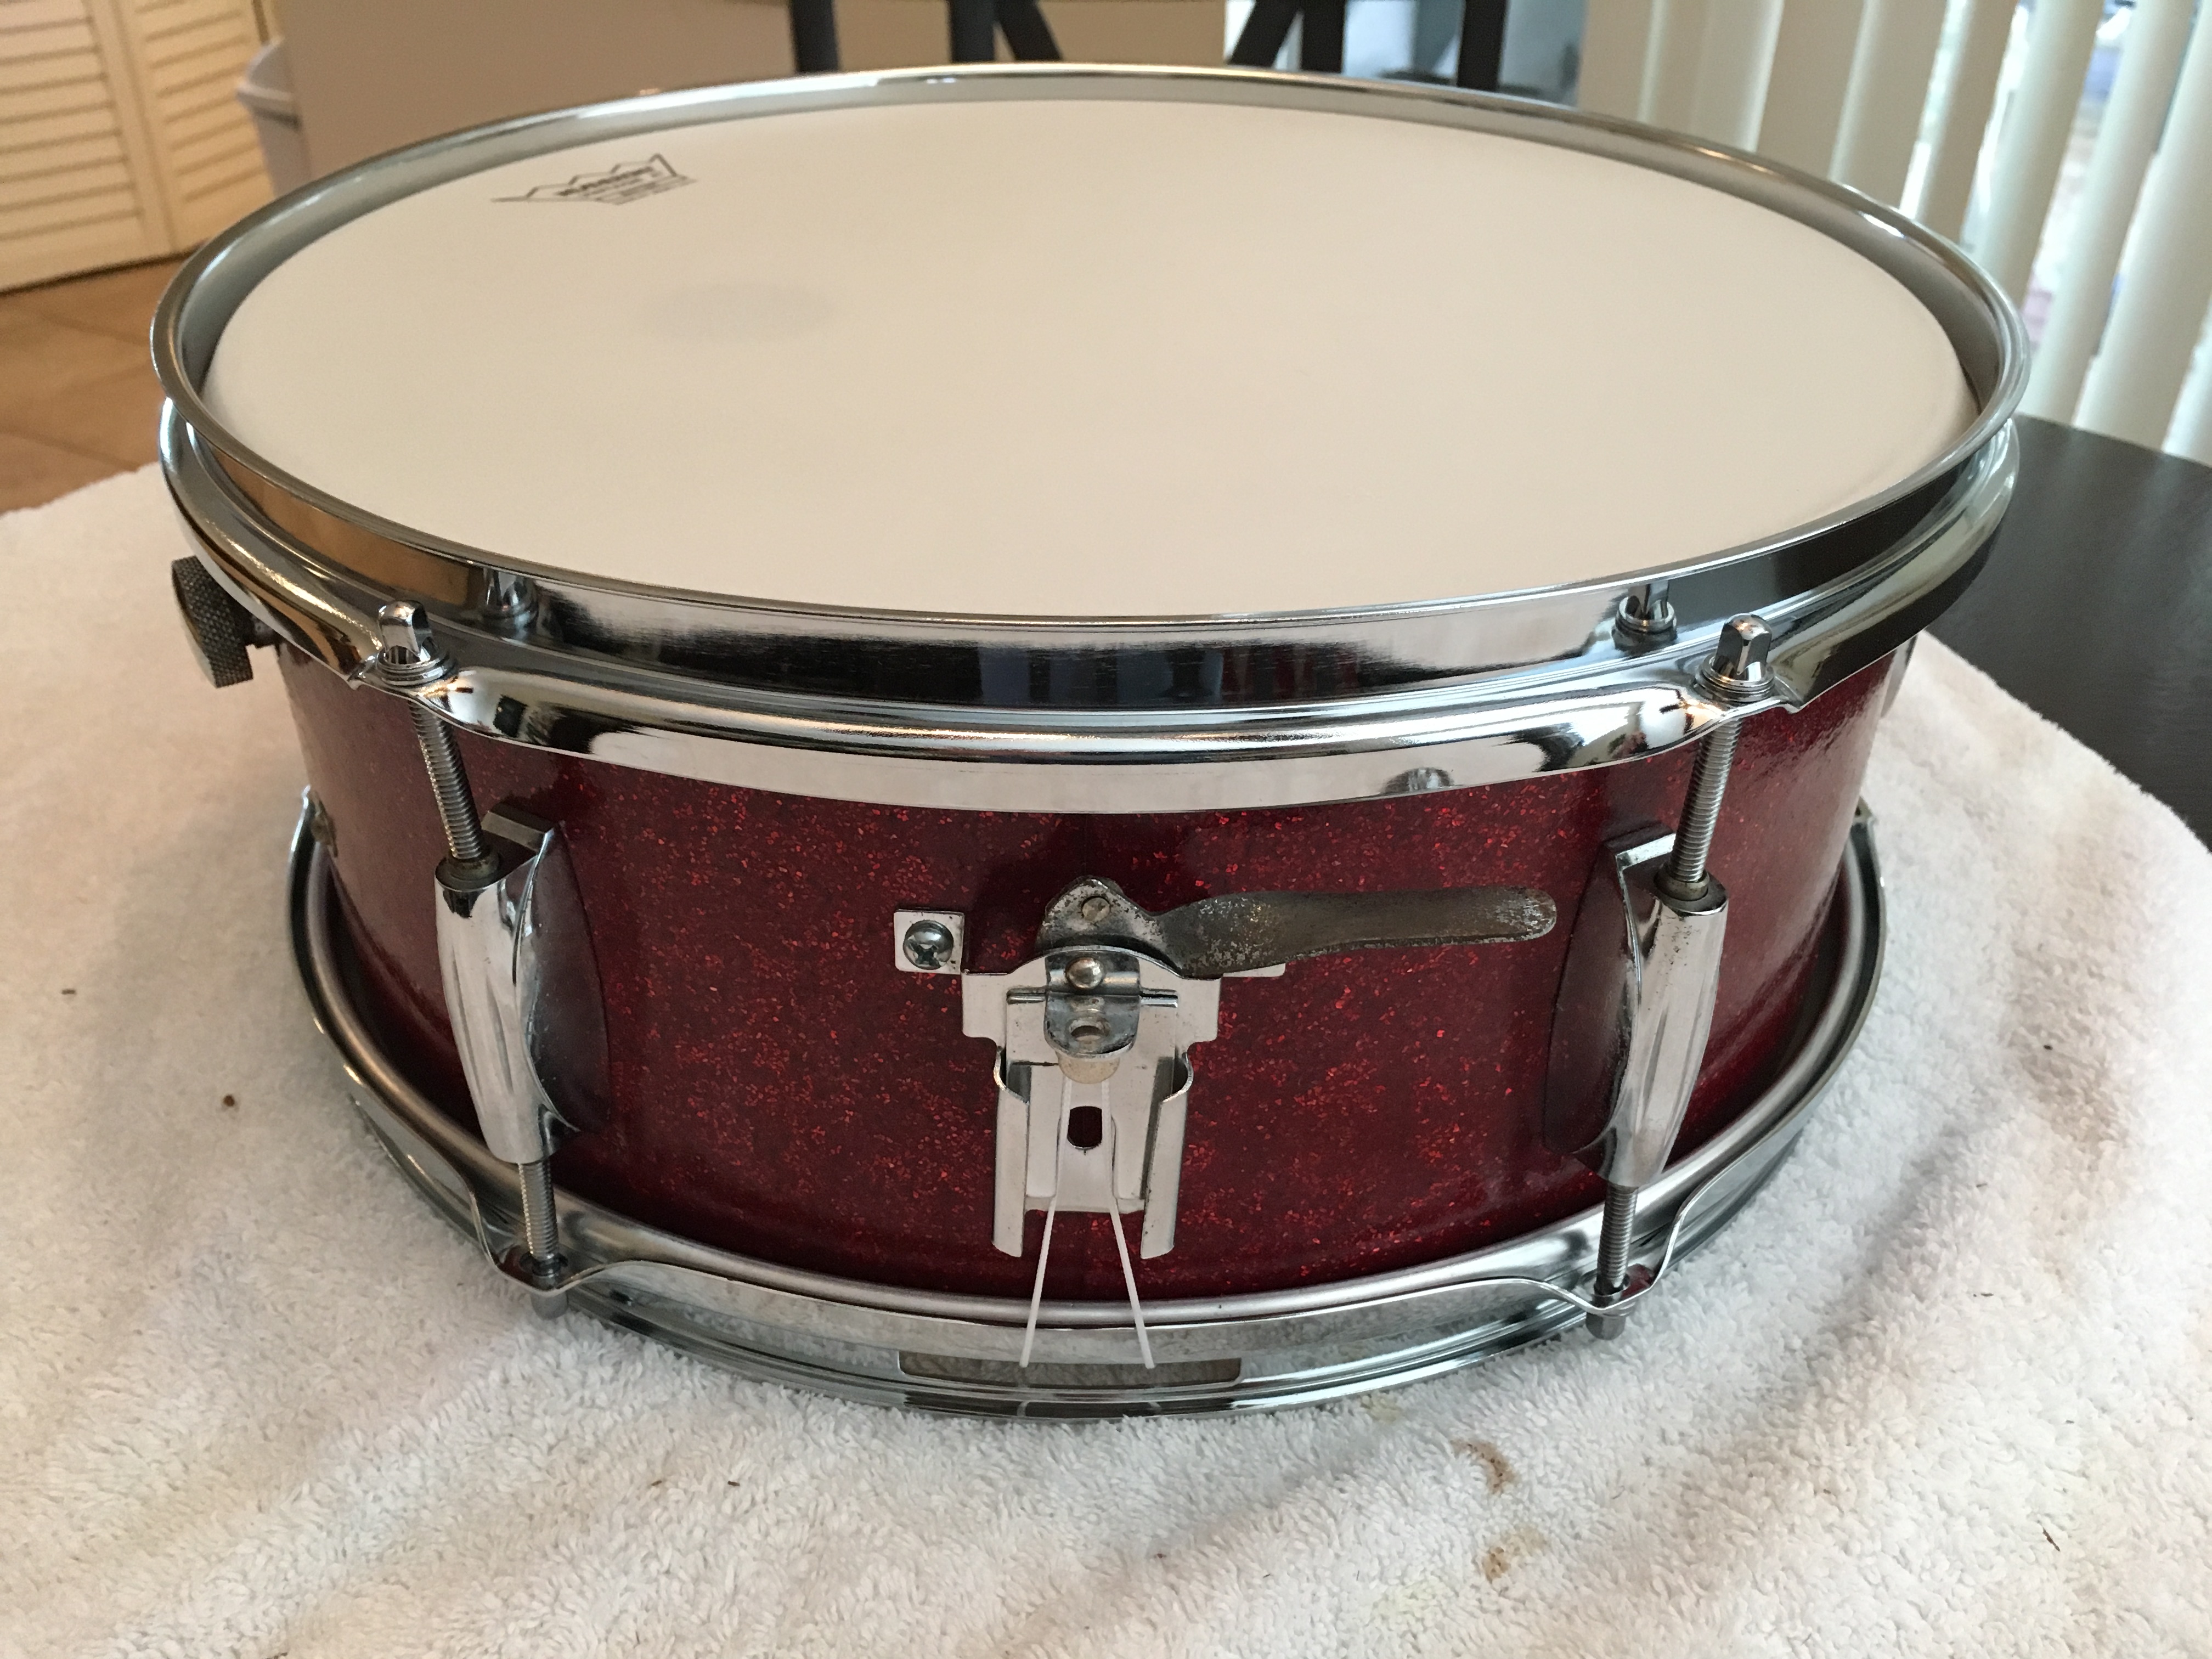
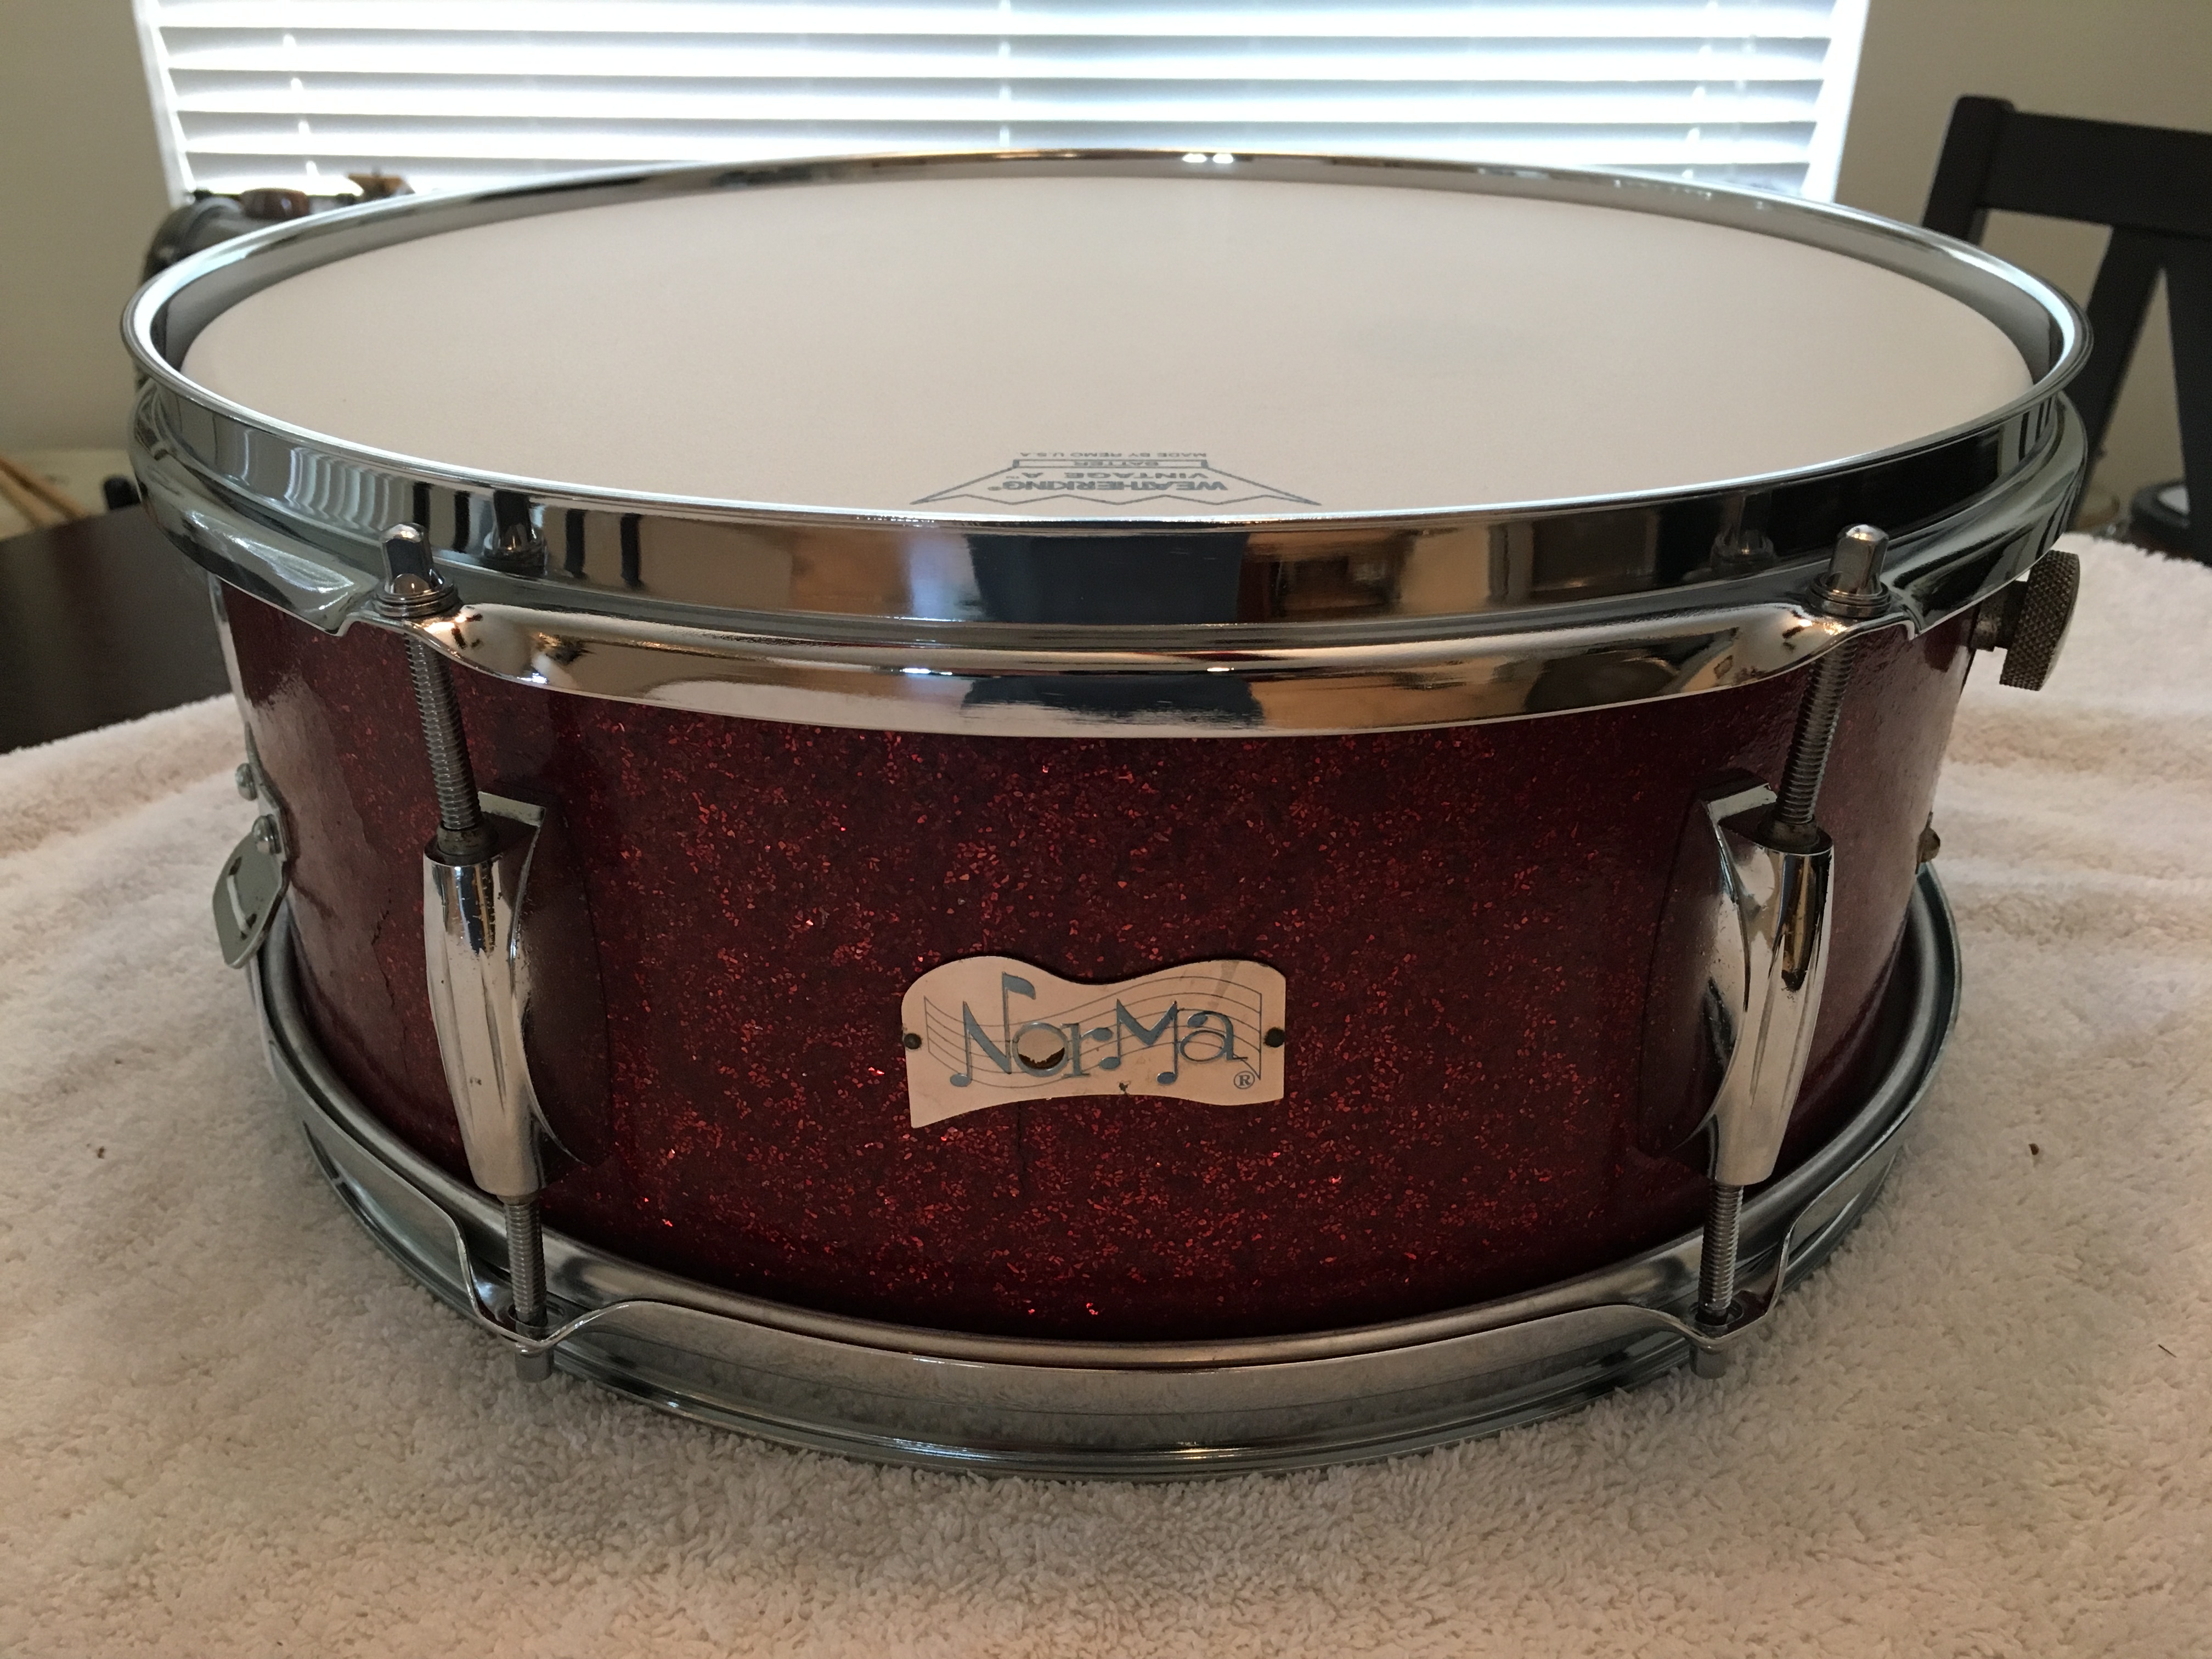
A little patina remains on the throw-off, but other than that, basically a new appearing drum.
Gretsch Catalina Club
Here is one of my latest projects, a simple Gretsch Catalina Club maple 14″ X 5″ snare. My brother found it at a local yard sale and grabbed it for me. It was in decent shape overall, a bit rusty in some areas, a bit worn-out in others. It required new Remo drum heads, new Gibraltar lug bolts and snare cords, but other than those few items, everything else was re-usable. Just required a complete disassembly, cleaning, polishing and a general tune-up.
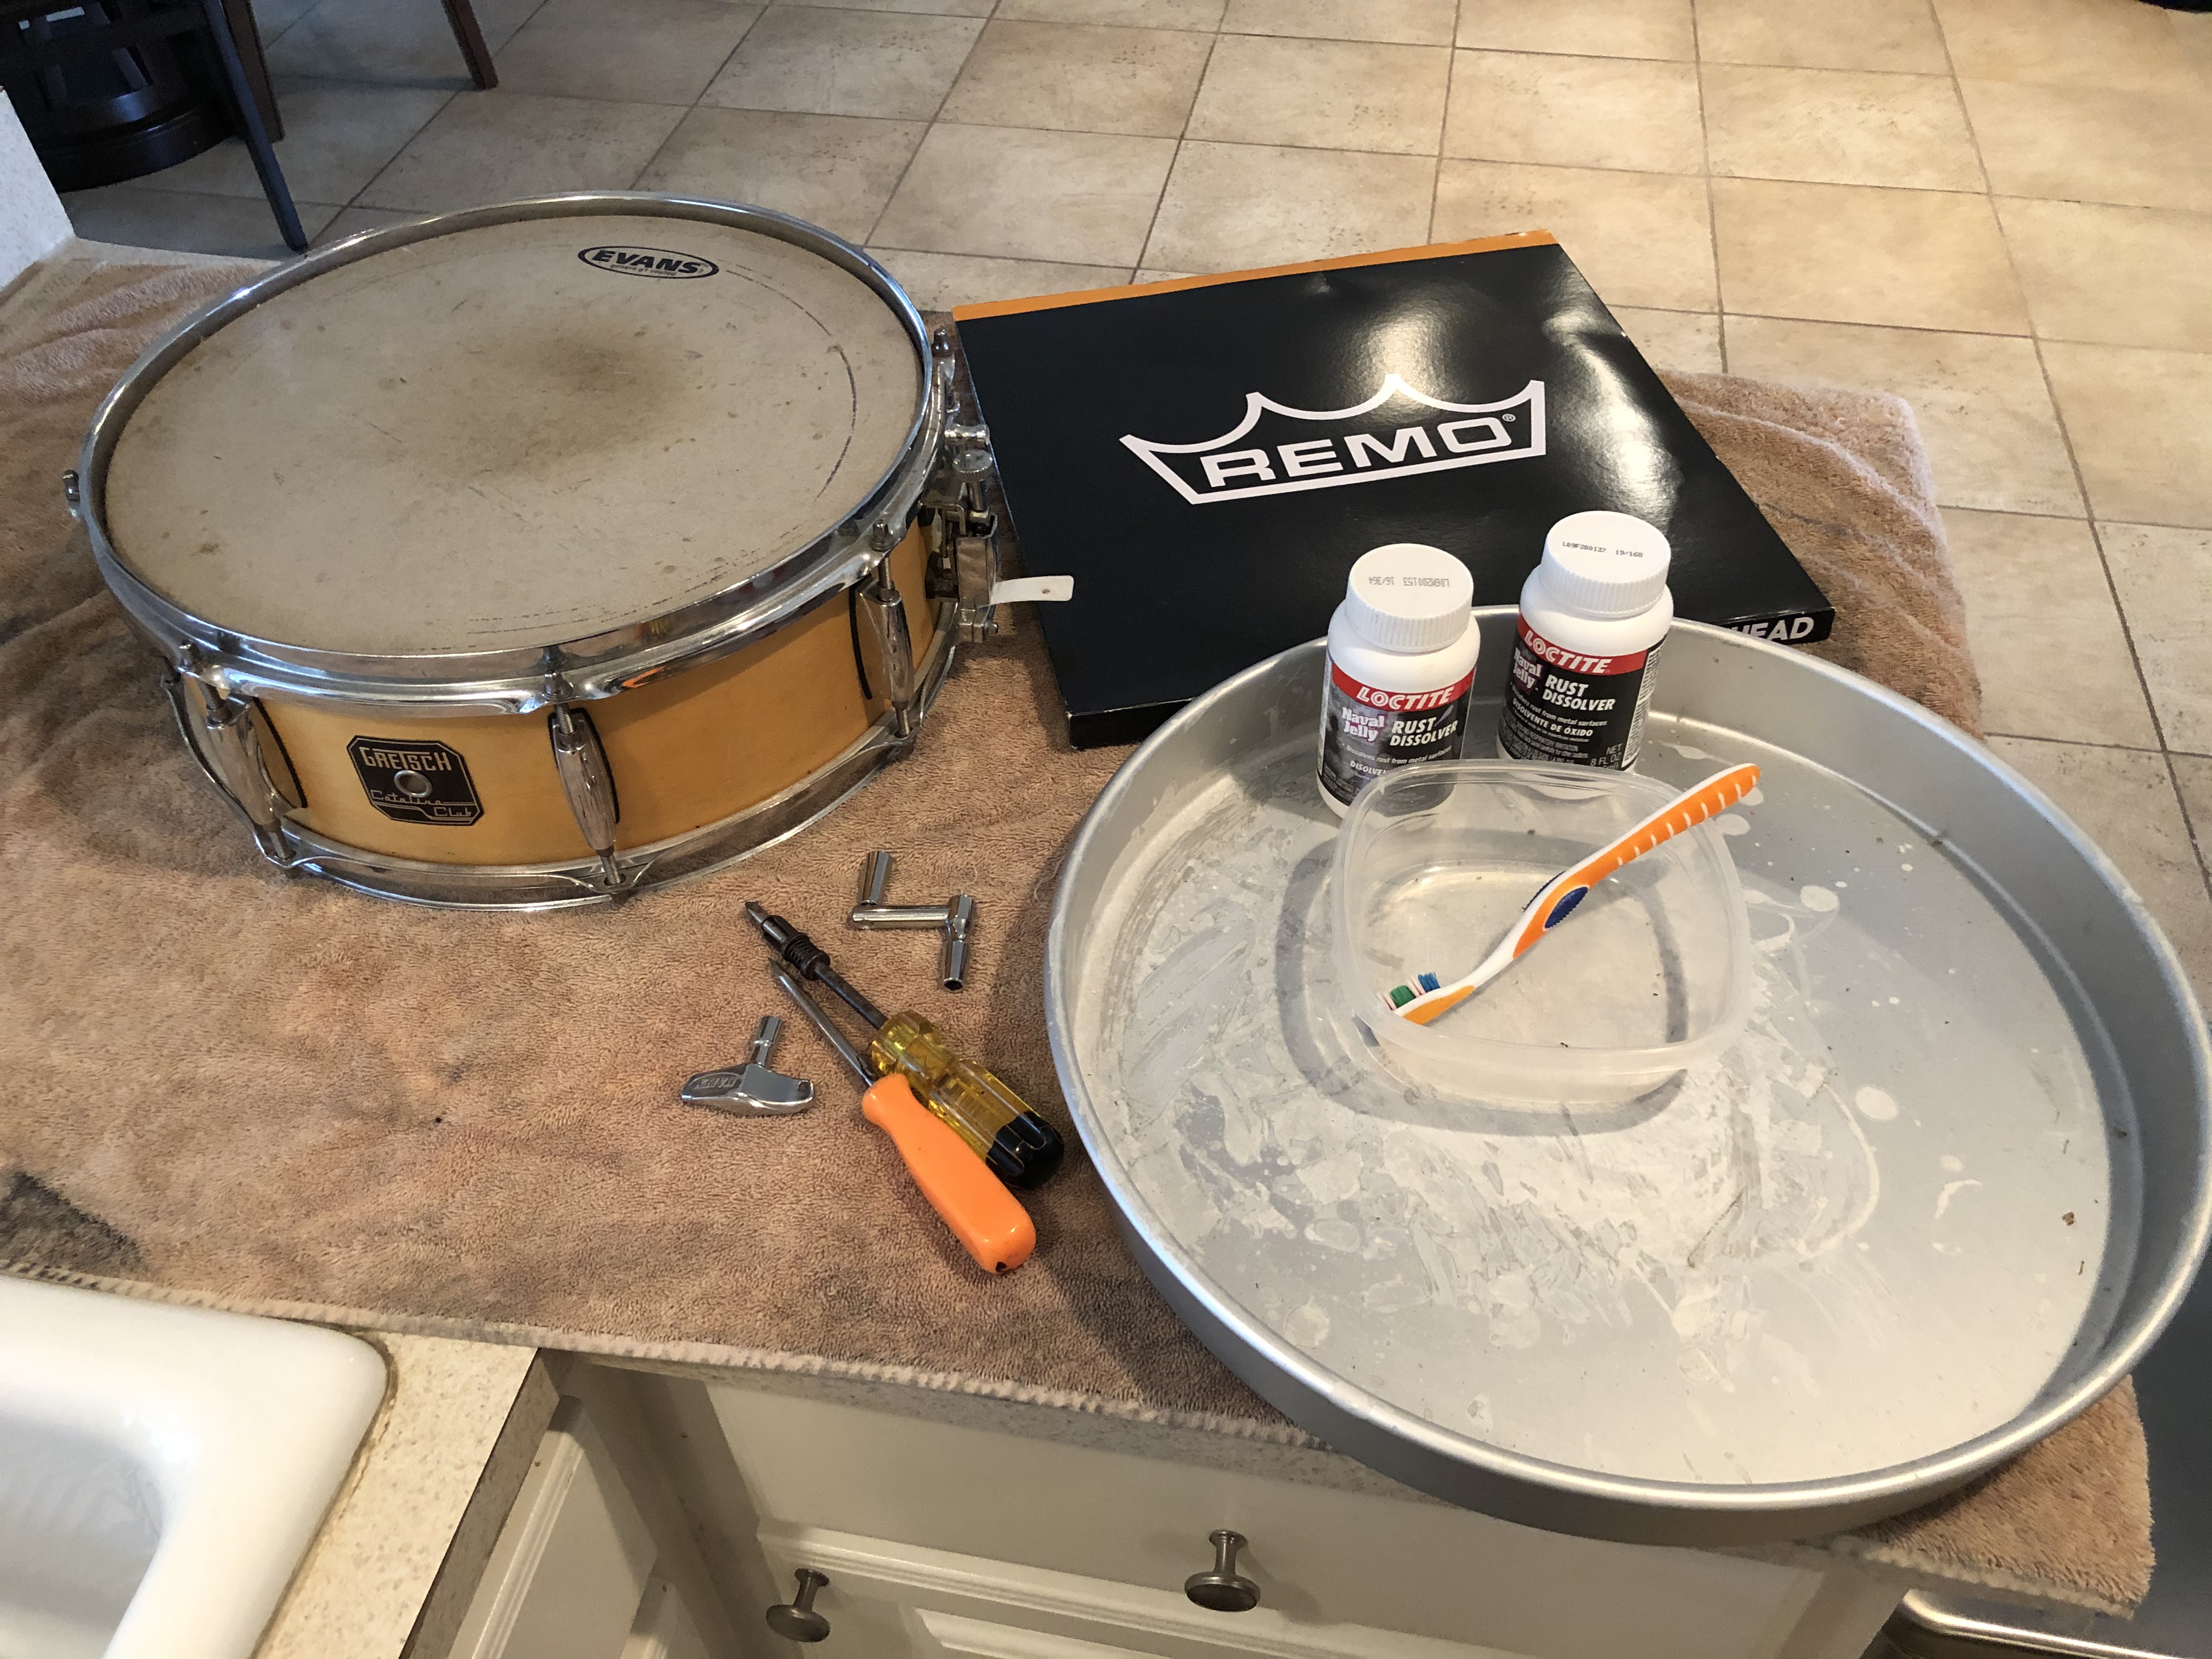
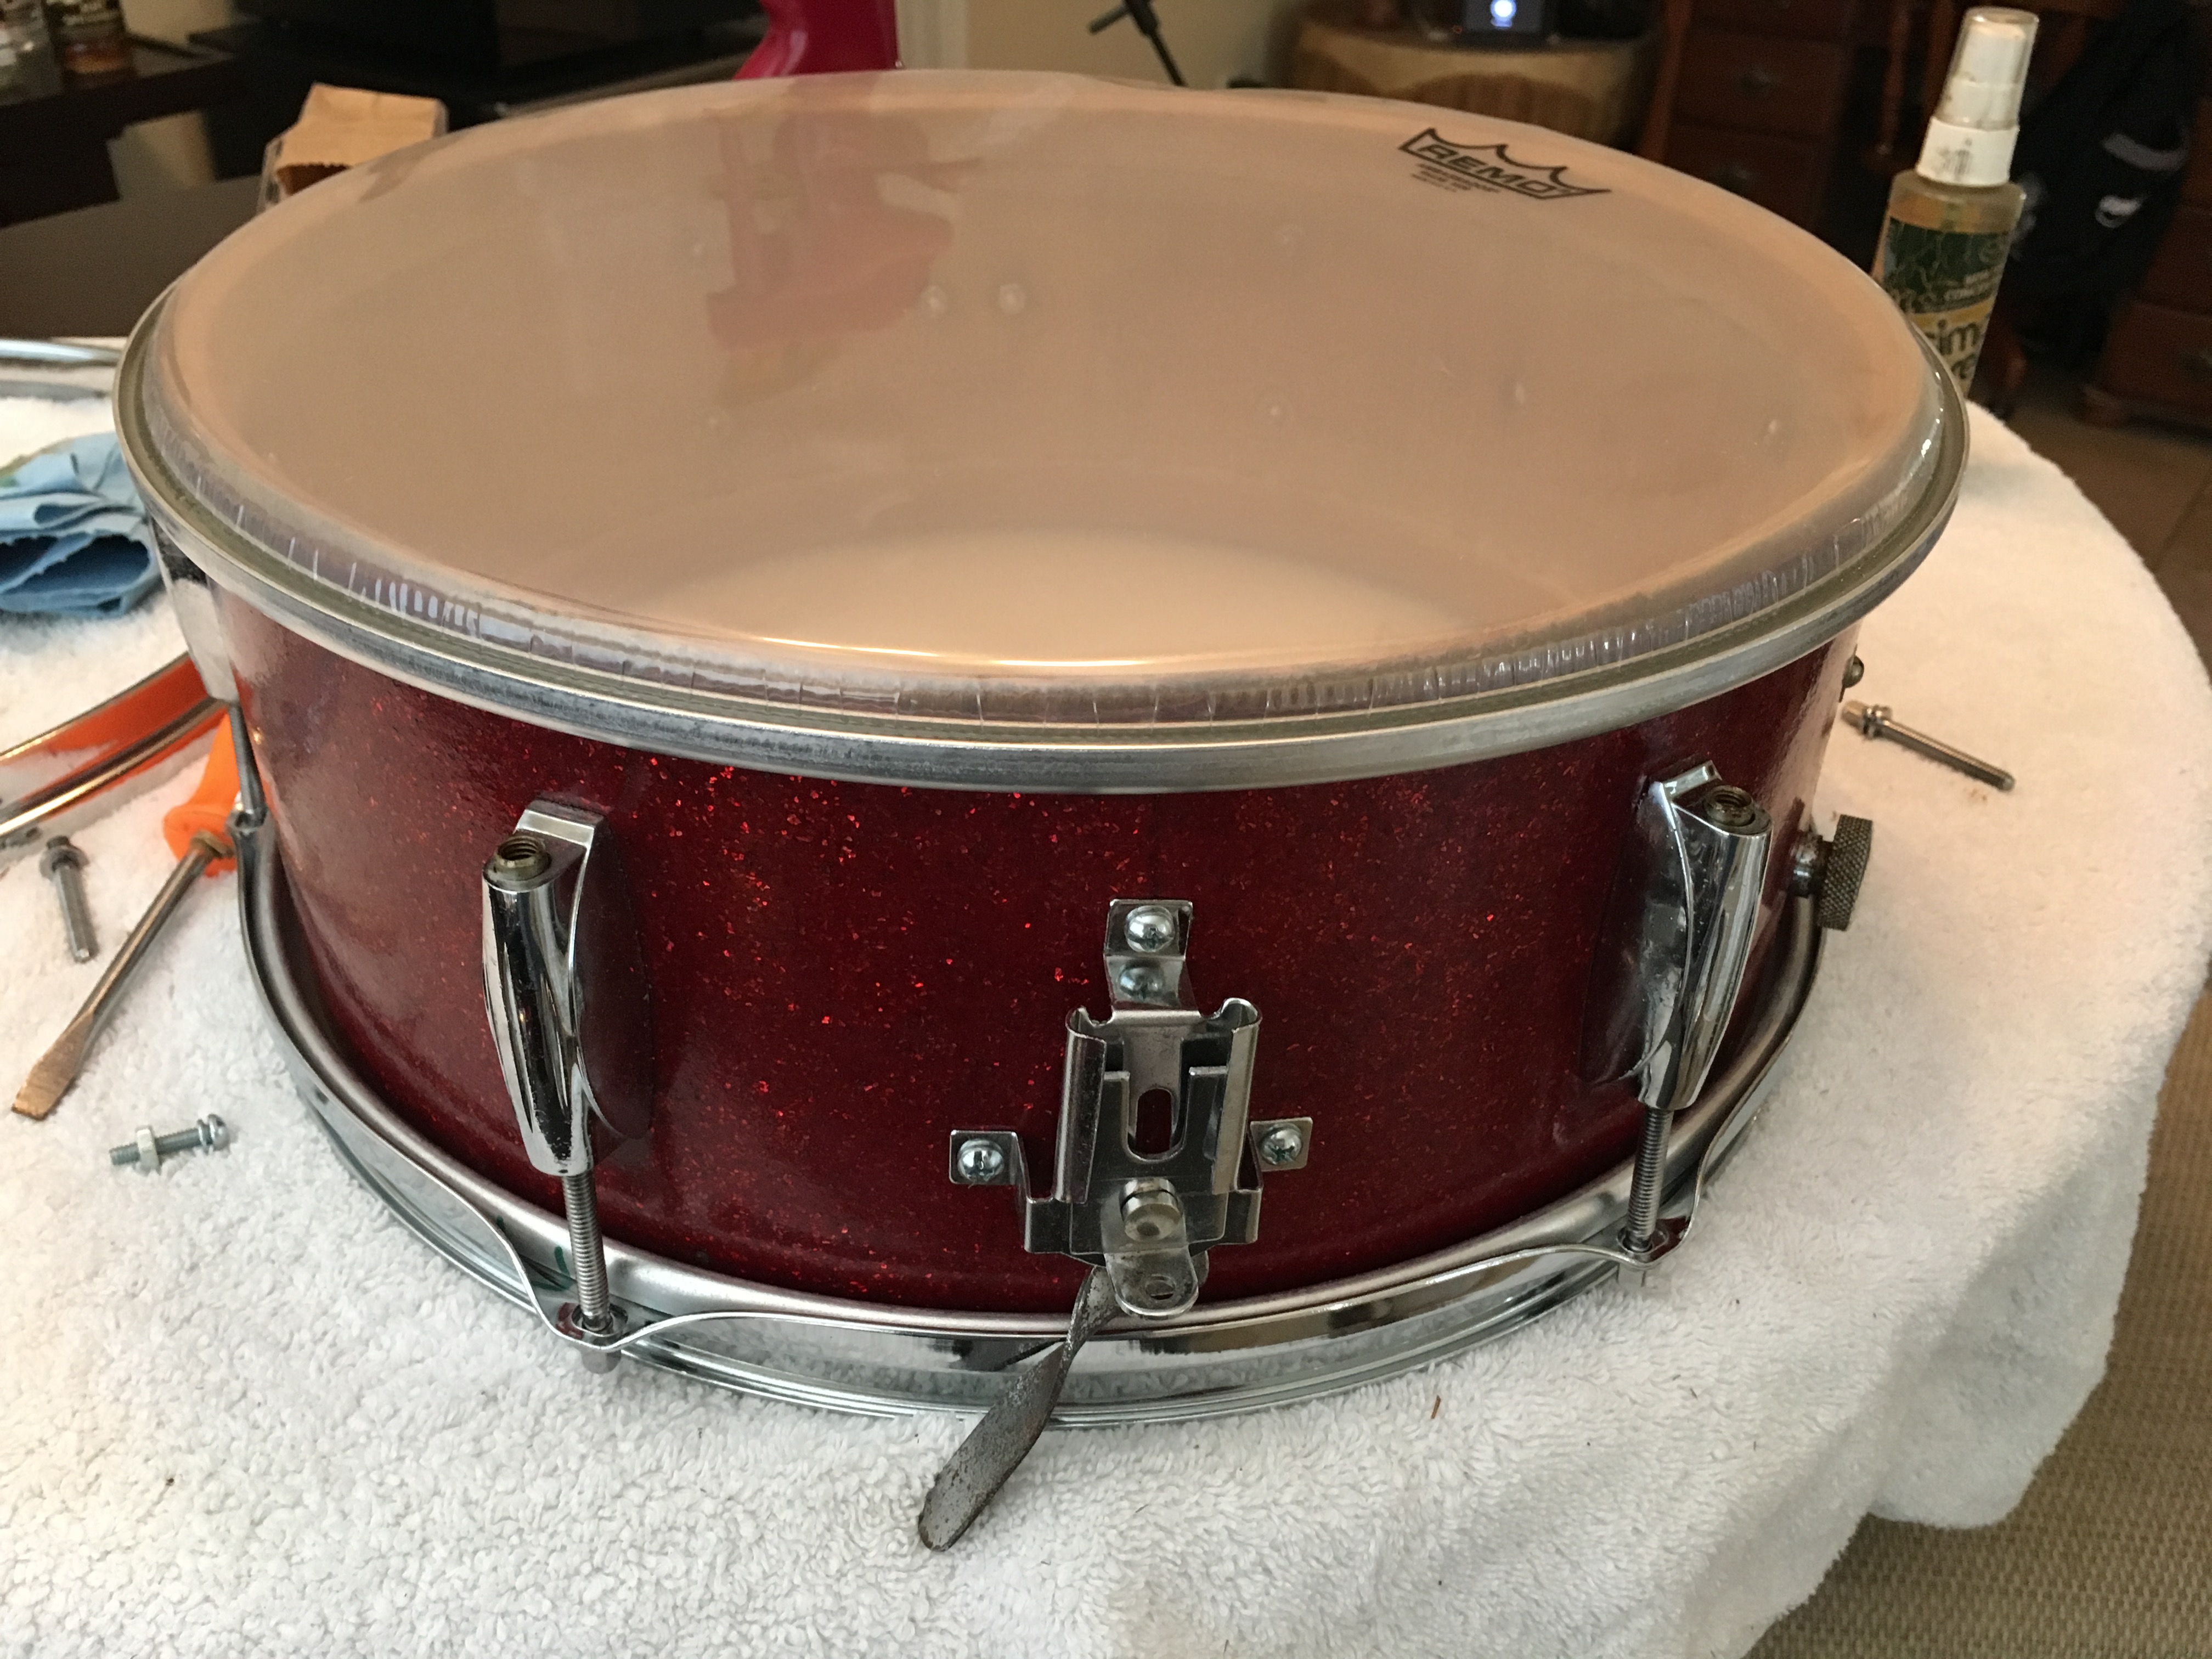
Here is the drum before disassembly.
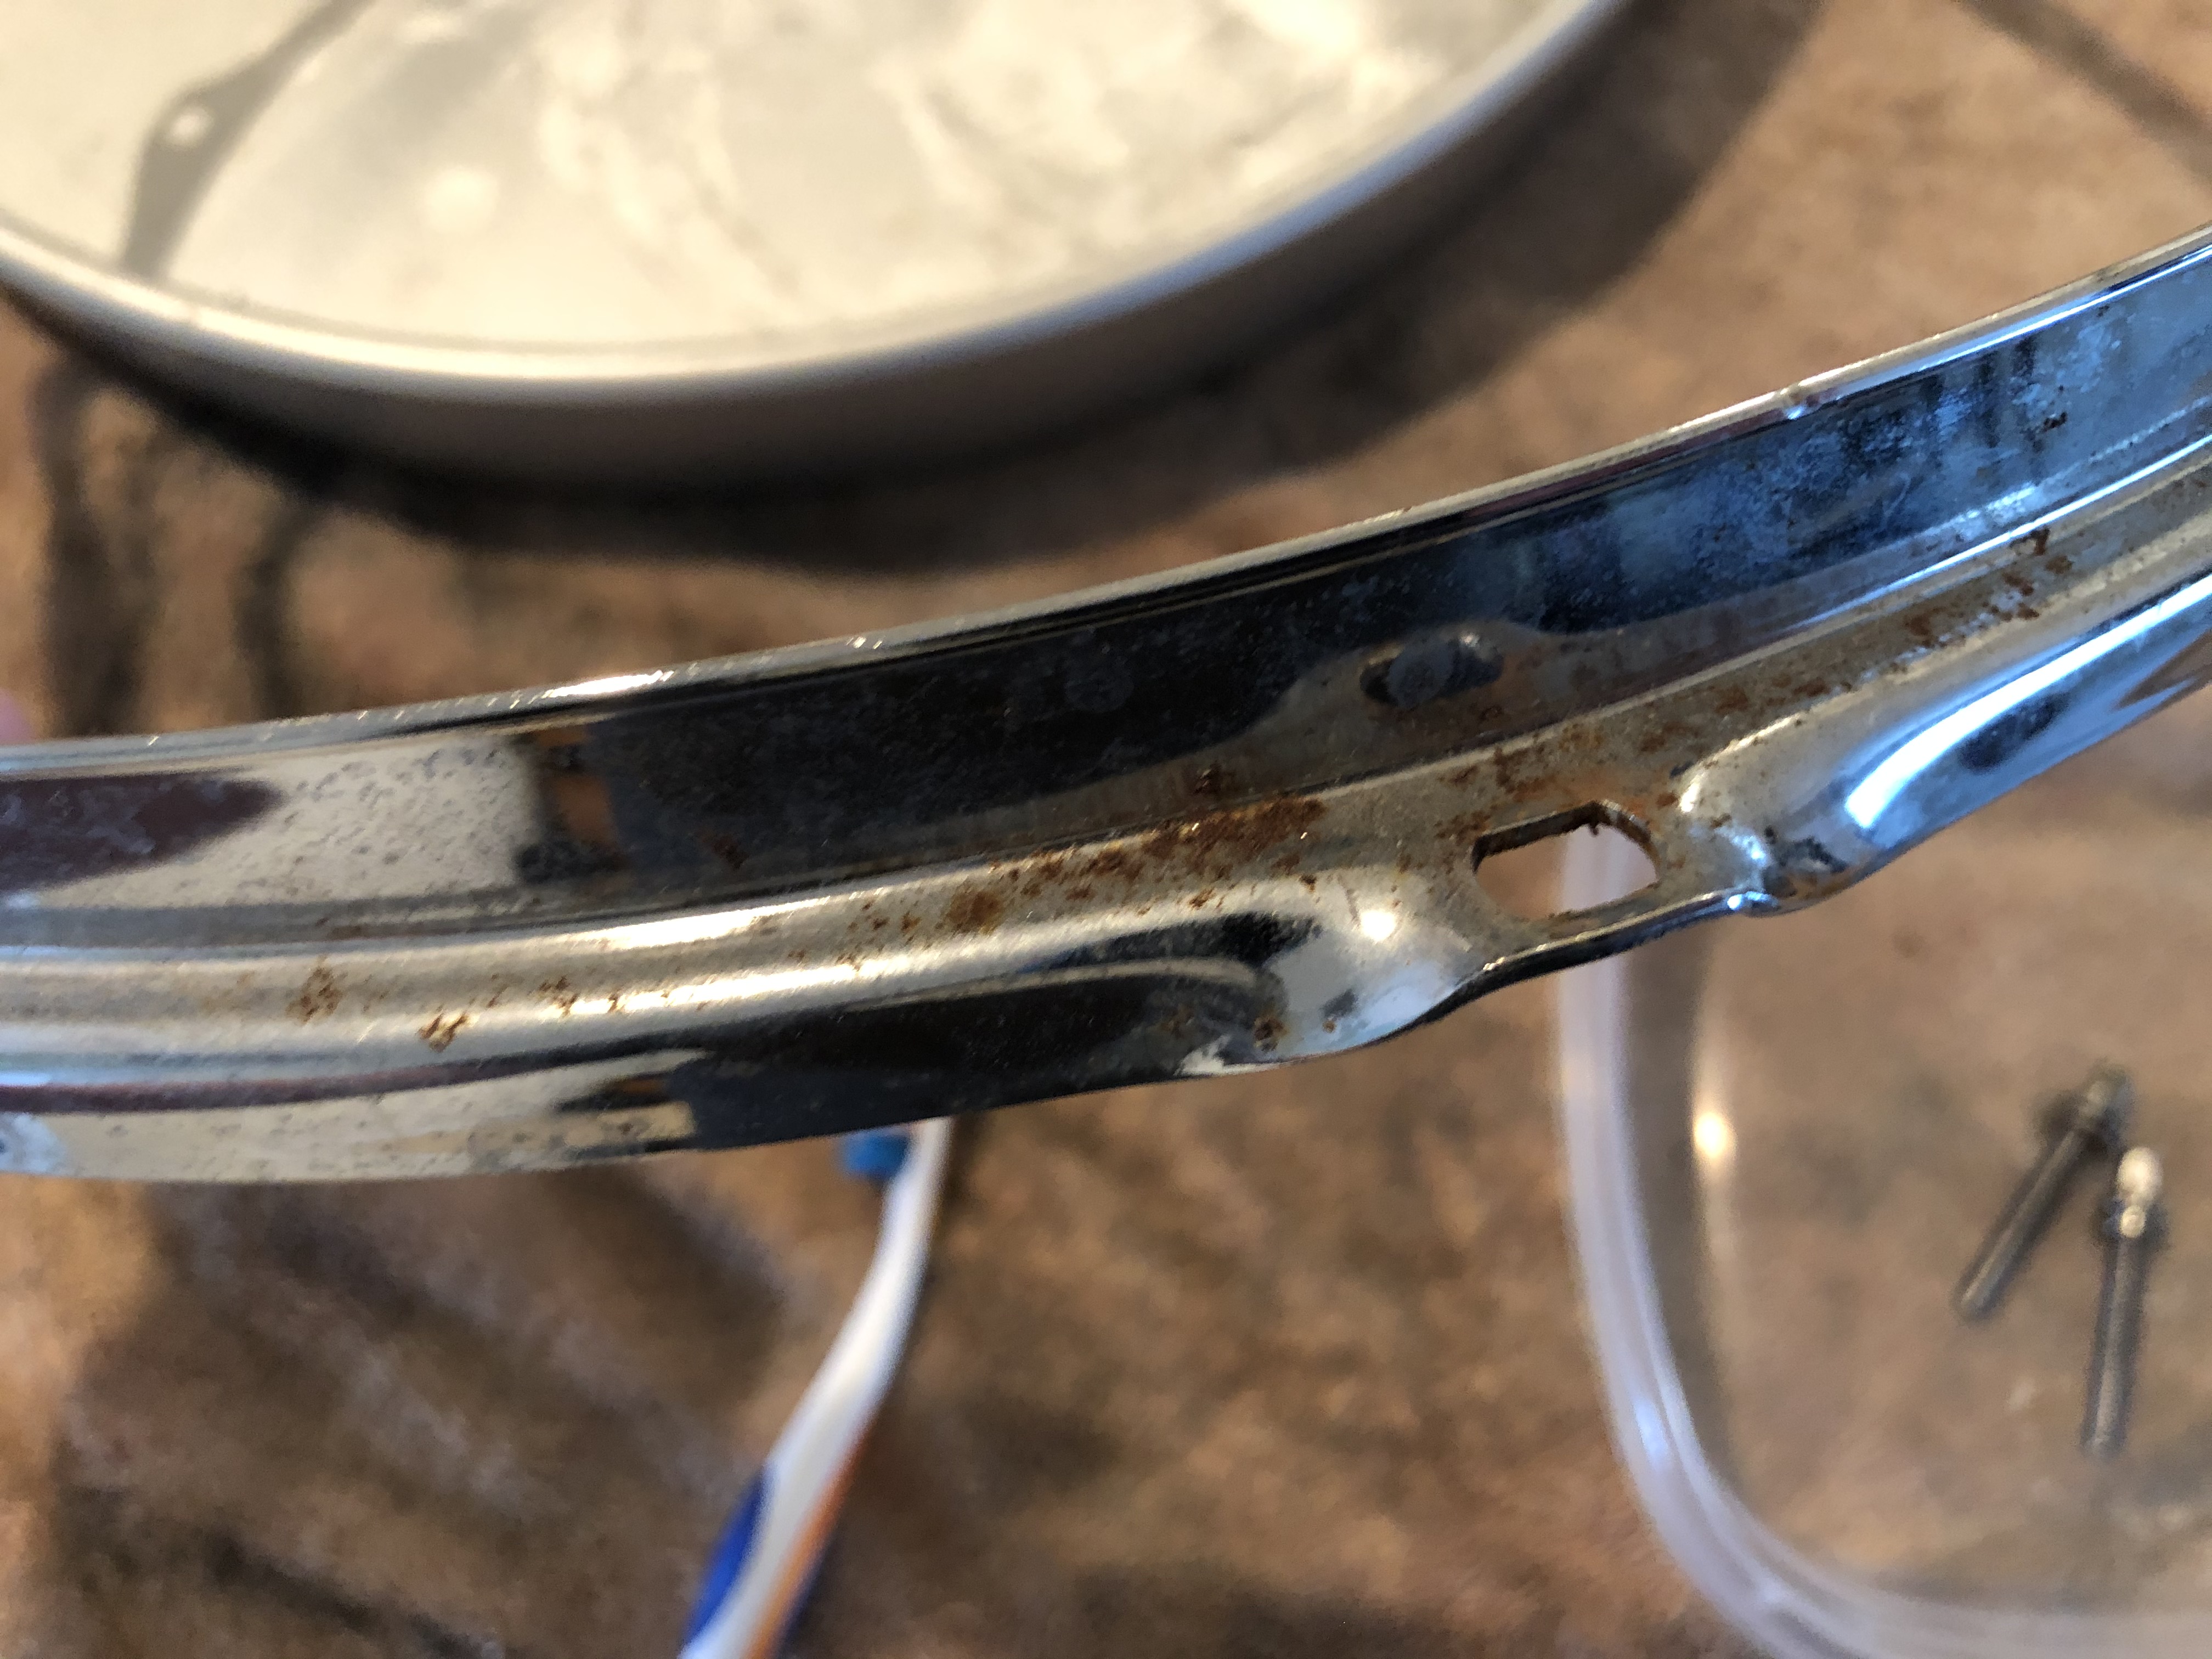
These is considerable rust on quite a few of the chrome pieces, as seen on this rim. A good scrubbing with naval jelly and then a rinse with clean water will remove it and allow for the re-use of these parts and will keep the costs in check.
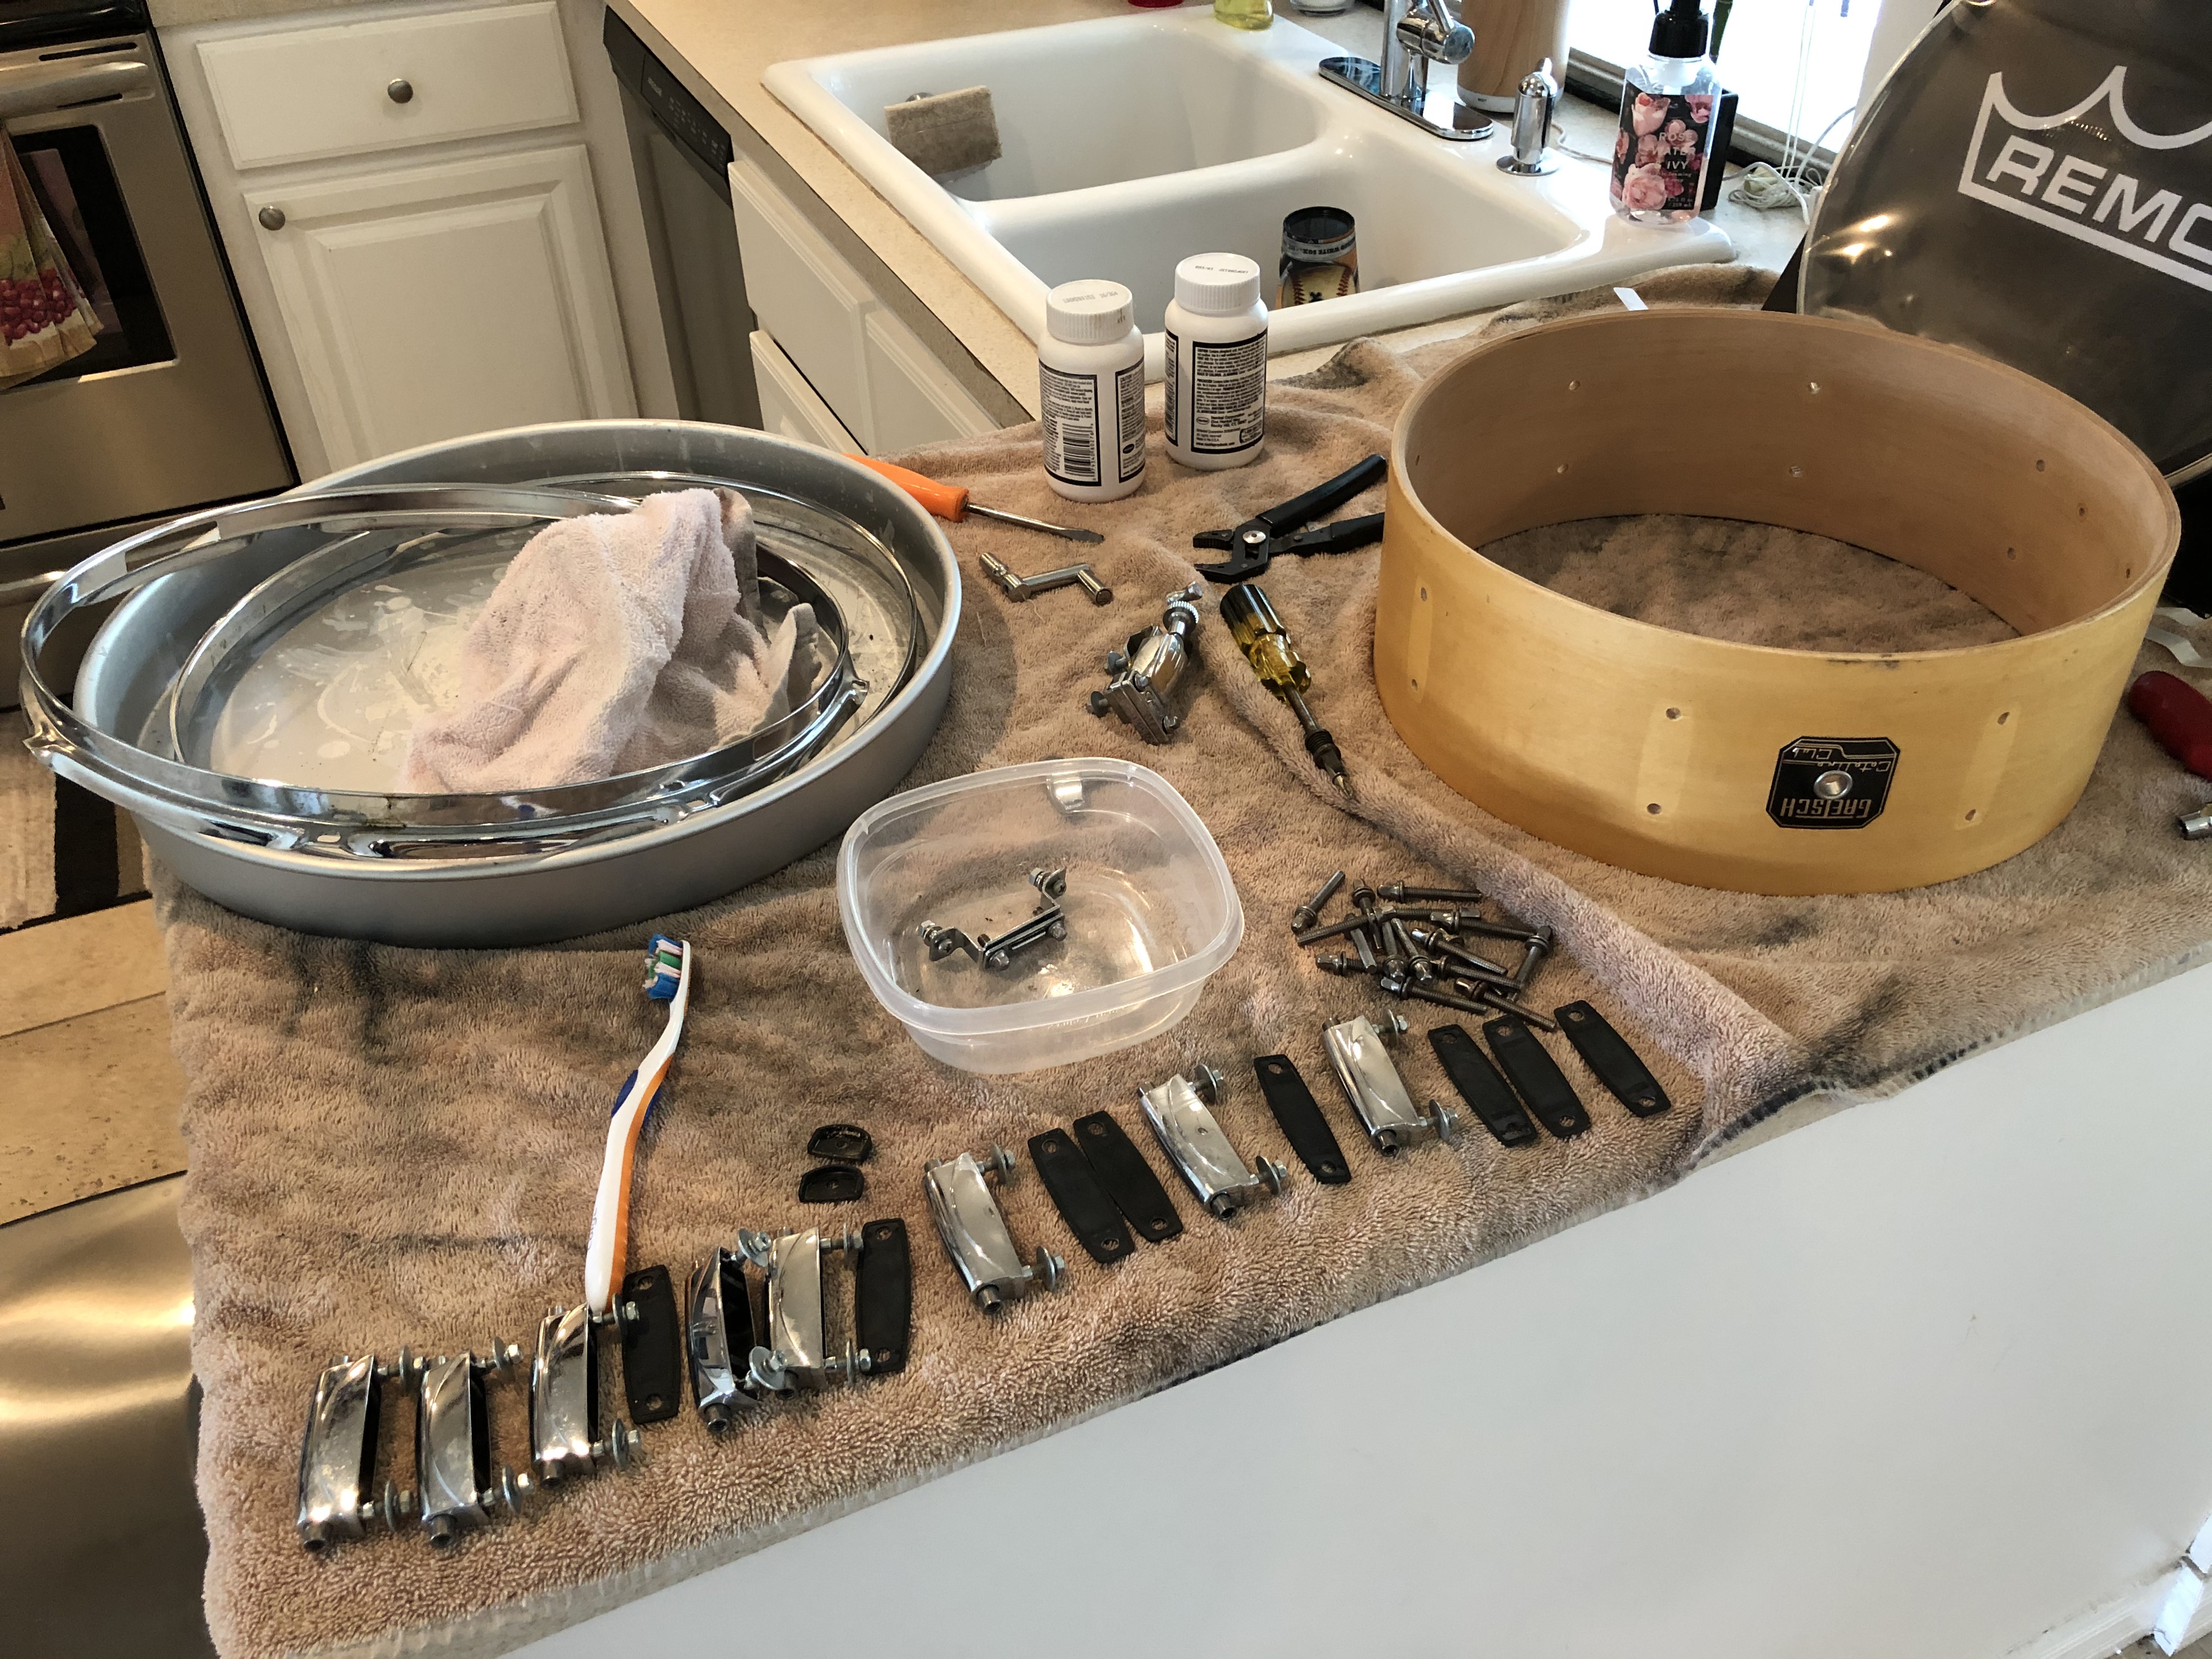
Here is the drum completely dissembled and ready for its restoration.
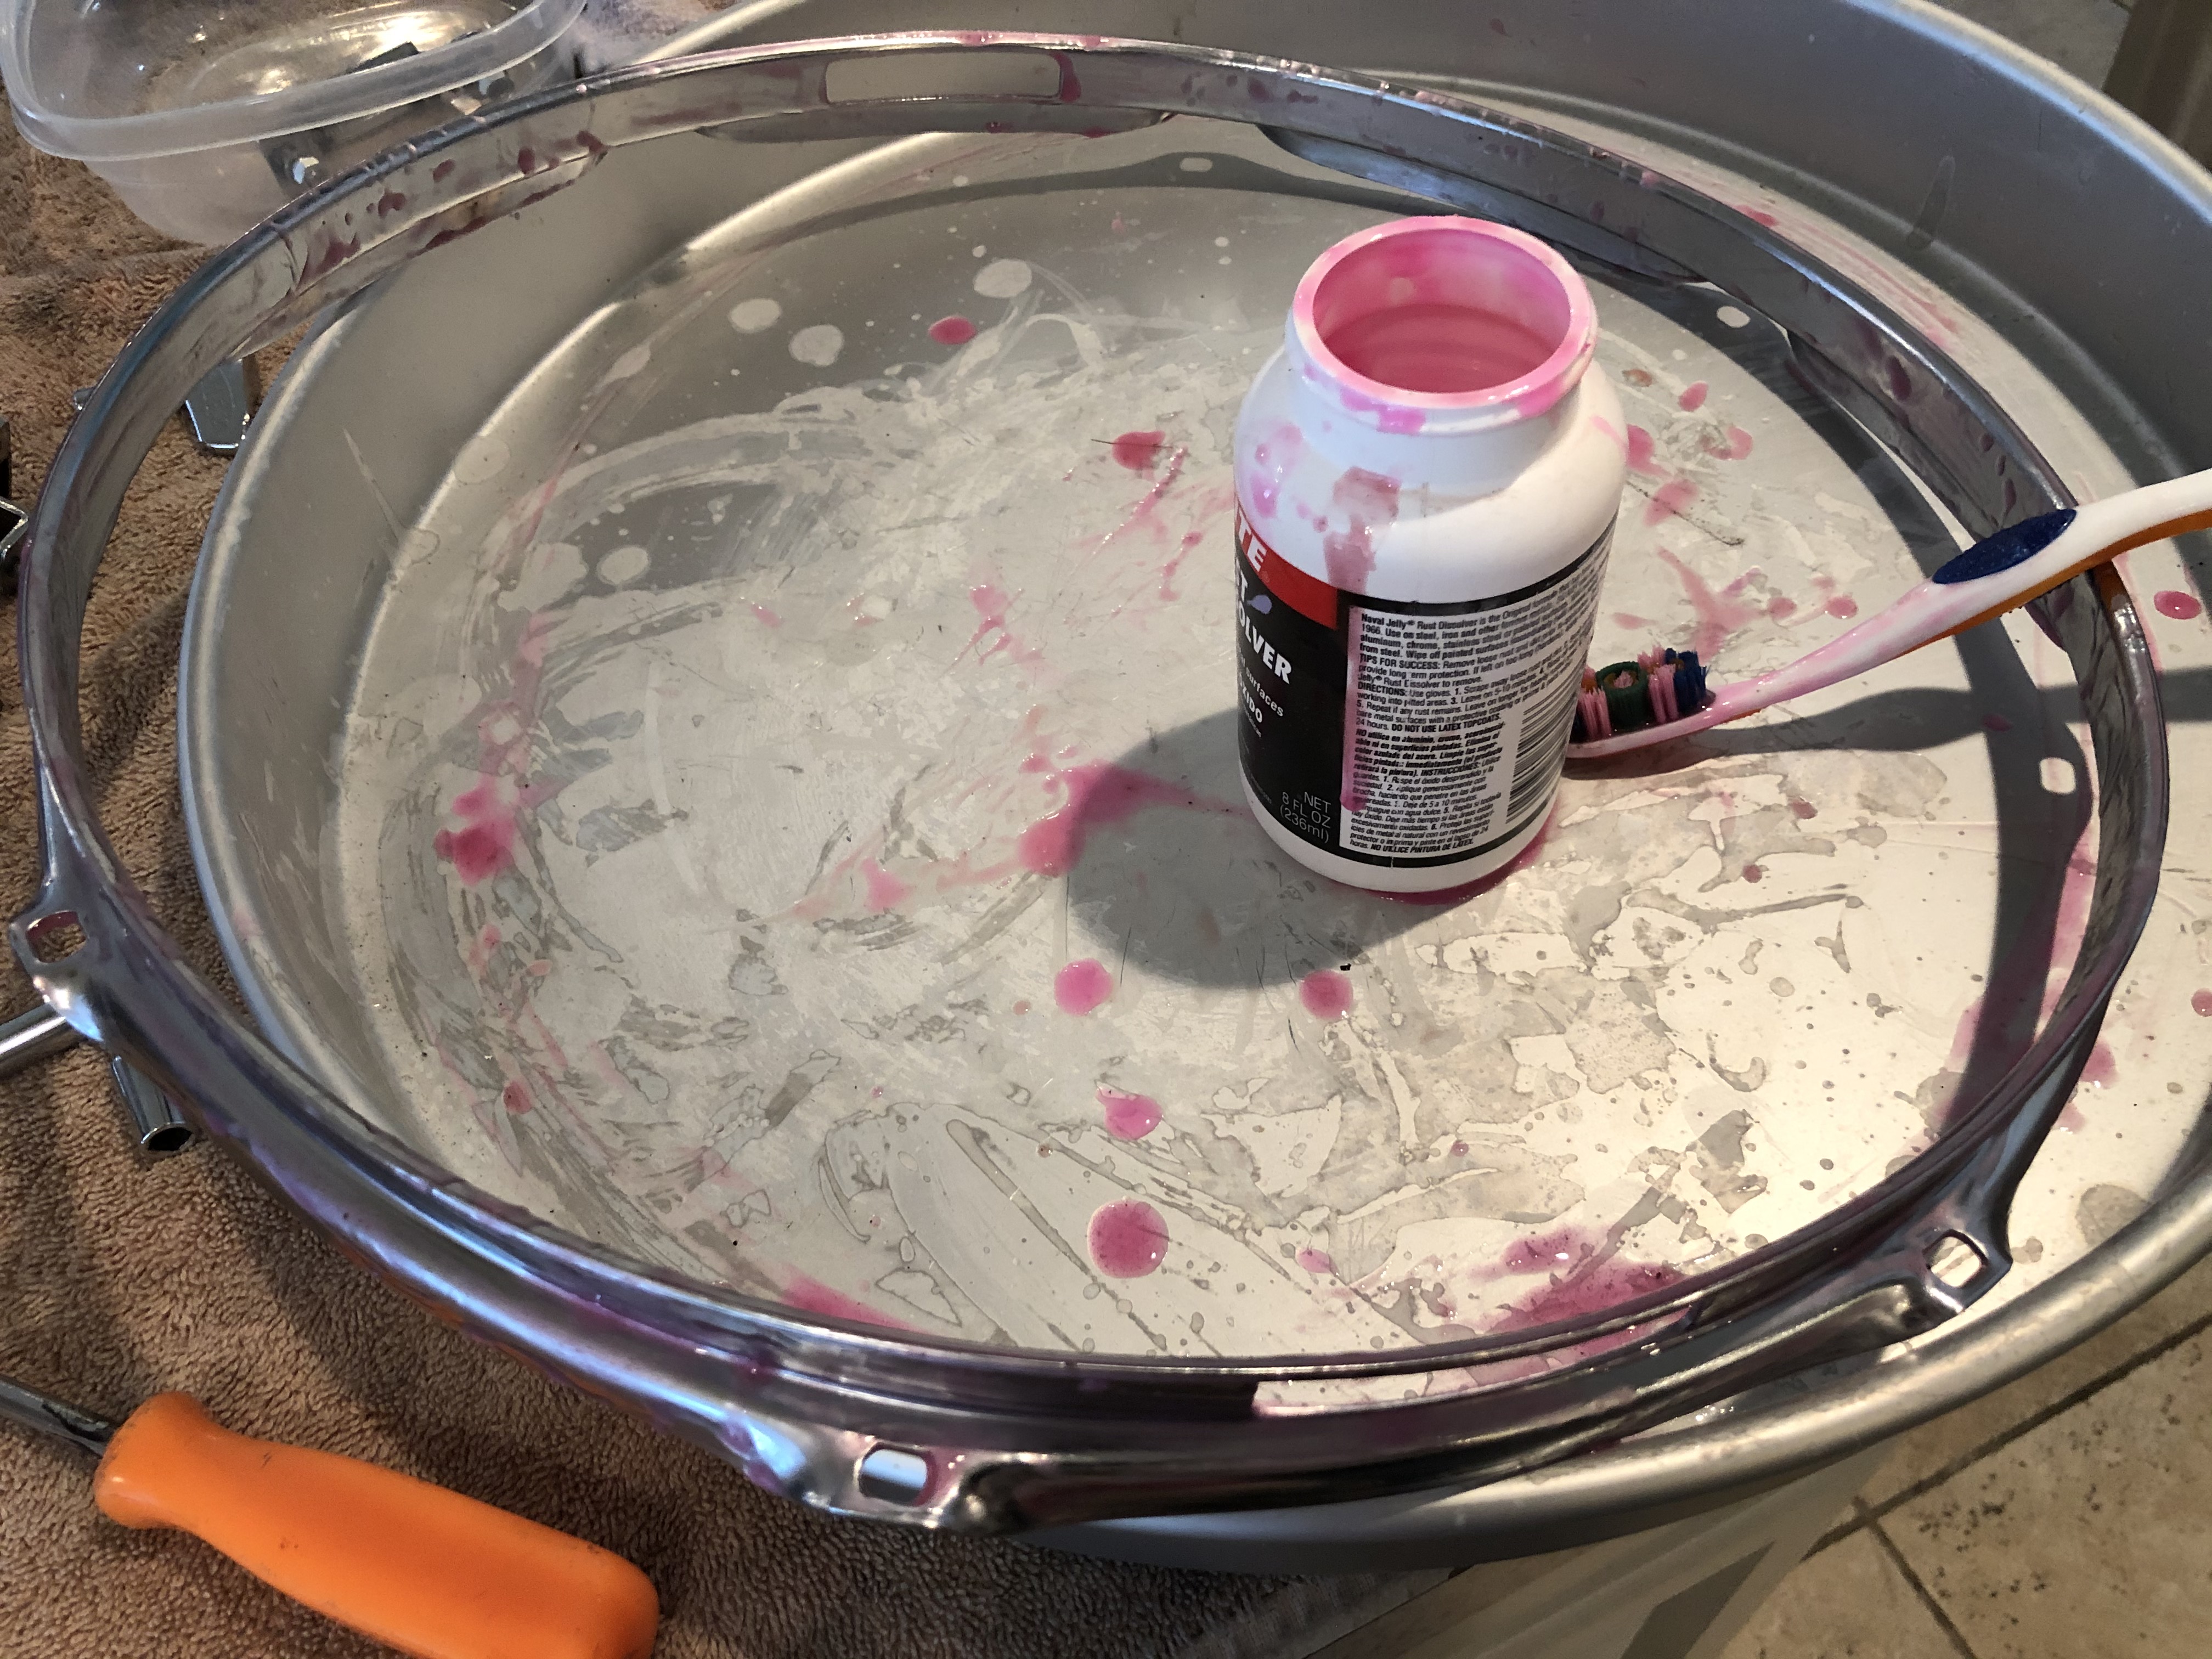 It’s a messy job, but it works. All of the rust is removed and after a quick bath in clean water and dry with a cotton cloth, all of the chrome looks brand new.
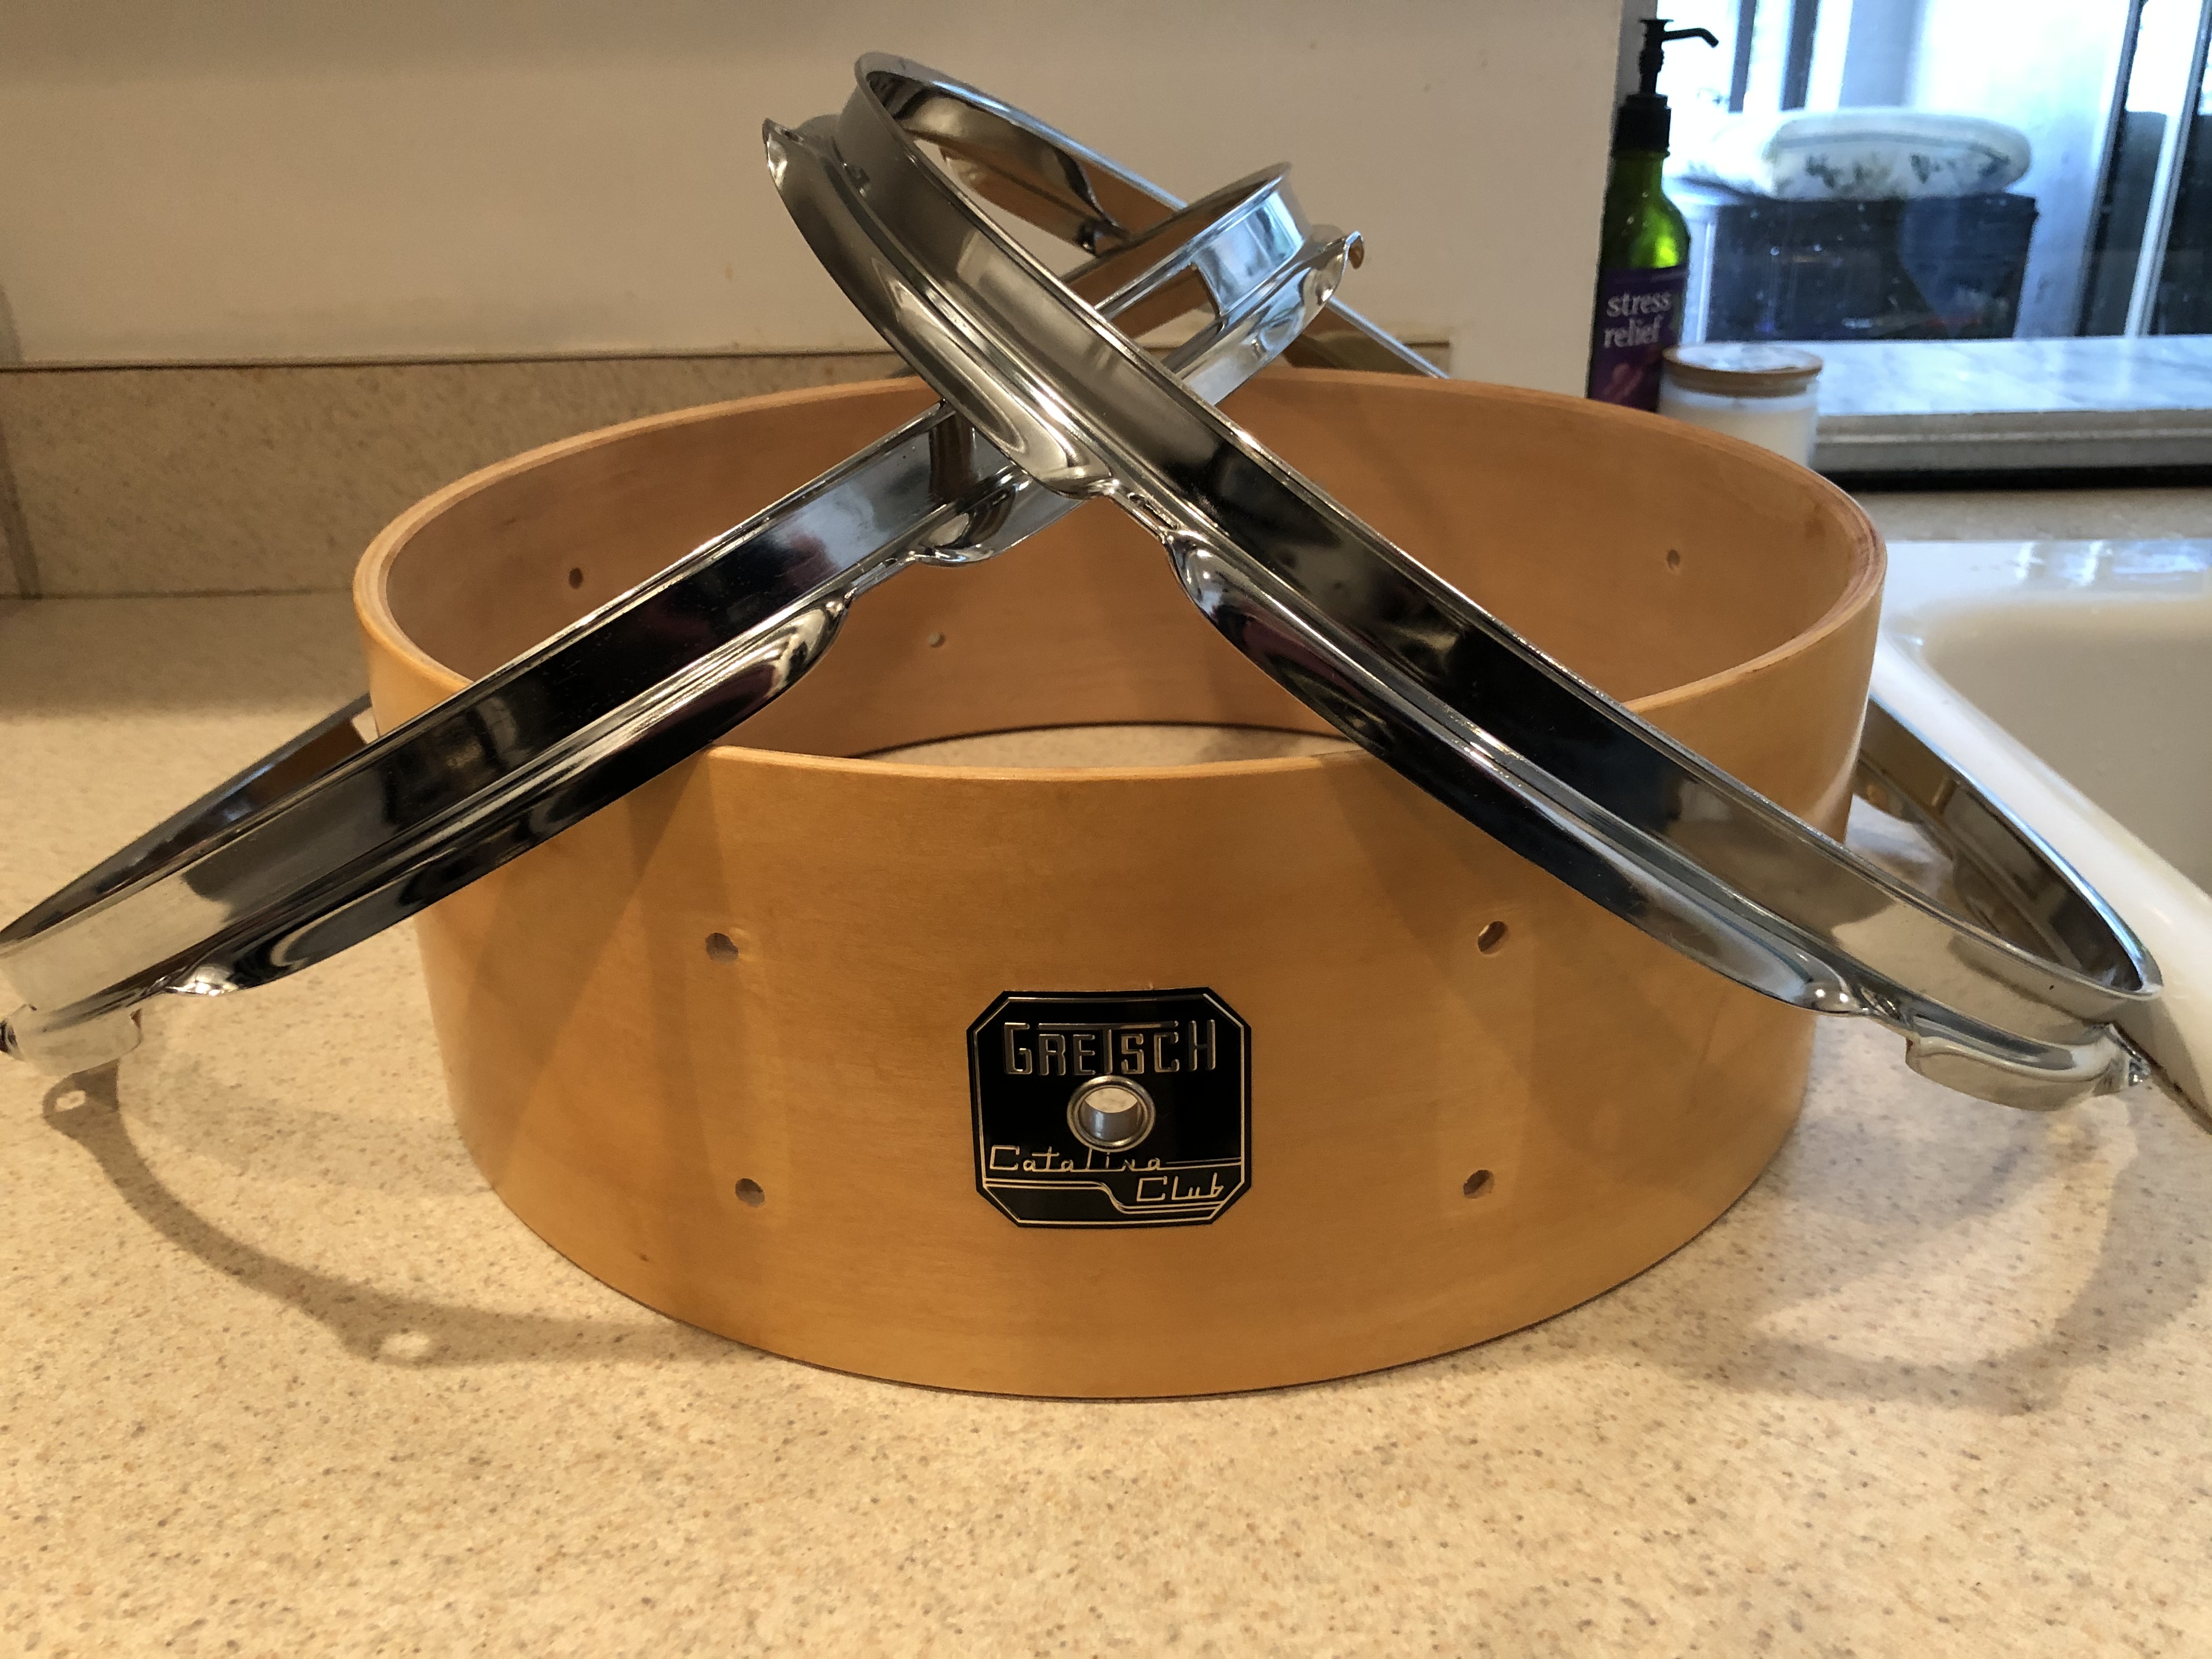 Both hoops are finished and have been treated to a coat of automotive chrome polish. The shell itself has been cleaned, bearing edges were inspected, lightly sanded and dressed with carnuba wax. Once all of the other chrome pieces are done, it is time to start reassembly.
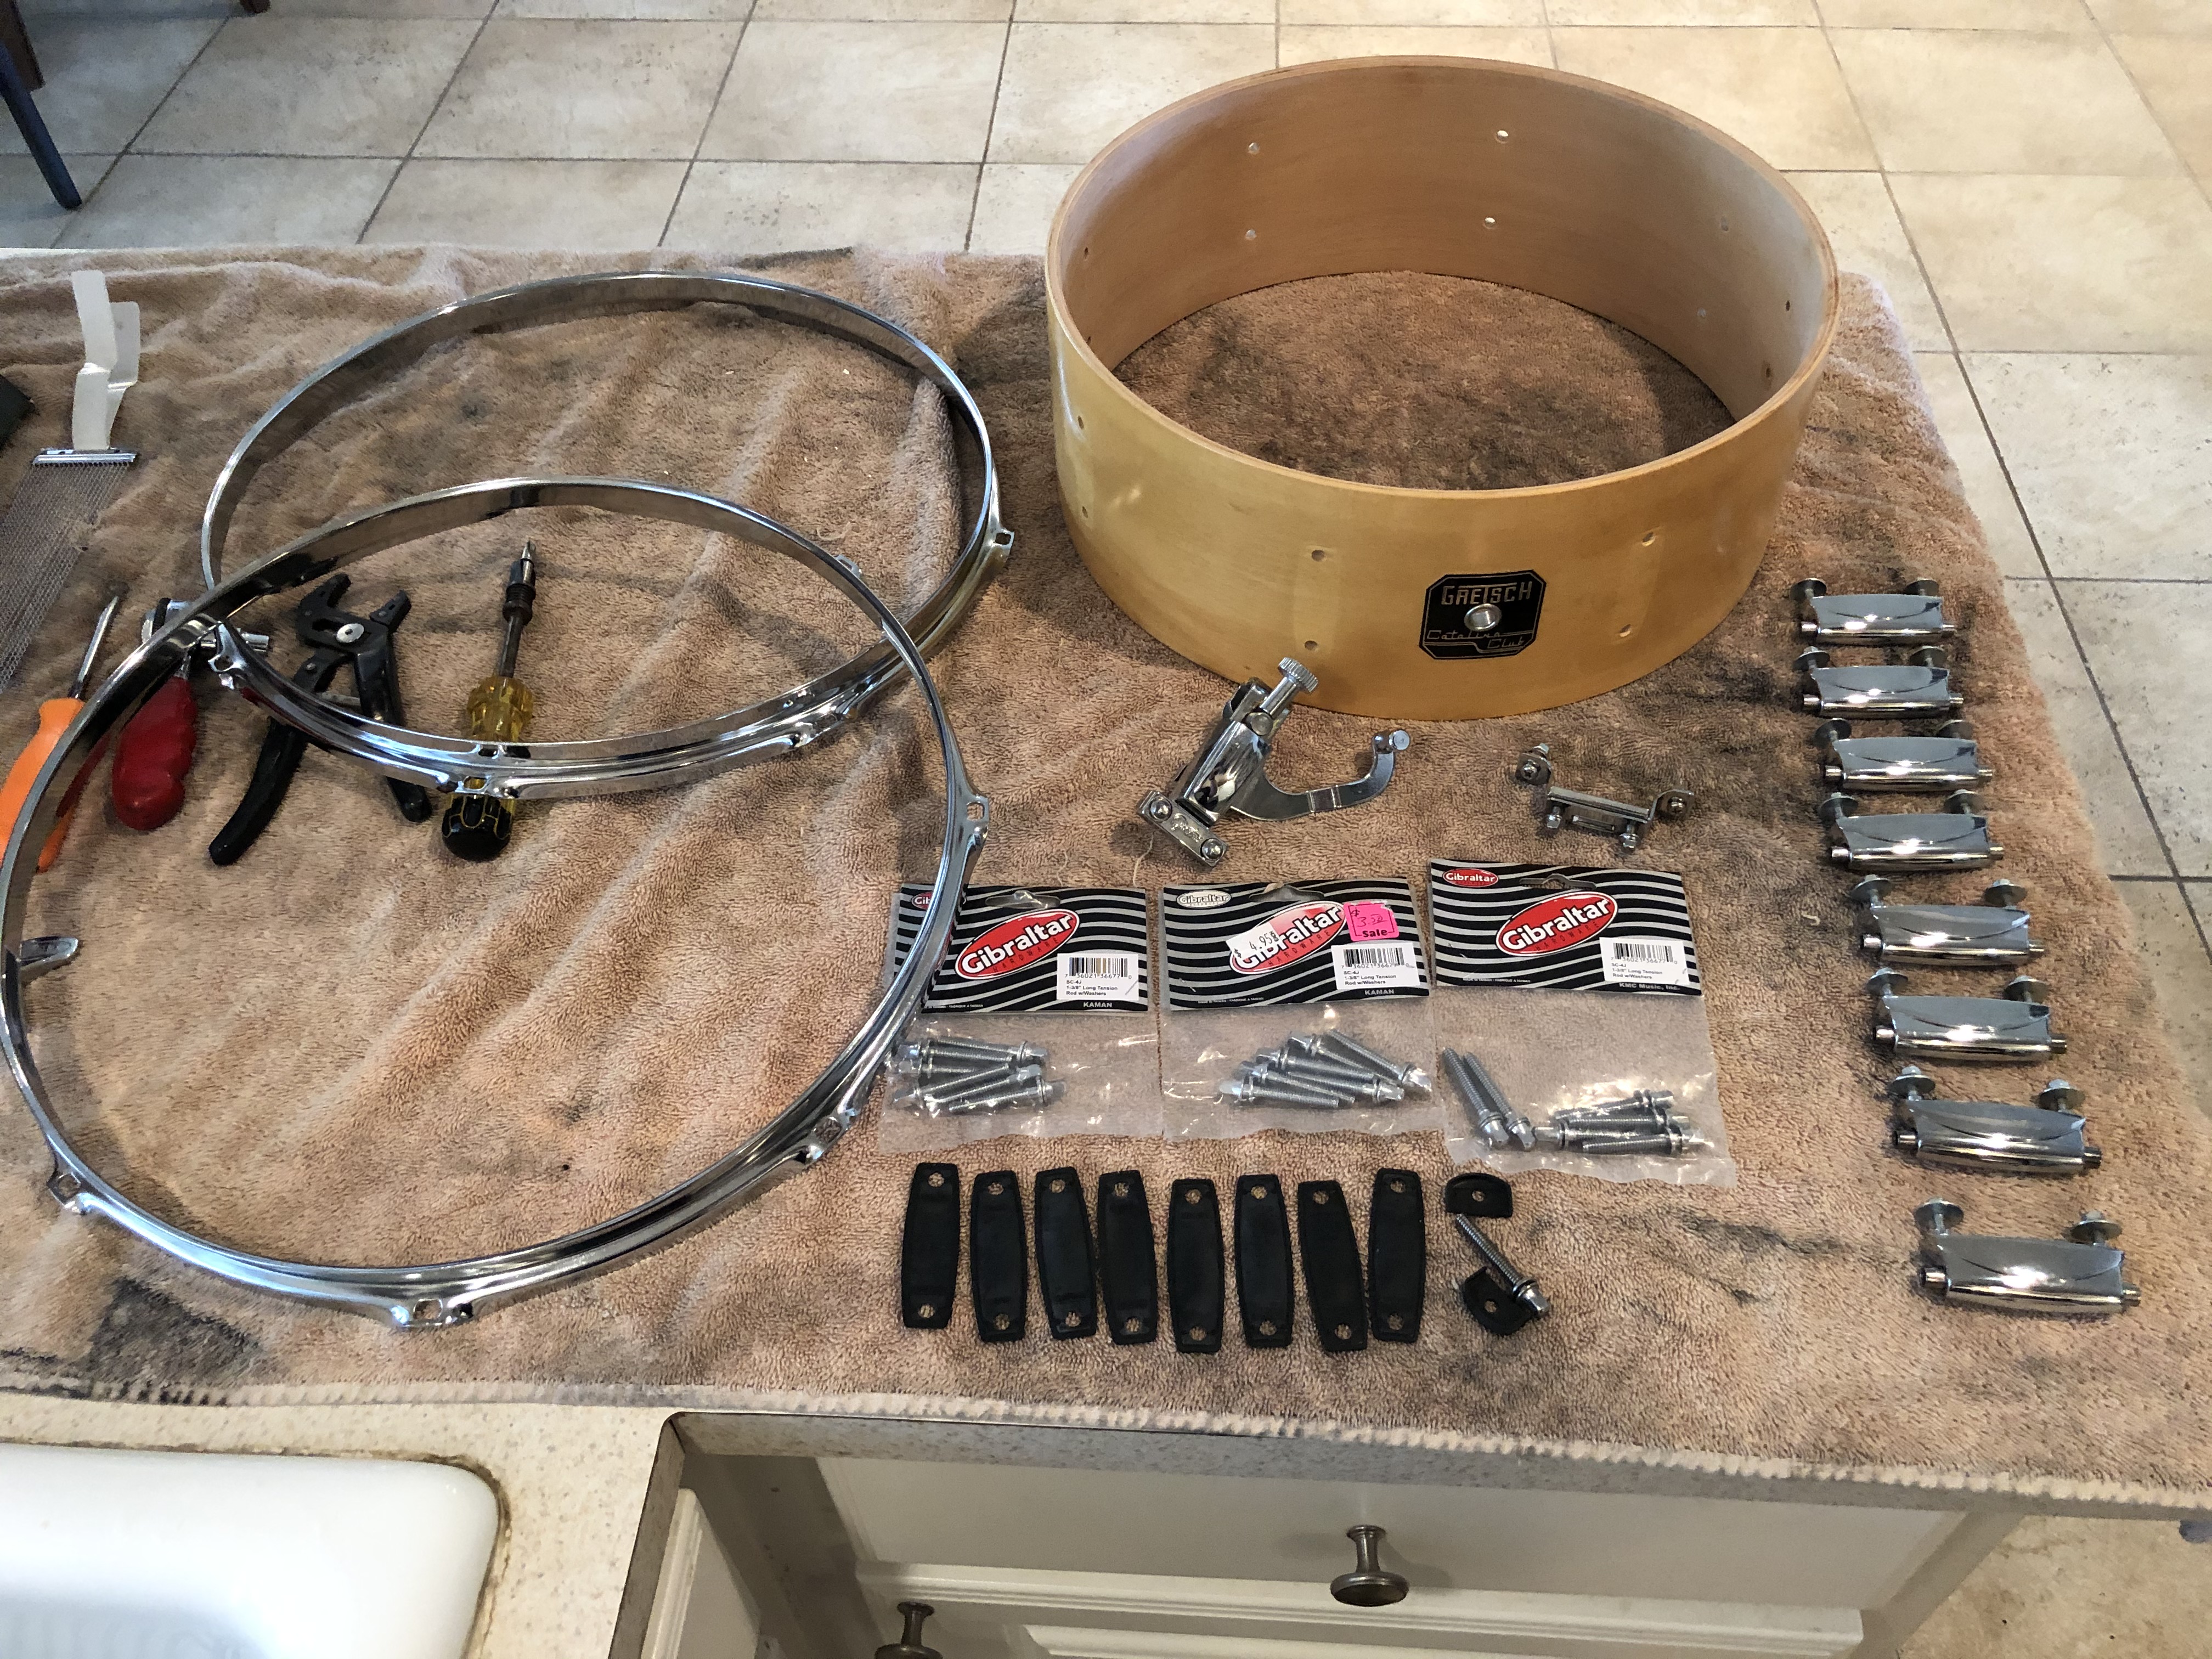
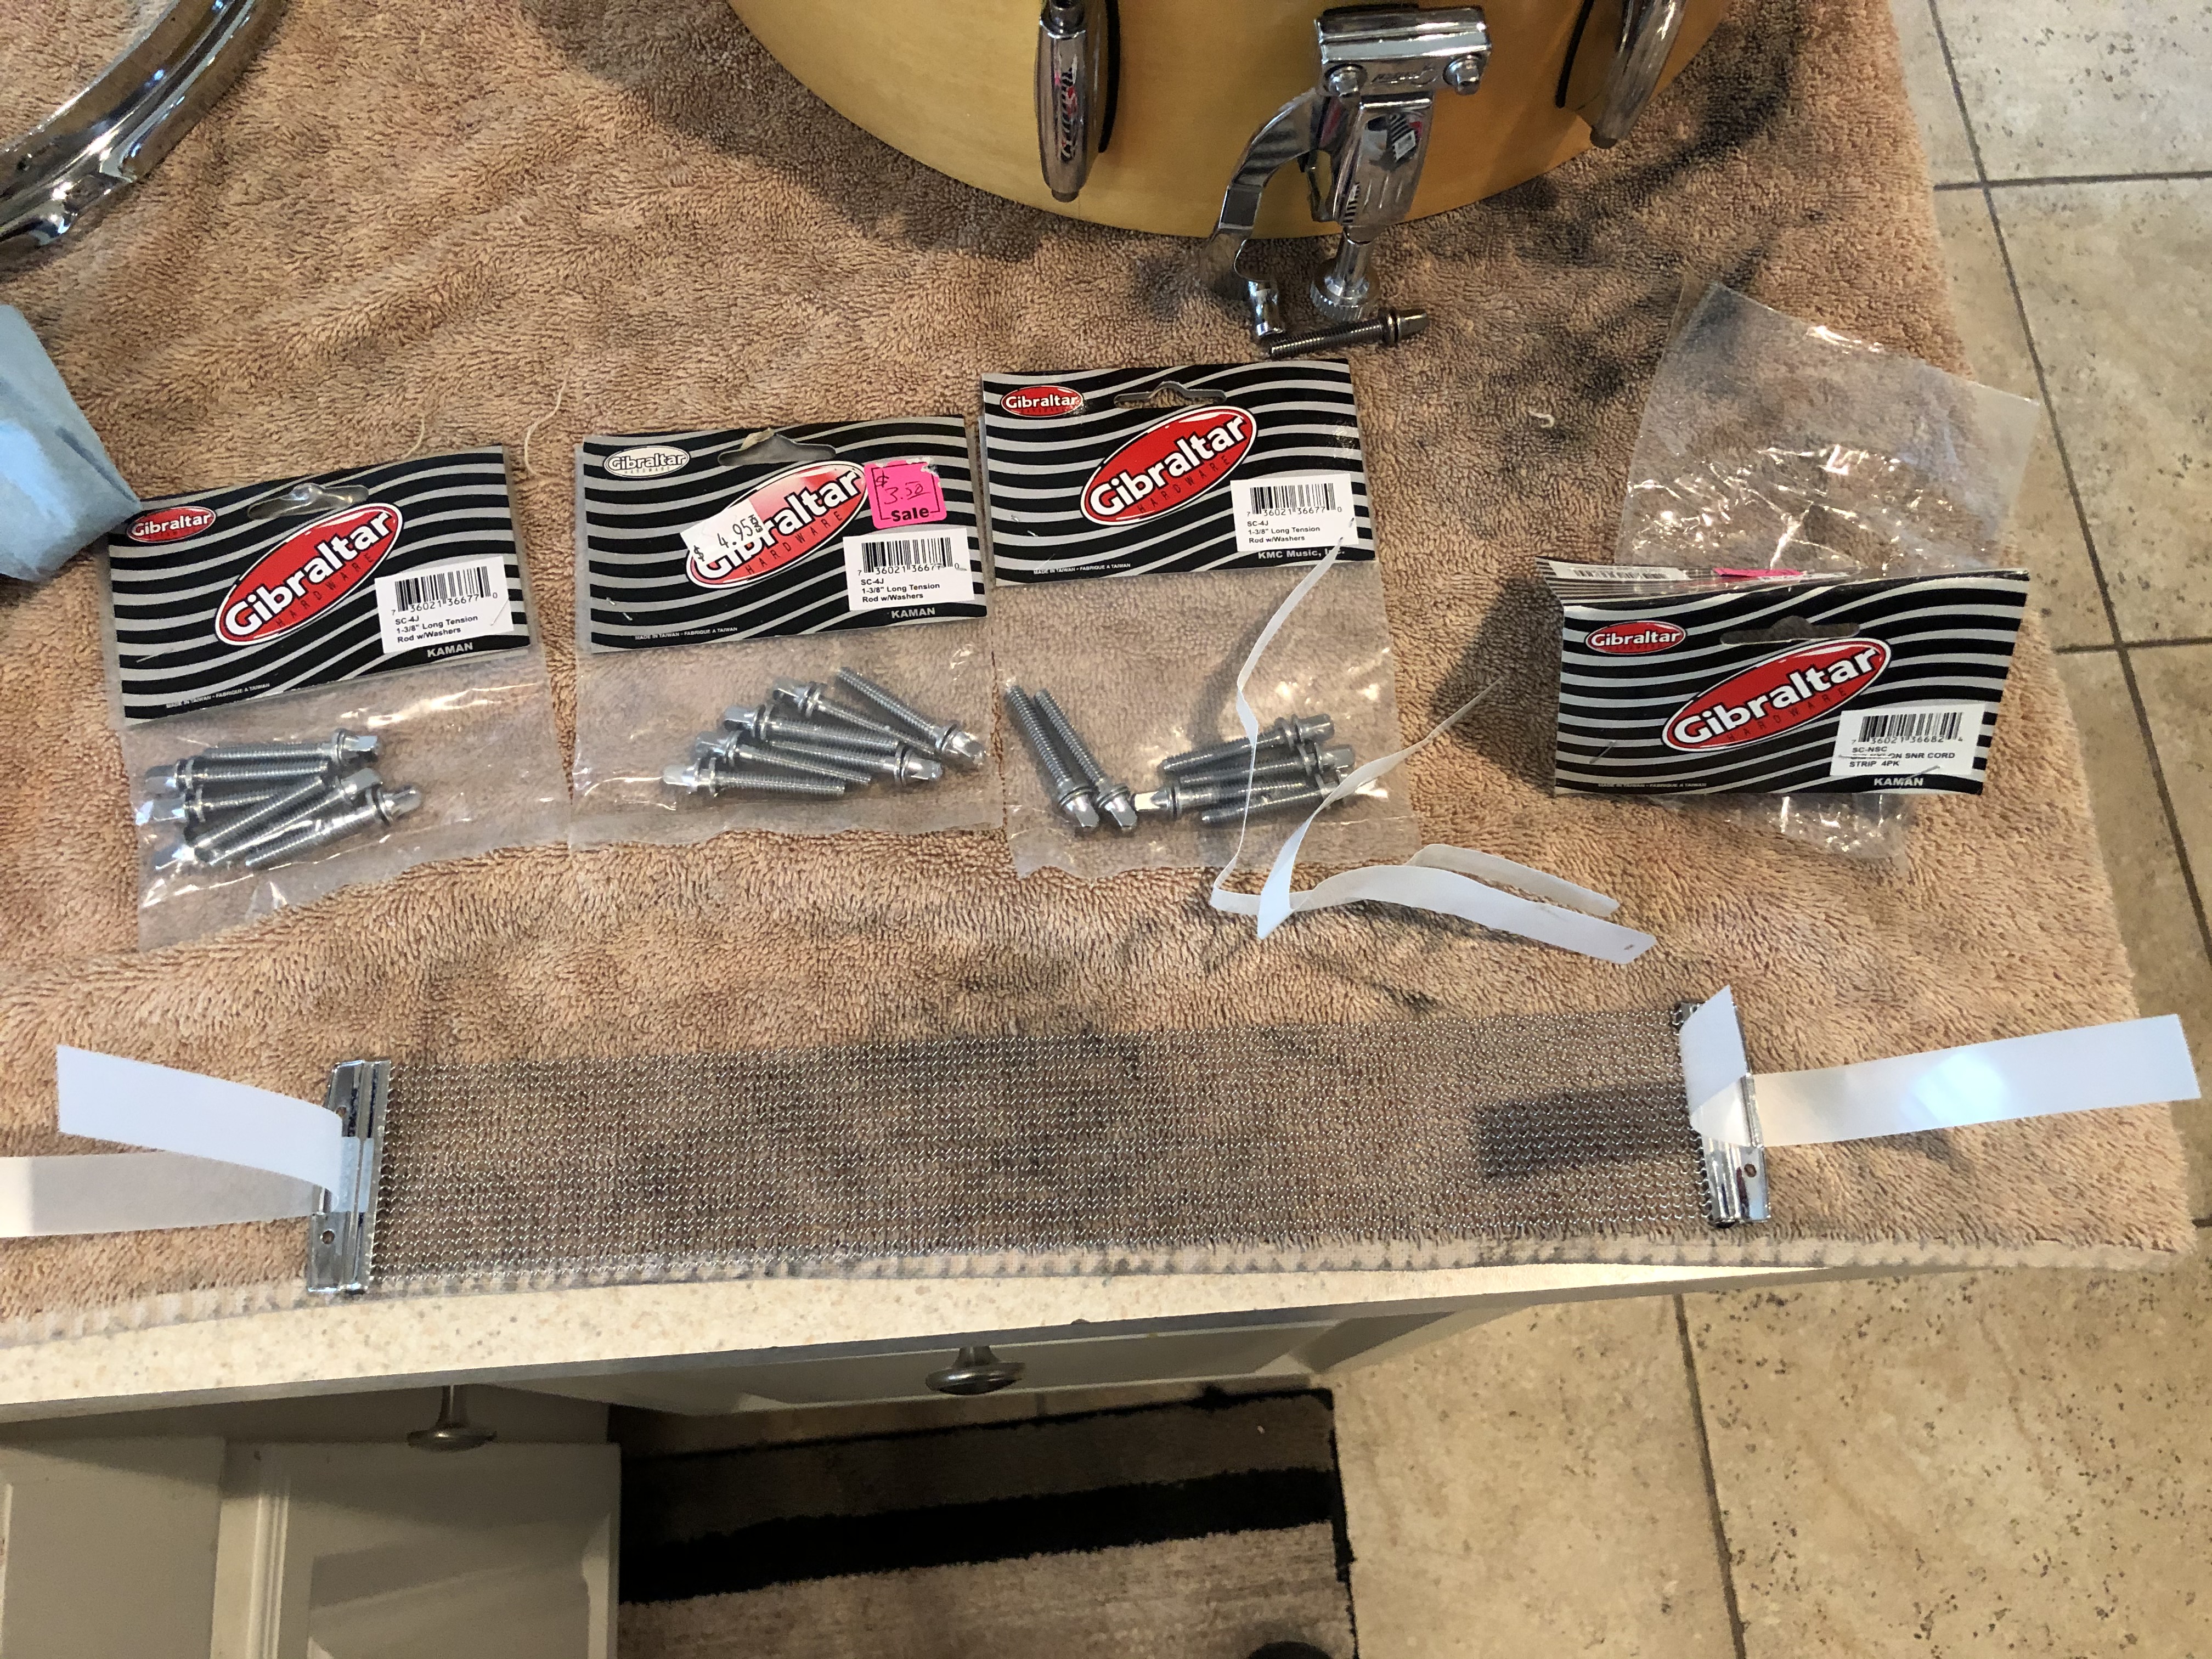 Everything is clean, polished and ready to be put back together. Shown is new Gibraltar lug screws and snare cords. Everything other than these pieces and the new heads has been reconditioned and will be re-used on this drum.
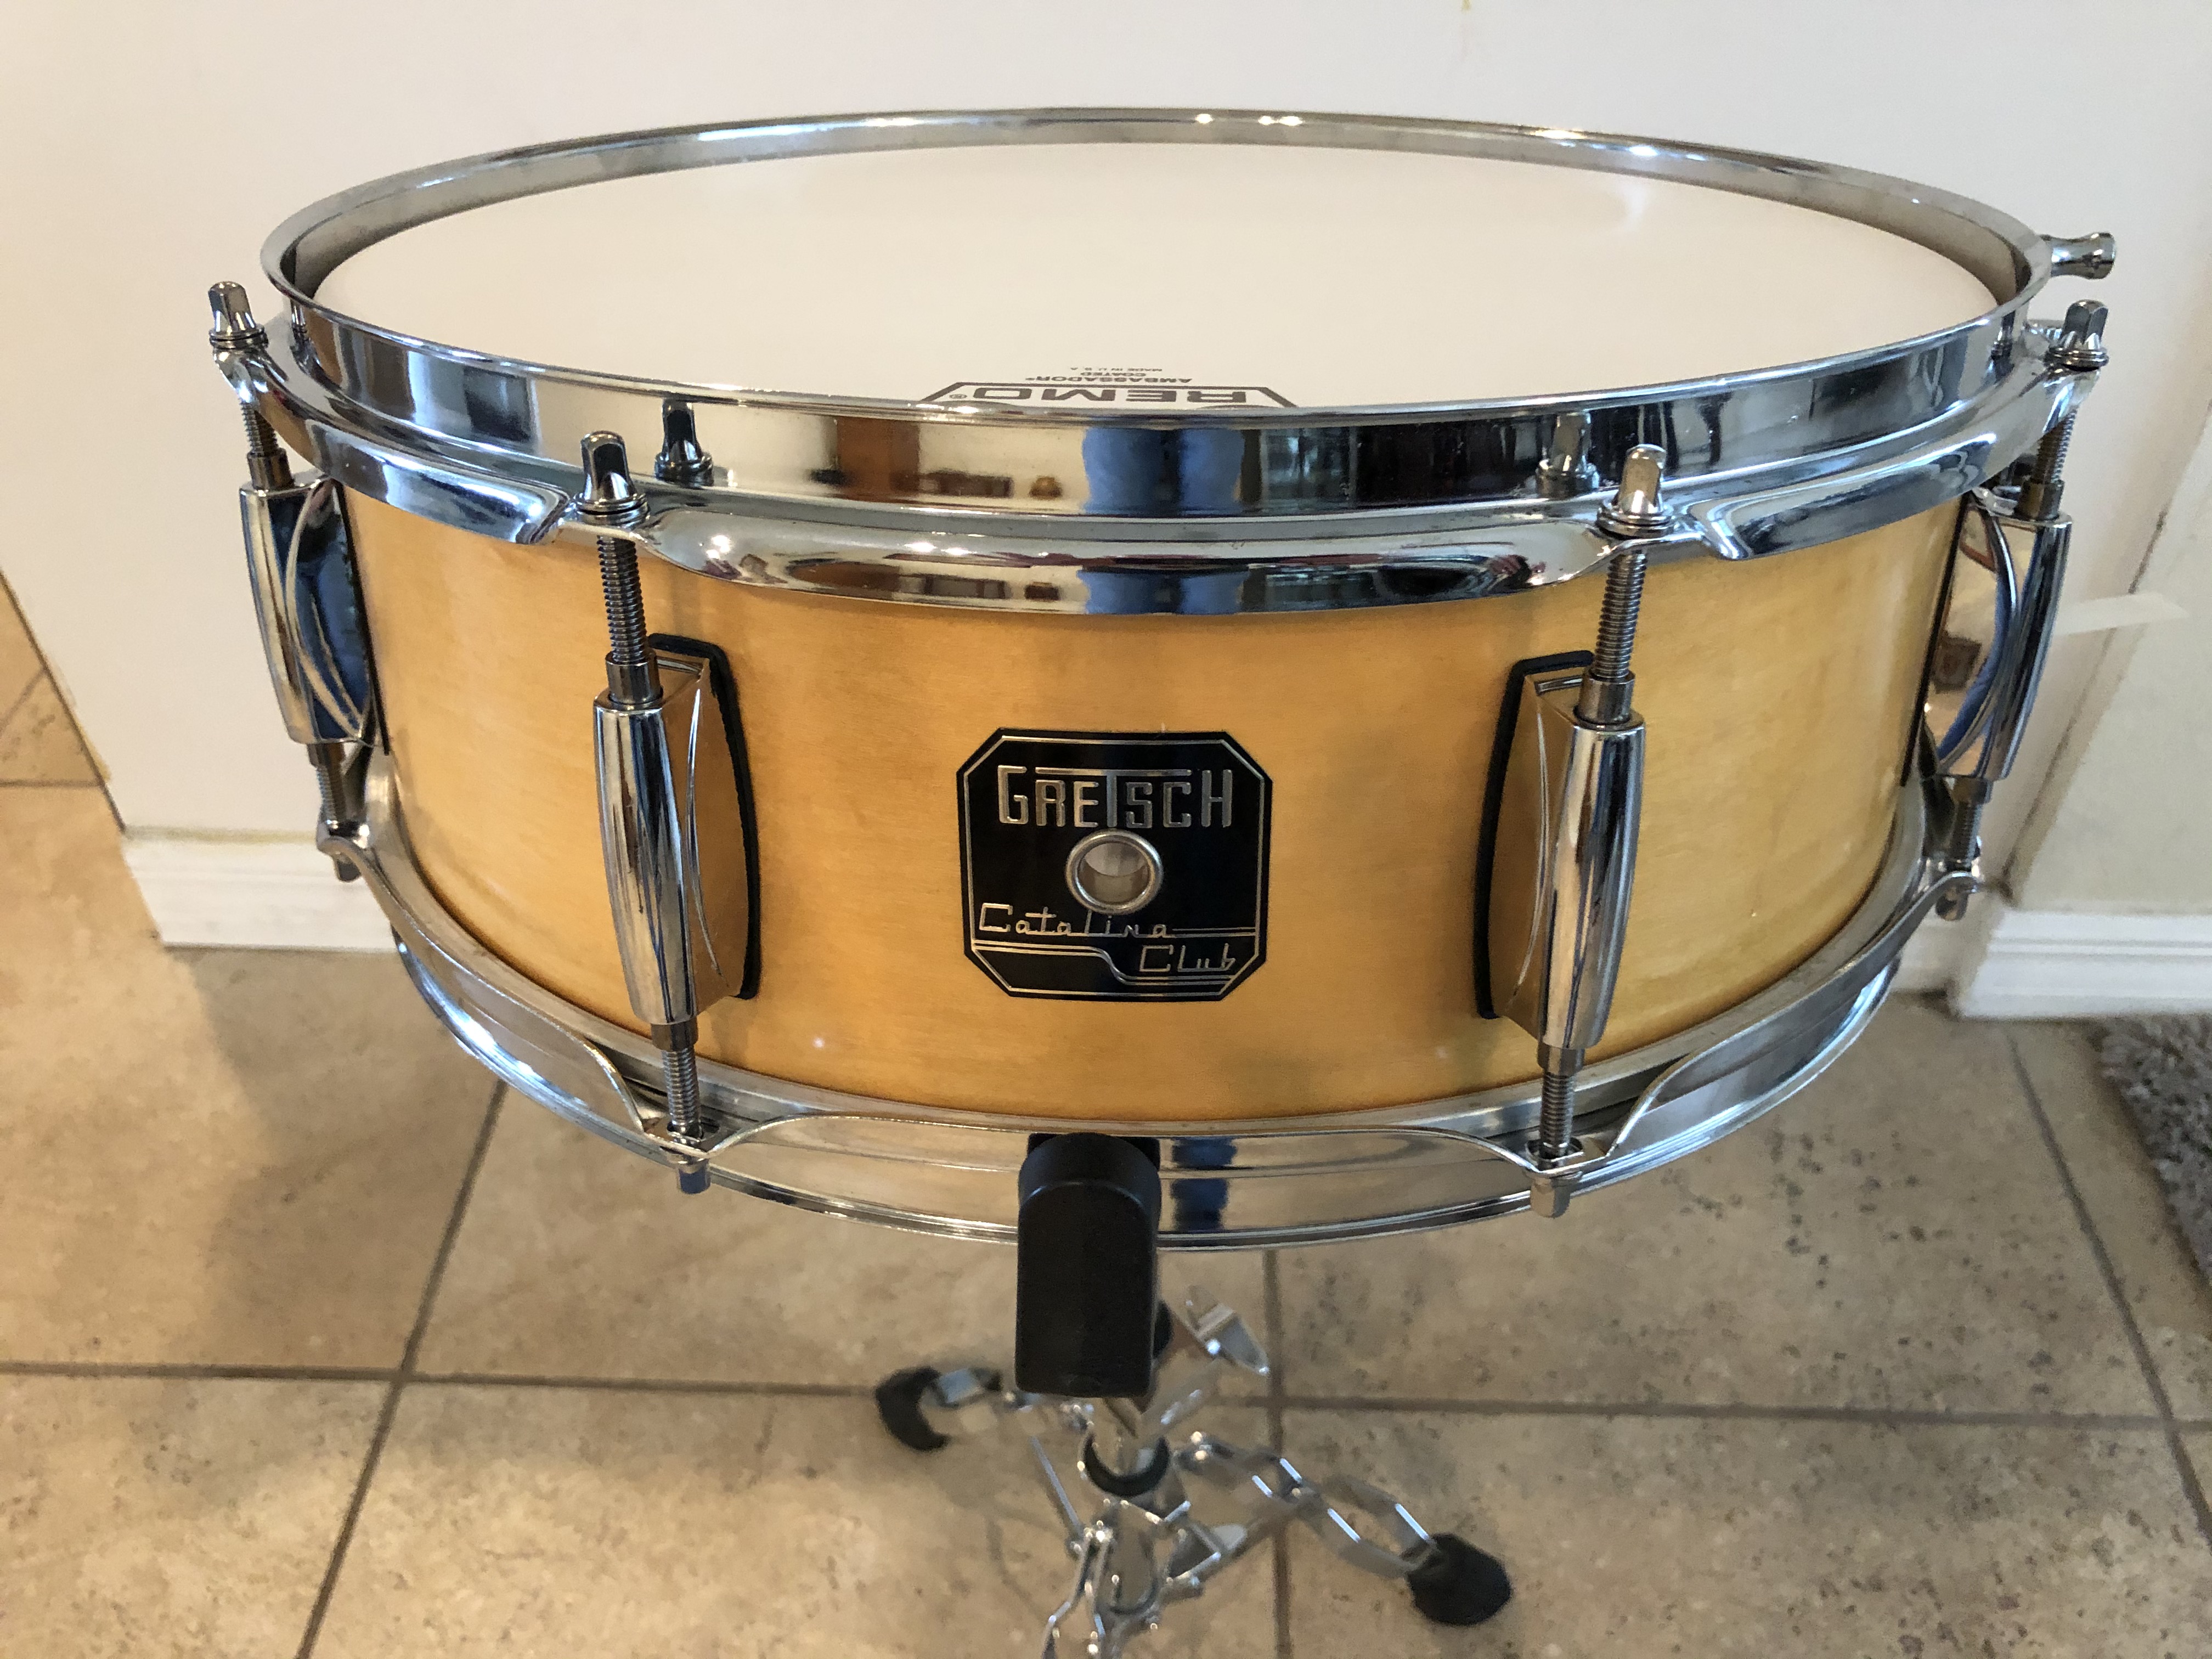
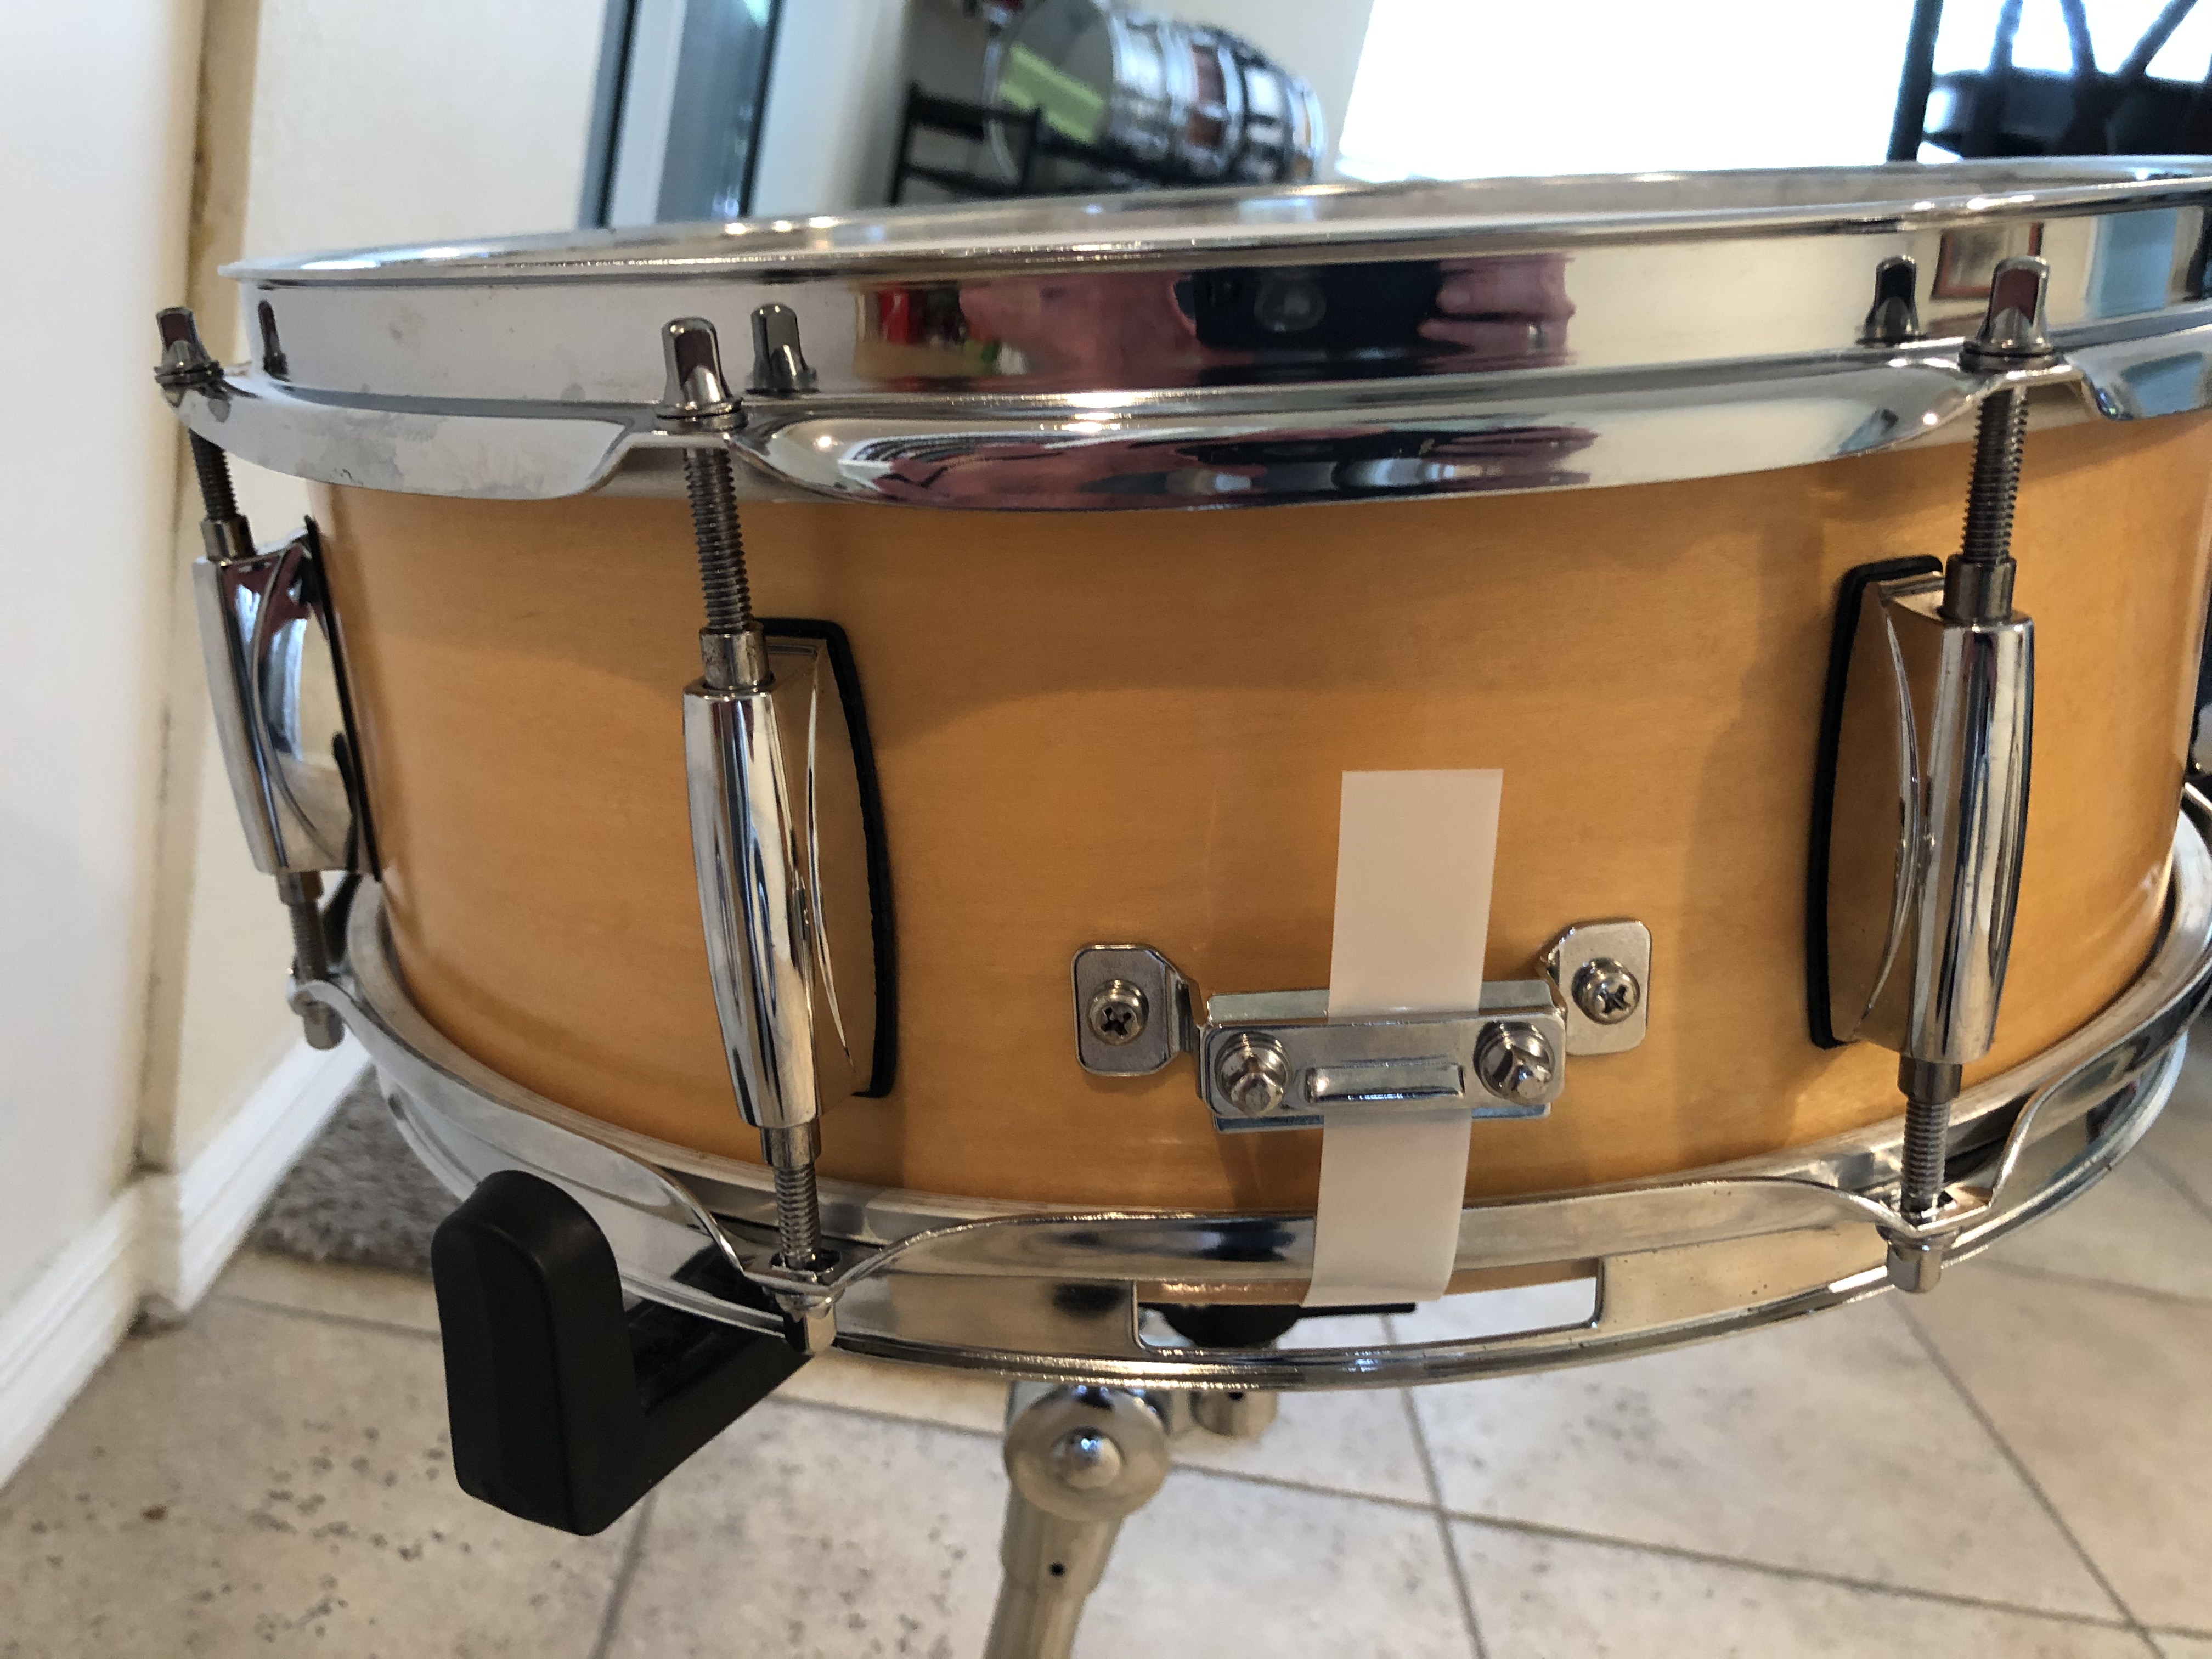
 All finished and beautiful once again!